Pool Filter Cartridge Cleaning
Why Auckland trusts our pool service expertise
Keeping your pool filter cartridge clean is one of the most straightforward maintenance tasks you can do to keep your pool water clear and your equipment running well. Here is a quick summary of what this guide covers.
Whether you are cleaning for the first time or looking to refine your routine, these key points cover the essentials.
What you'll learn
When Does a Pool Filter Cartridge Need Cleaning?
A cartridge filter works by pushing pool water through a pleated fabric element. Over time, that element collects dirt, oils, sunscreen residue, and fine debris. When it gets clogged, your pump has to work harder and water circulation drops.
The most reliable sign that a clean is due is a rise in filter pressure. Most cartridge systems have a pressure gauge, when the reading climbs noticeably above its normal operating range, the cartridge needs attention. Other signs include:
- Reduced return flow from the jets
- Cloudy water that doesn't clear despite correct chemistry
- The pump running louder than usual
As a general rule, cartridge filters need cleaning every four to six weeks during the swimming season. Pools that get heavy use, or that are surrounded by trees and garden beds, may need more frequent attention.
---
What You'll Need
Before you start, gather the following:
- Garden hose with a spray nozzle
- Cartridge filter cleaner (a dedicated degreasing solution)
- A large bucket or bin big enough to soak the cartridge
- Safety gloves
- A soft brush (optional, for stubborn debris between pleats)
- A flat, clean surface to work on
Avoid using a high-pressure washer directly on the cartridge fabric. The force can damage the pleats and reduce the filter's effectiveness.
---
Step-by-Step: Cleaning Your Cartridge Filter
Step 1, Turn off the pump
Switch off the pump at the controller before doing anything else. Never open a filter housing while the system is running.
Step 2, Release the pressure
Open the air relief valve on top of the filter housing to release any built-up pressure. Wait until the hissing stops before proceeding.
Step 3, Open the filter housing
Unscrew or unclip the filter lid according to your system's design. Lift the lid clear and set it aside.
Step 4, Remove the cartridge
Lift the cartridge element out carefully. It will likely be heavy with trapped debris. Take it to a suitable outdoor area, a lawn or paved surface works well.
Step 5, Rinse off loose debris
Using a garden hose, rinse the cartridge from top to bottom. Work the spray between the pleats at an angle, moving along the length of the element. Rotate the cartridge as you go. This removes the bulk of the dirt.
Step 6, Soak in cartridge cleaner
Mix a cartridge filter cleaner solution in your bucket according to the product label. Submerge the cartridge fully and leave it to soak. Soaking time varies by product, follow the manufacturer's instructions. This step breaks down oils, sunscreen, and fine particles that rinsing alone won't shift.
Step 7, Rinse again thoroughly
After soaking, rinse the cartridge again with the hose until the water running off it is clear. Make sure no cleaning solution remains in the pleats before reinstalling.
Step 8, Inspect the cartridge
Before putting it back, check the cartridge carefully for:
- Tears or holes in the fabric
- Crushed or collapsed pleats
- Cracked end caps
- Persistent discolouration that won't rinse out
Any of these indicate the cartridge needs replacing rather than reinstalling.
Step 9, Reassemble and restart
Slide the cartridge back into the housing, making sure it seats correctly. Replace the lid and tighten it down. Open the air relief valve, then switch the pump back on. Once water flows steadily from the relief valve, close it. Check the pressure gauge, it should return to its normal operating range.
---
Common Mistakes to Avoid
Skipping the soak. Rinsing alone removes visible debris but leaves behind oils and fine particles embedded in the fabric. Over time, these build up into a layer that restricts flow and can't be rinsed away. Regular soaking extends the life of the cartridge significantly.
Using a pressure washer. It feels thorough, but the force damages the pleated fabric. Stick to a standard garden hose with a firm spray nozzle.
Reinstalling a damaged cartridge. A torn or collapsed cartridge lets unfiltered water bypass the element entirely. Dirty water circulates back into the pool, and fine particles can reach the pump. If the cartridge is damaged, replace it.
Forgetting to release pressure first. Opening the housing under pressure can cause the lid to release suddenly. Always open the air relief valve and wait before removing the lid.
Cleaning too infrequently. Leaving a heavily clogged cartridge in place for too long puts strain on the pump motor and can shorten its service life.
---
How Long Does a Cartridge Last?
With regular cleaning and proper care, a pool filter cartridge typically lasts one to three seasons. The actual lifespan depends on pool usage, bather load, and how consistently the cartridge is maintained.
Signs that a cartridge has reached the end of its useful life include:
- Pressure that stays high even after a thorough clean and soak
- Visible damage to the fabric or end caps
- Persistent water clarity problems despite correct chemistry
When a cartridge is past its useful life, continuing to run it costs more in pump wear than a replacement cartridge would.
---
When to Get Help
Cartridge cleaning is a straightforward task most pool owners can handle themselves. However, there are situations where it's worth calling in a professional:
- The pressure gauge reading is unusually high and doesn't drop after cleaning, this may indicate a problem with the system rather than just a dirty cartridge
- You're unsure whether the cartridge needs cleaning or replacing
- The filter housing is difficult to open or reseal correctly
- Water clarity doesn't improve after a clean and cartridge replacement
Sparkling Pools provides pool servicing and maintenance across Auckland, including filter checks and equipment diagnosis. If something doesn't look right after cleaning, it's worth having a technician take a look.
Pool resurfacing solutions
Restore your pool with durable plaster finishes


Work completed
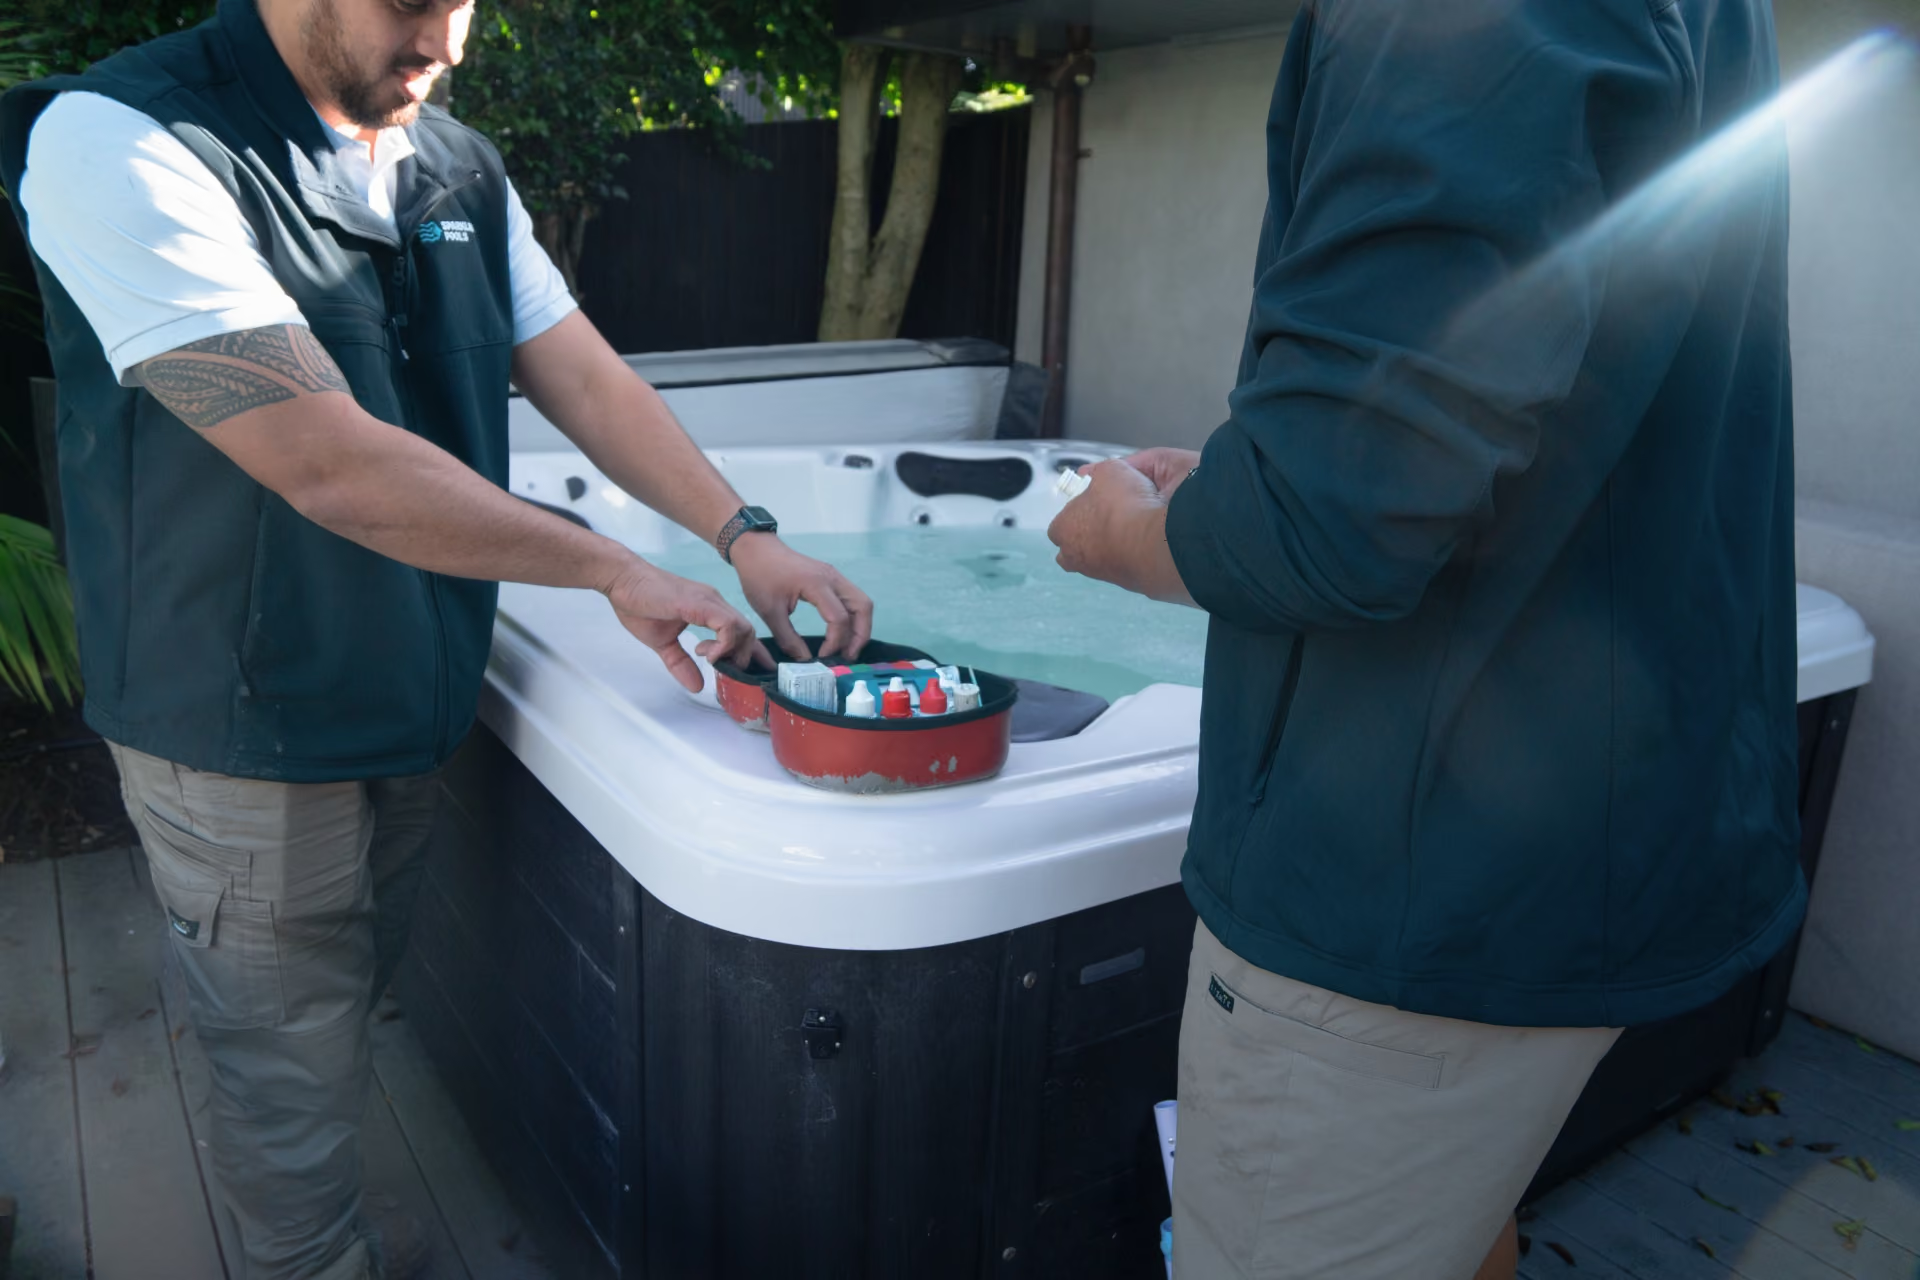
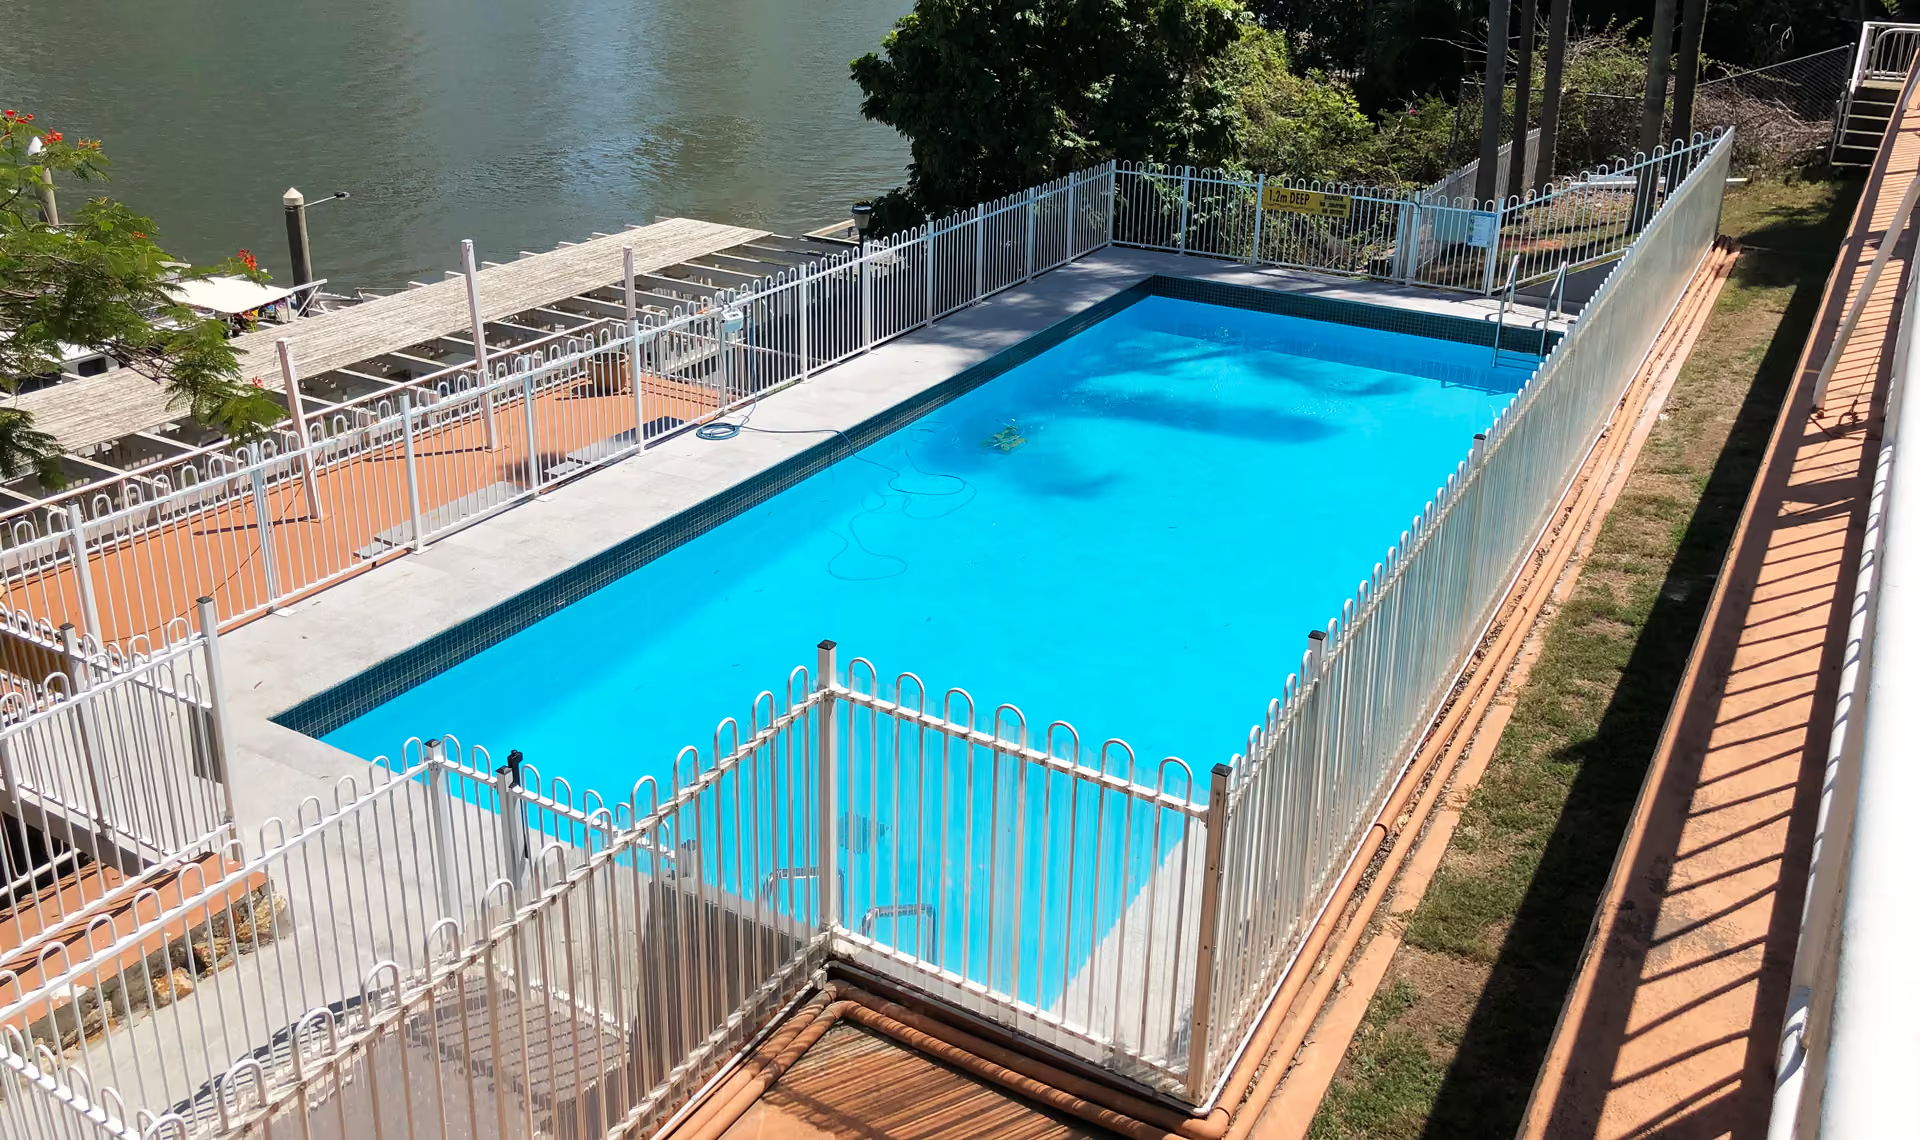
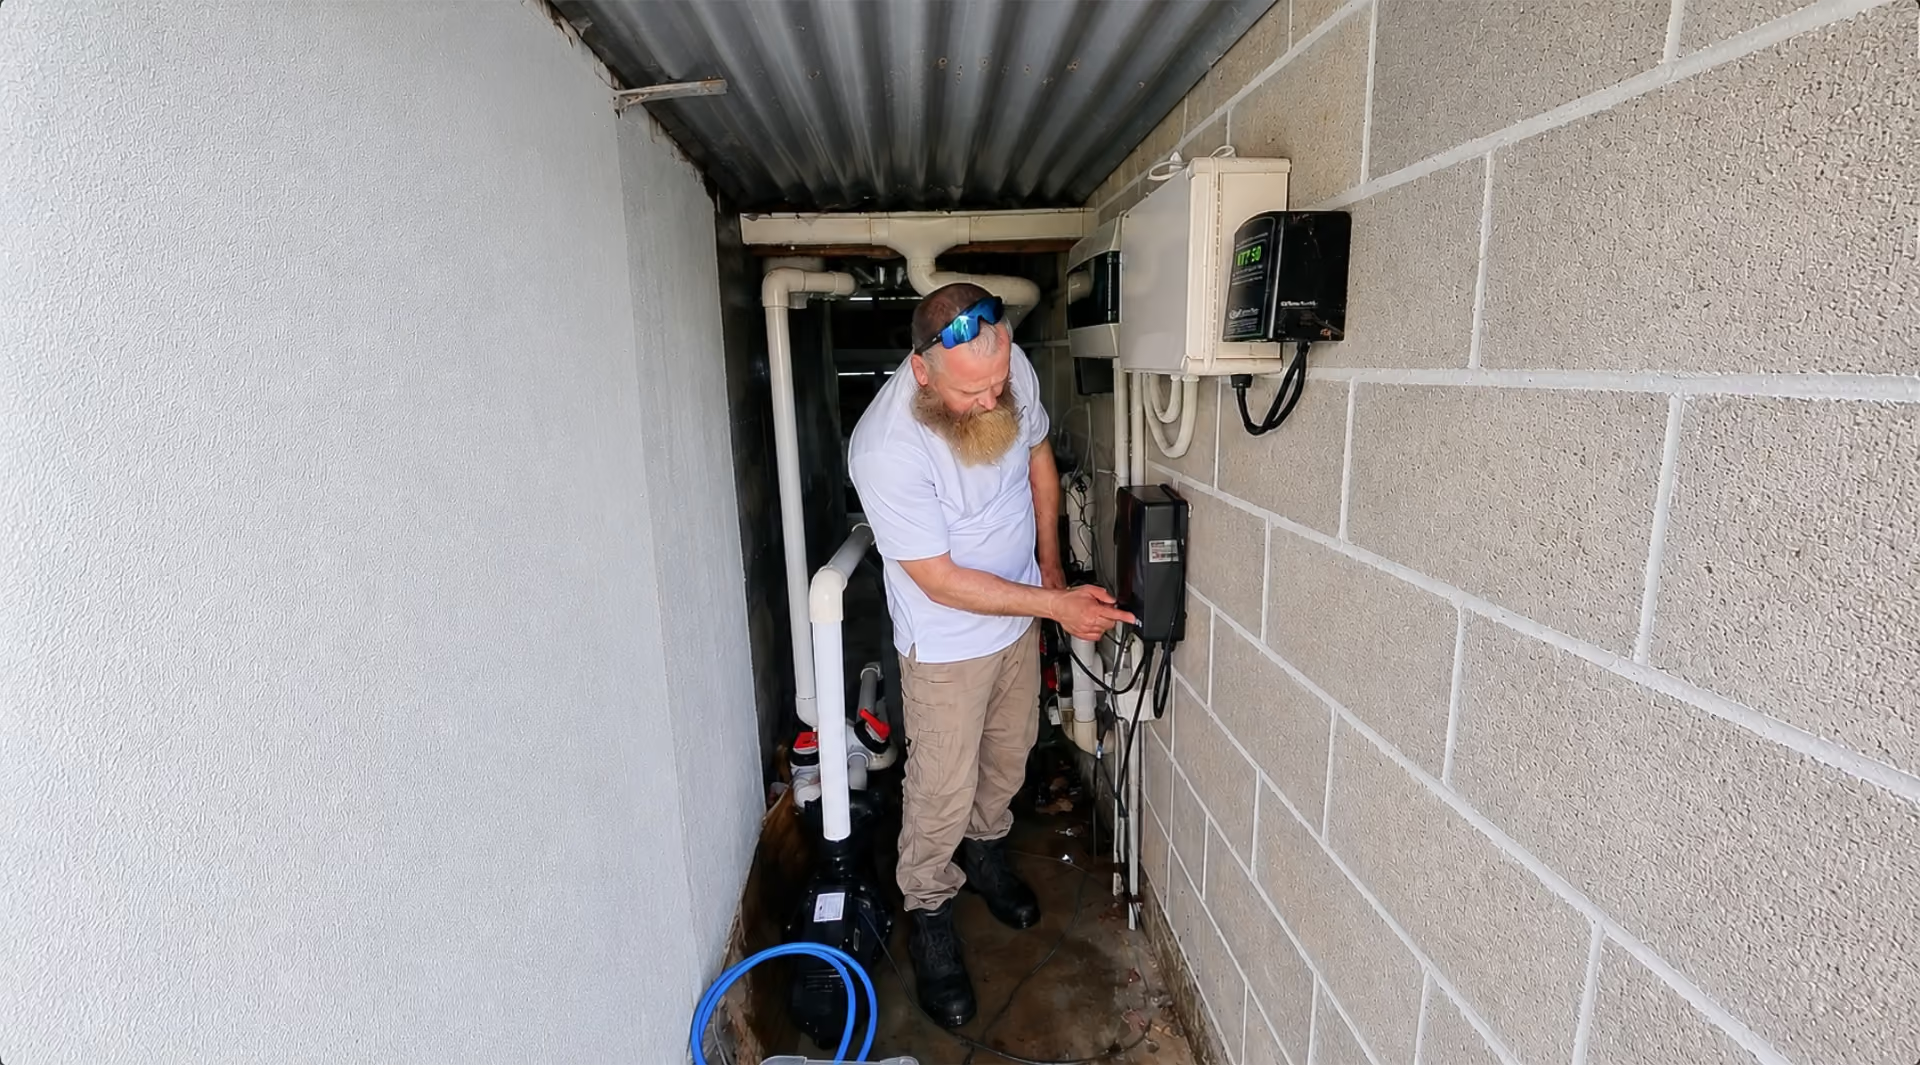
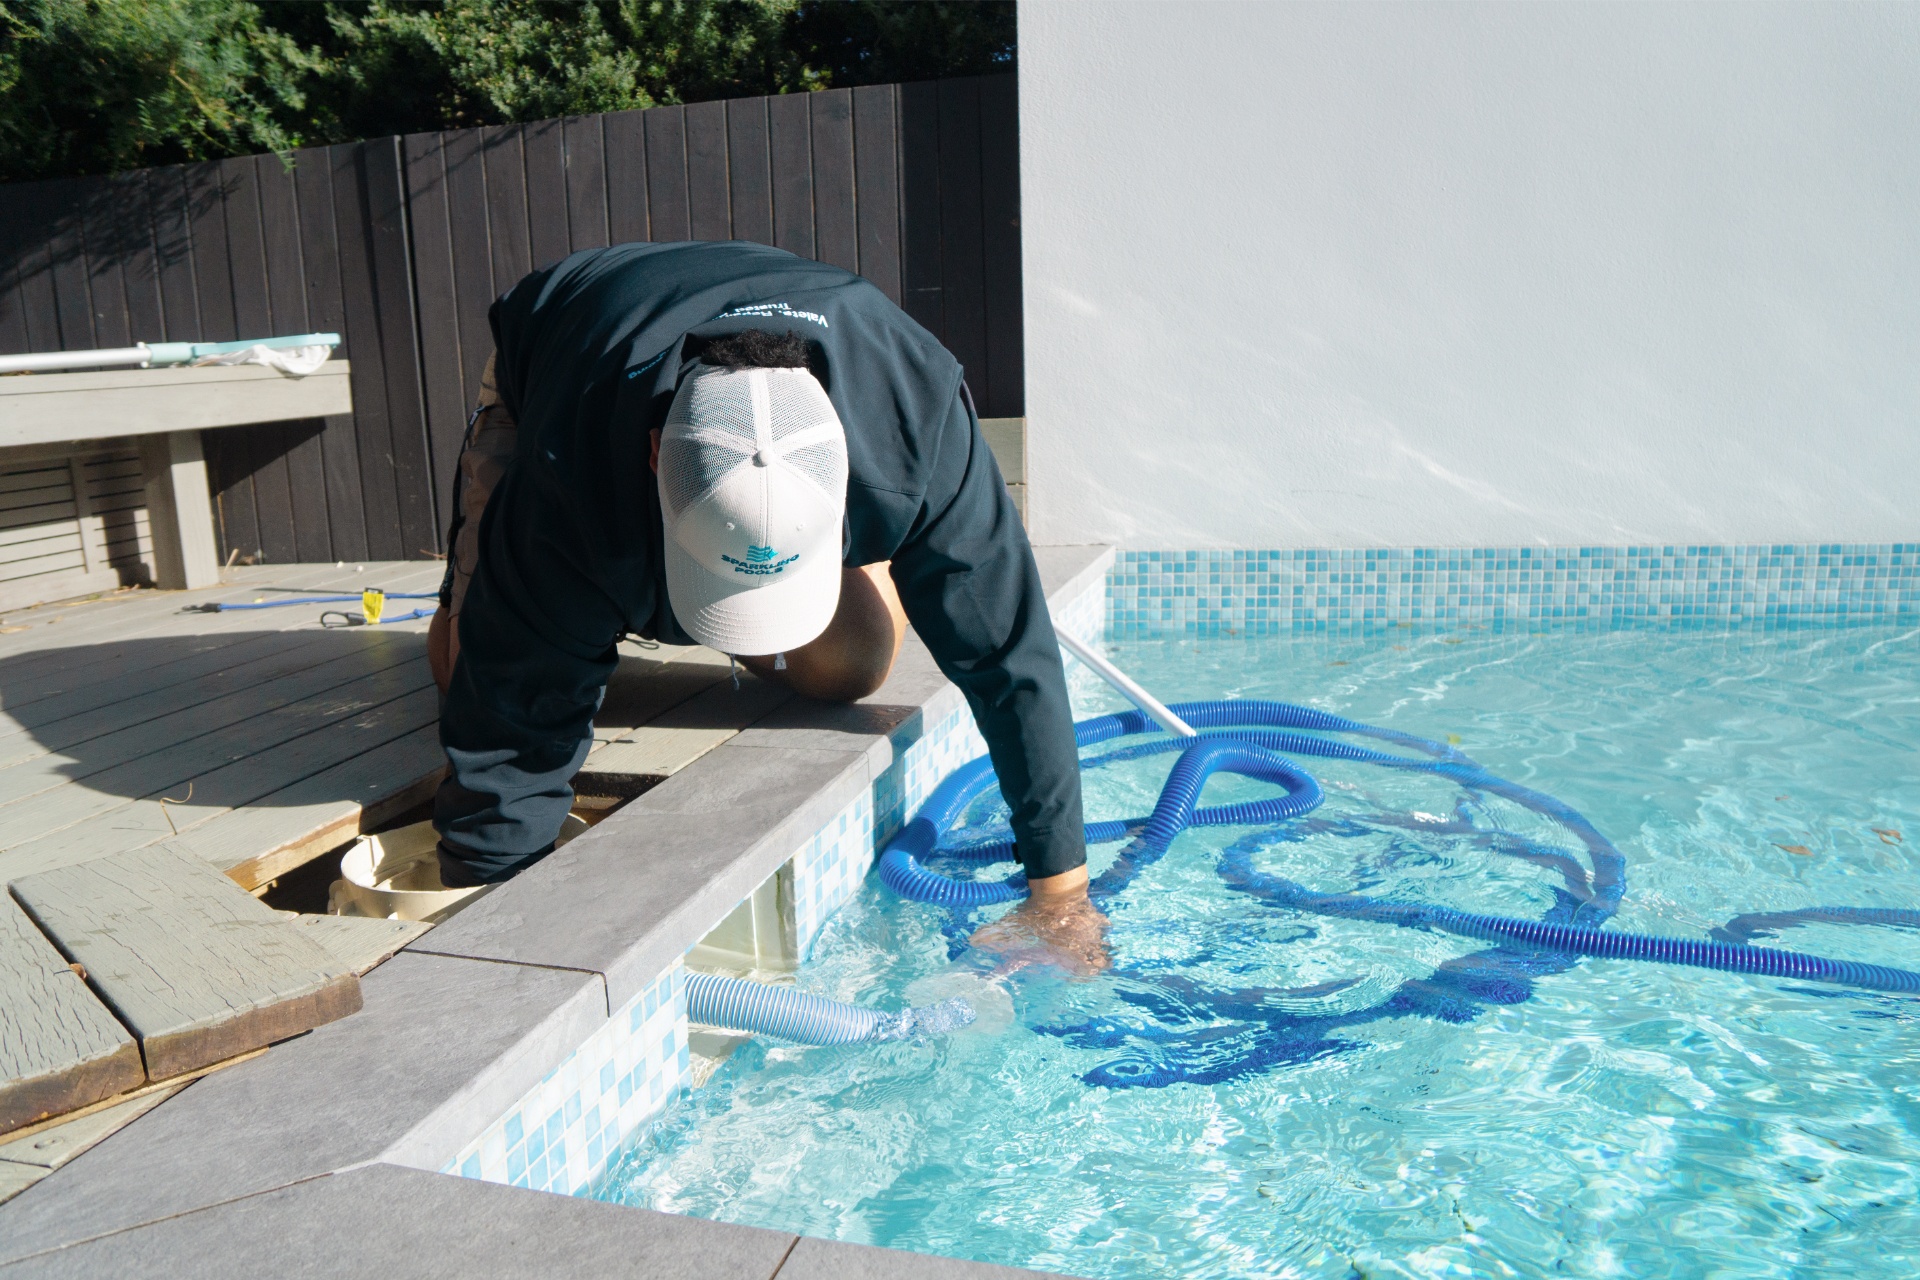
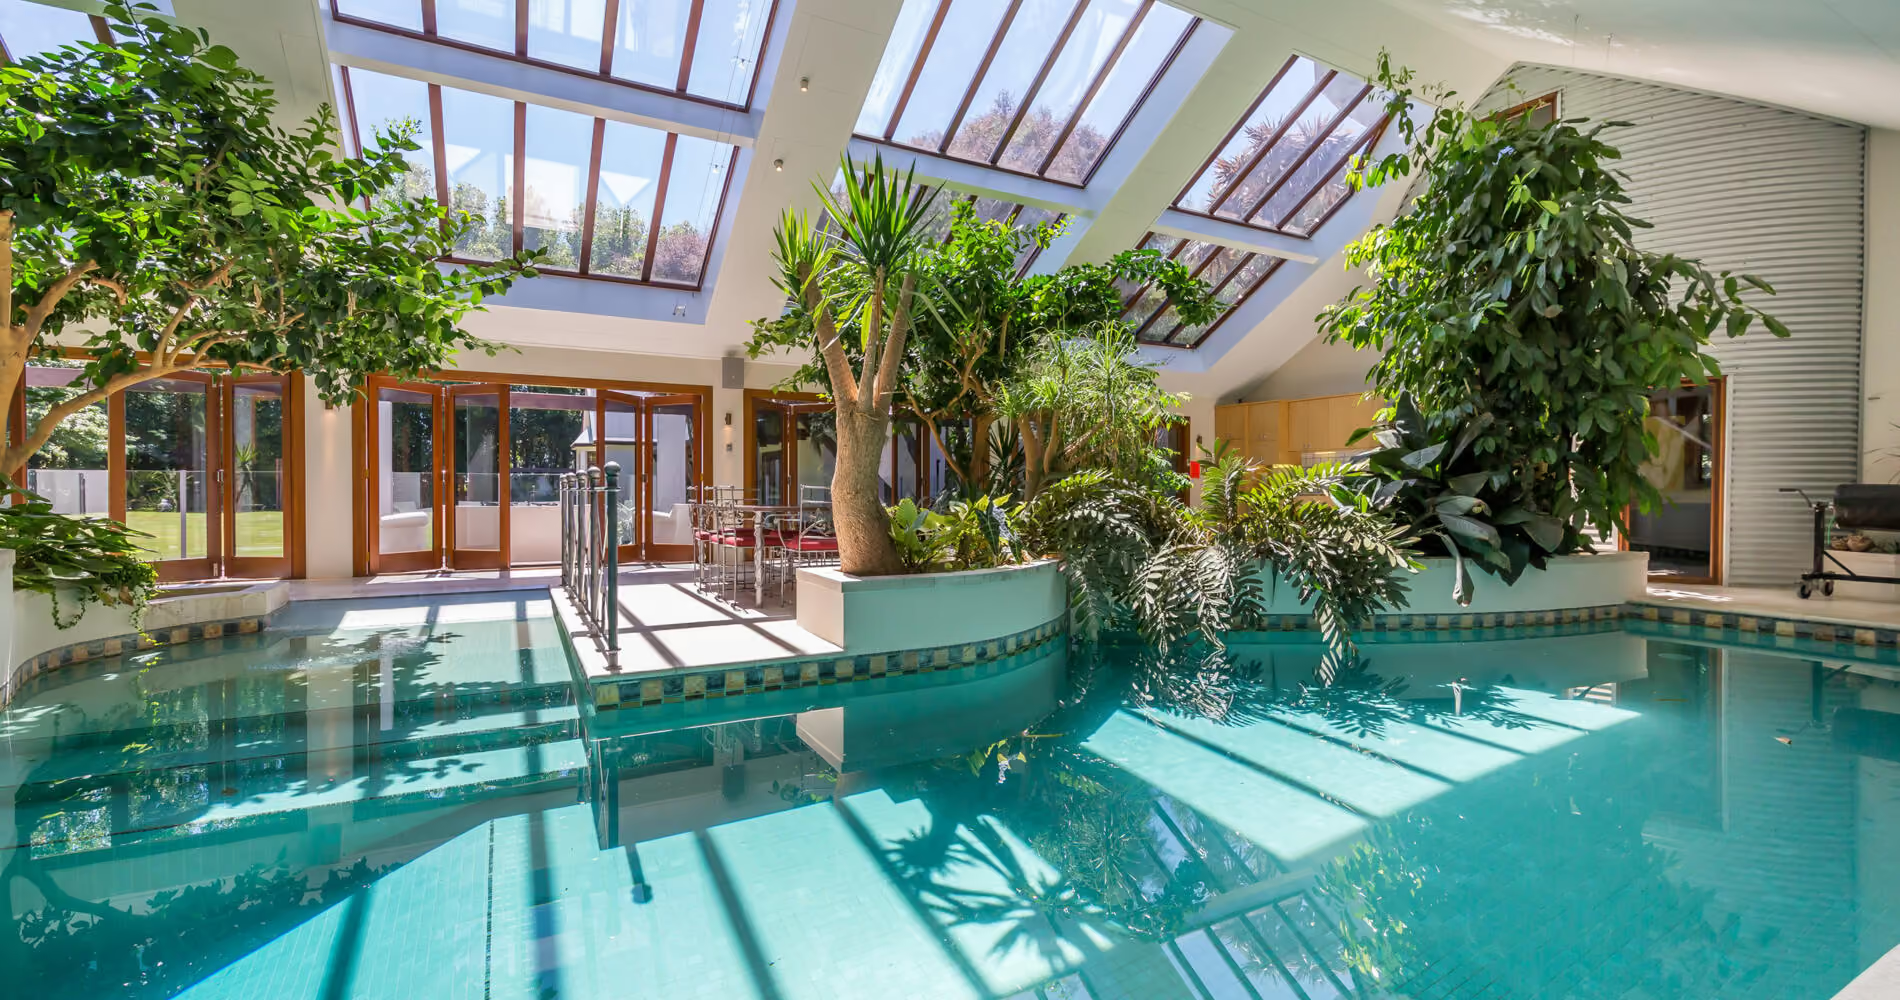
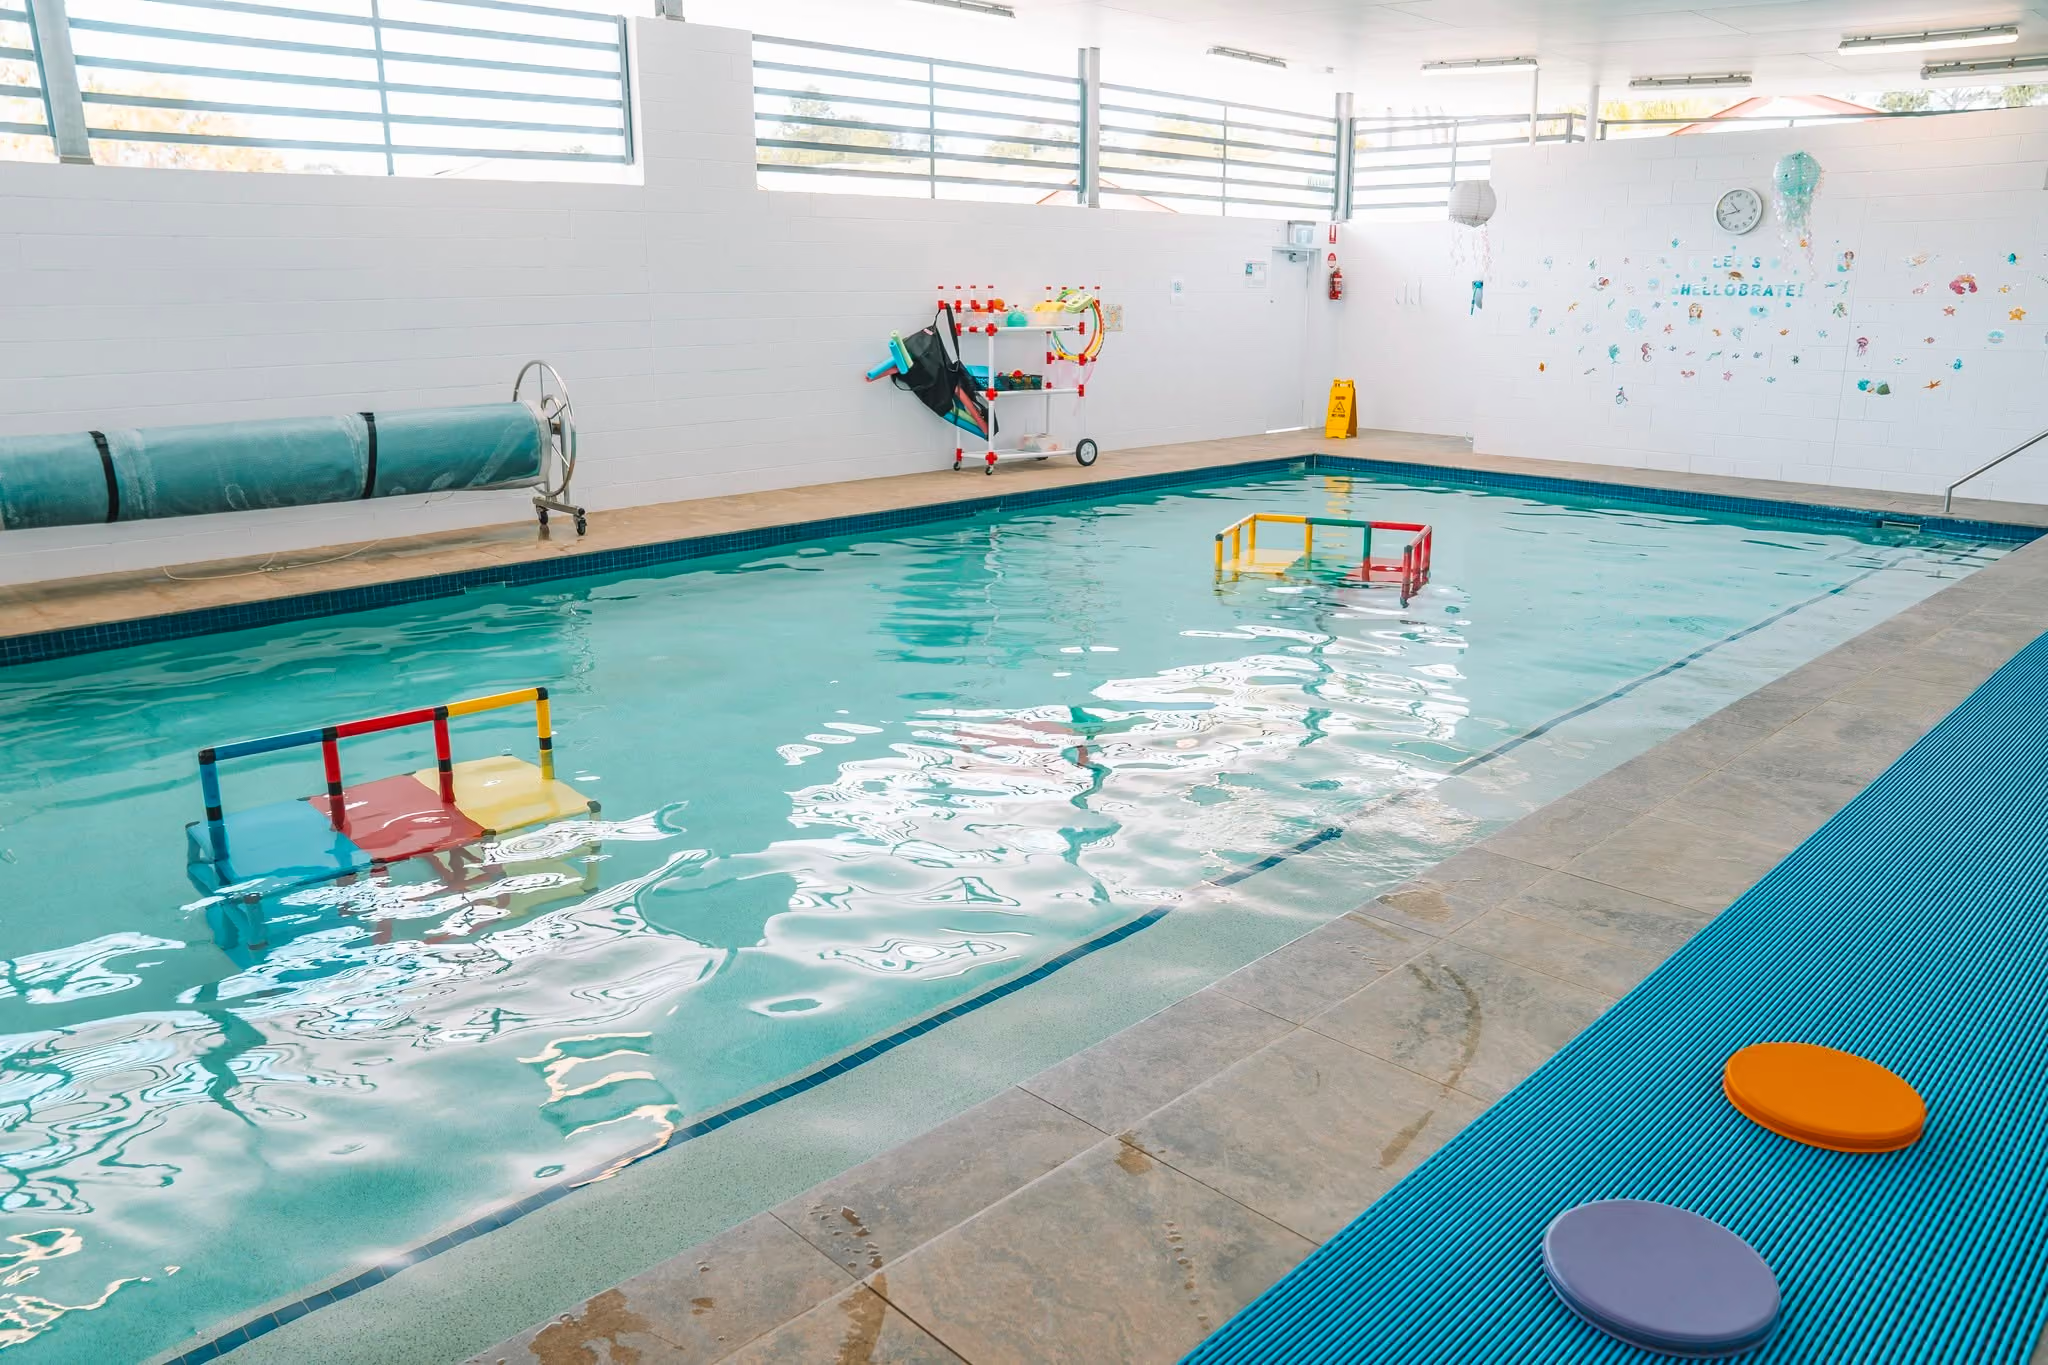
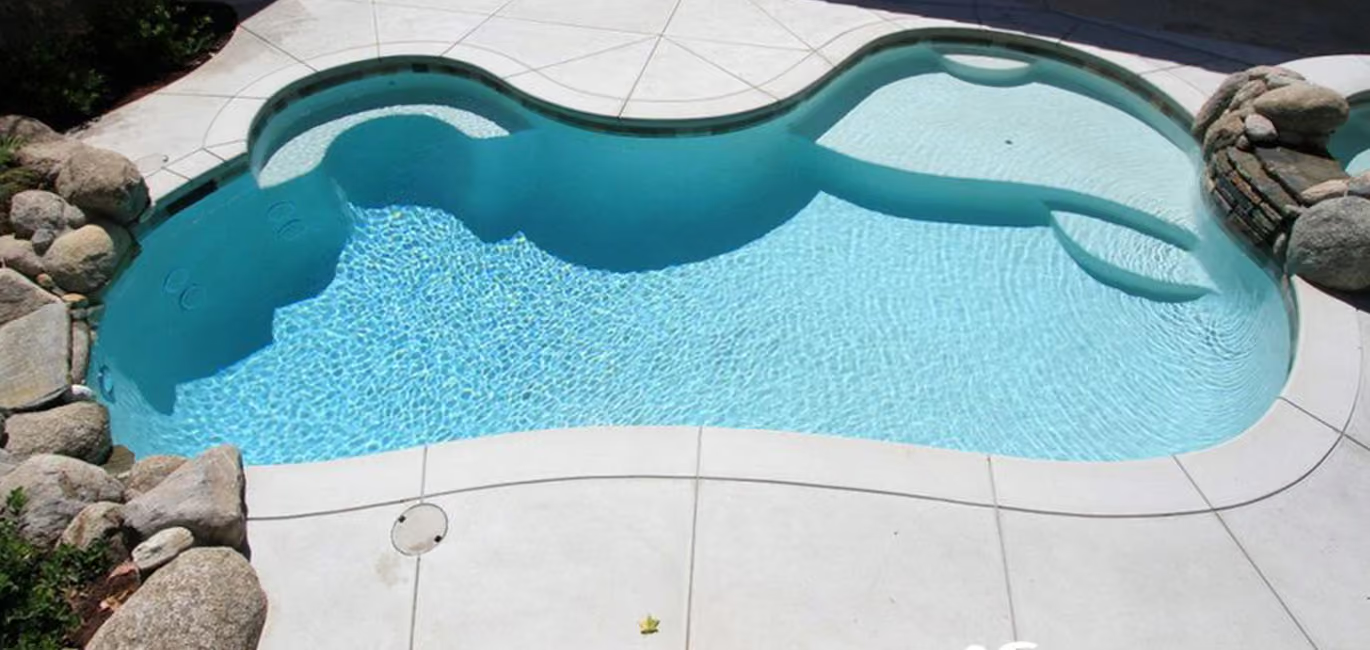
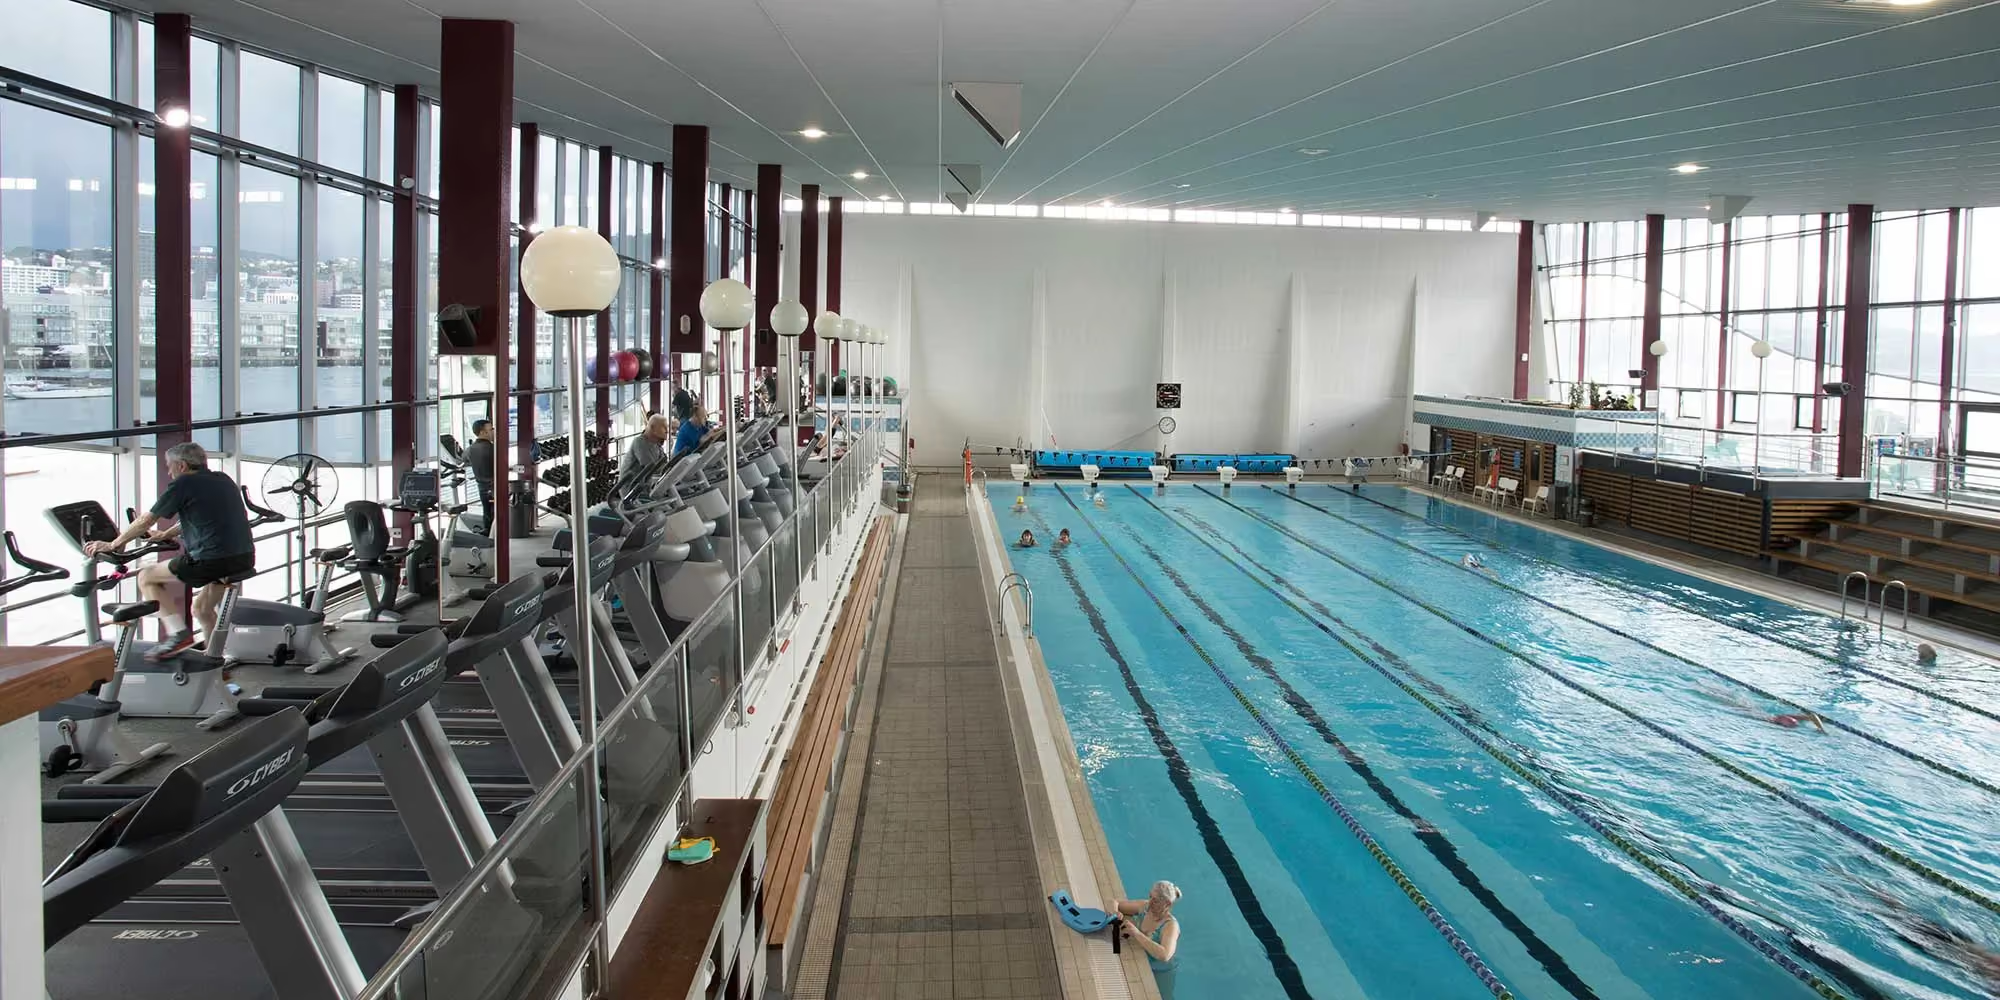
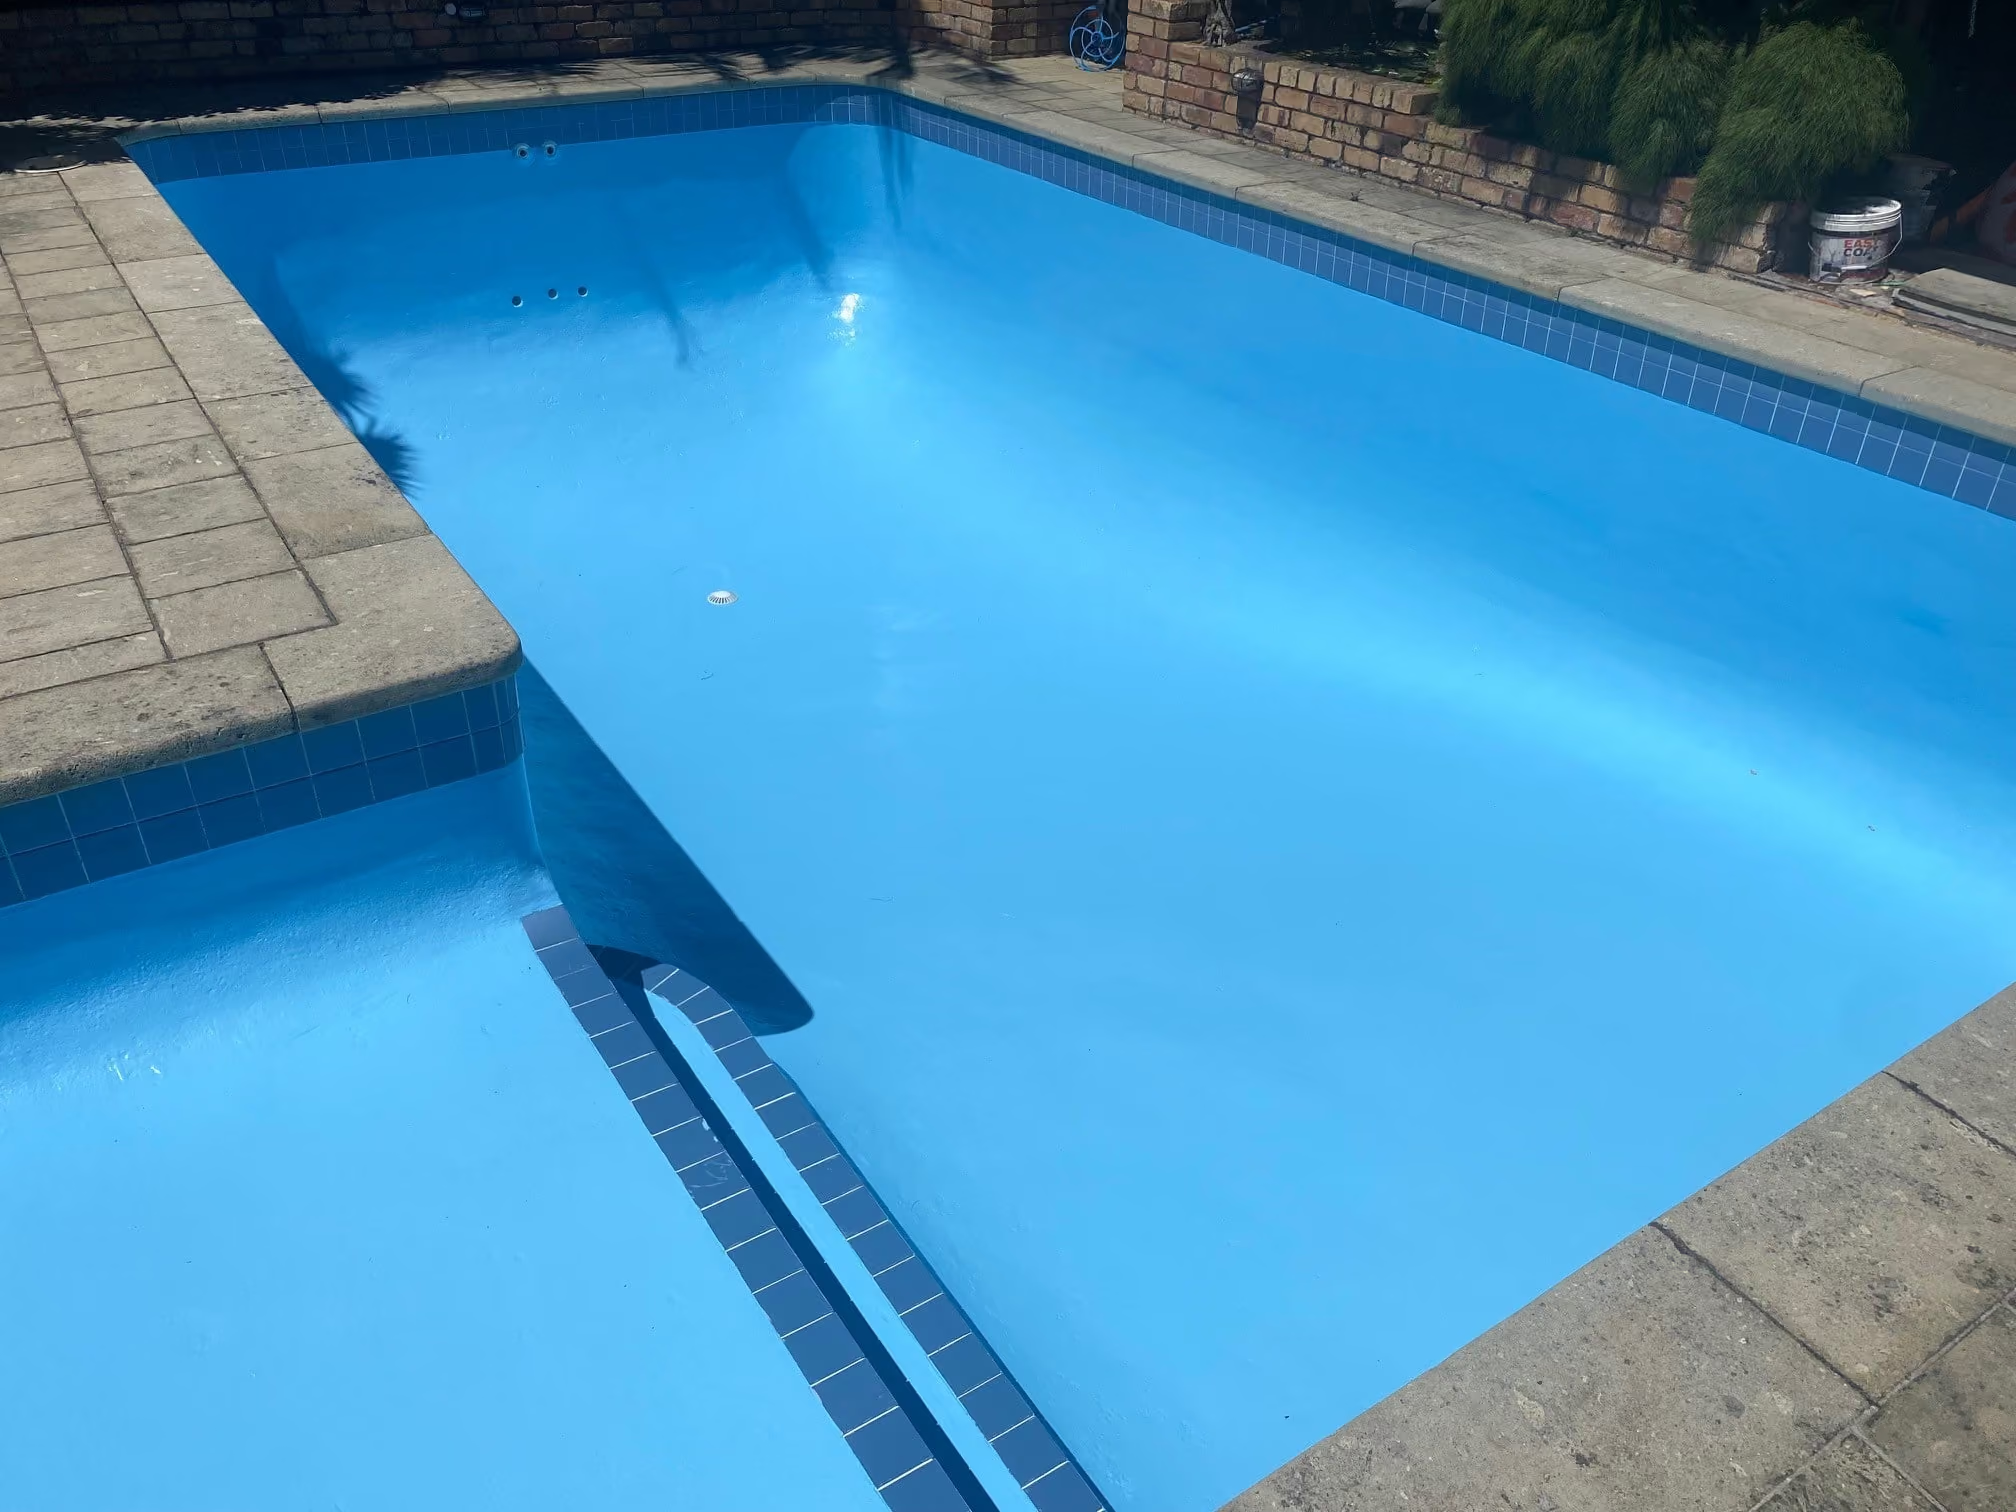
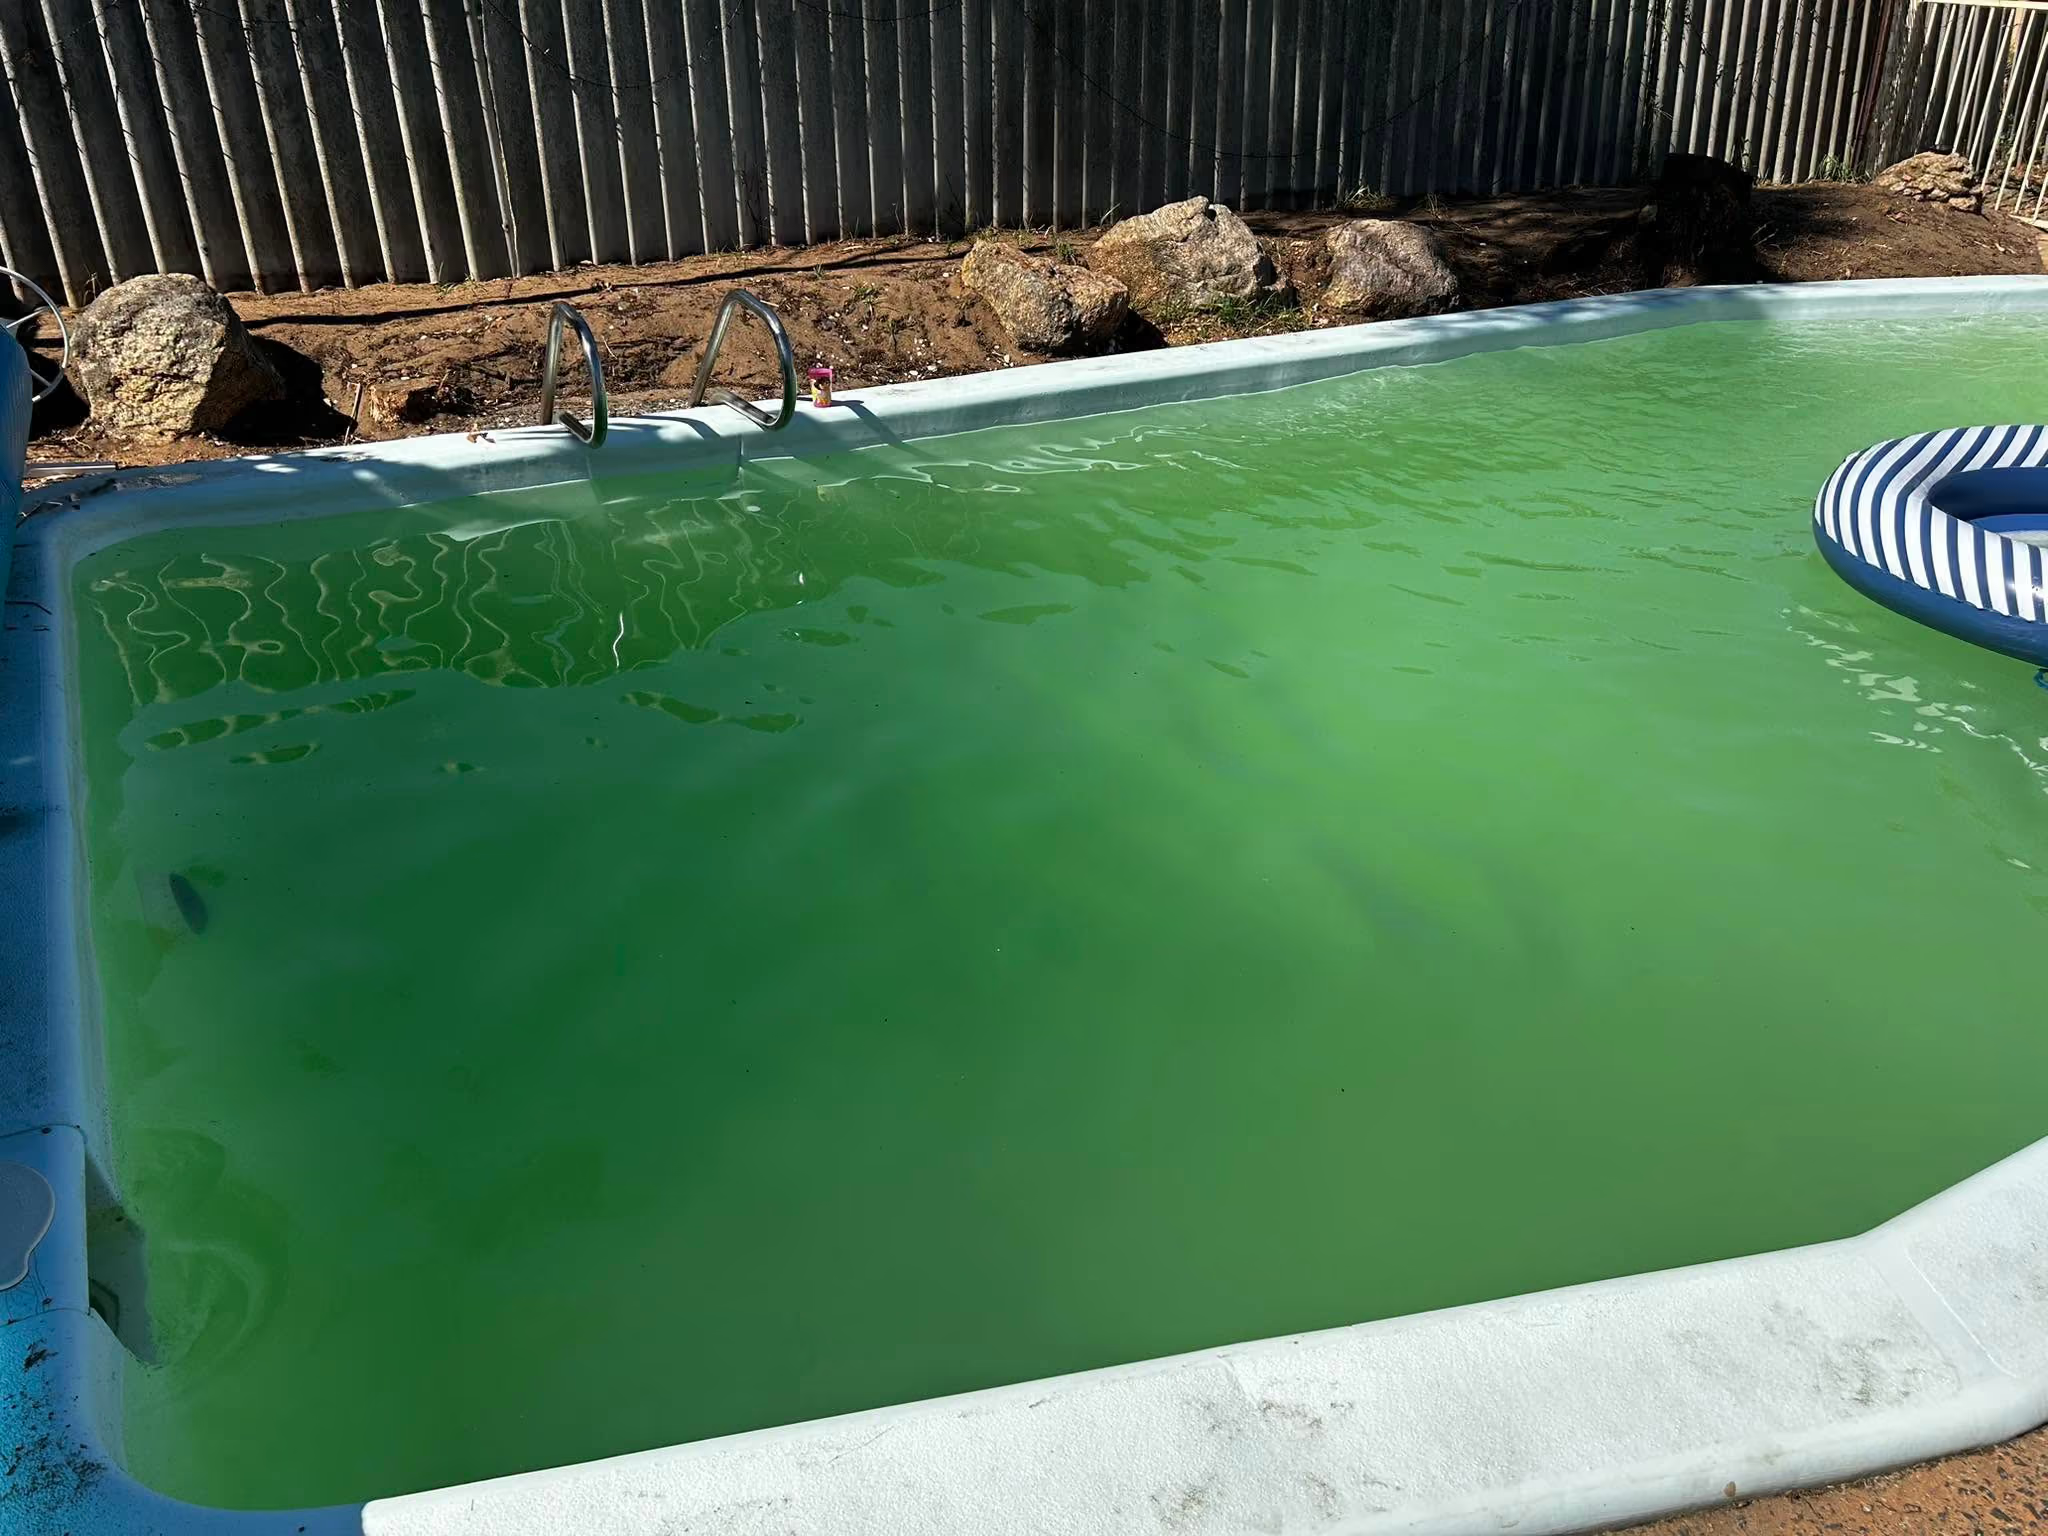
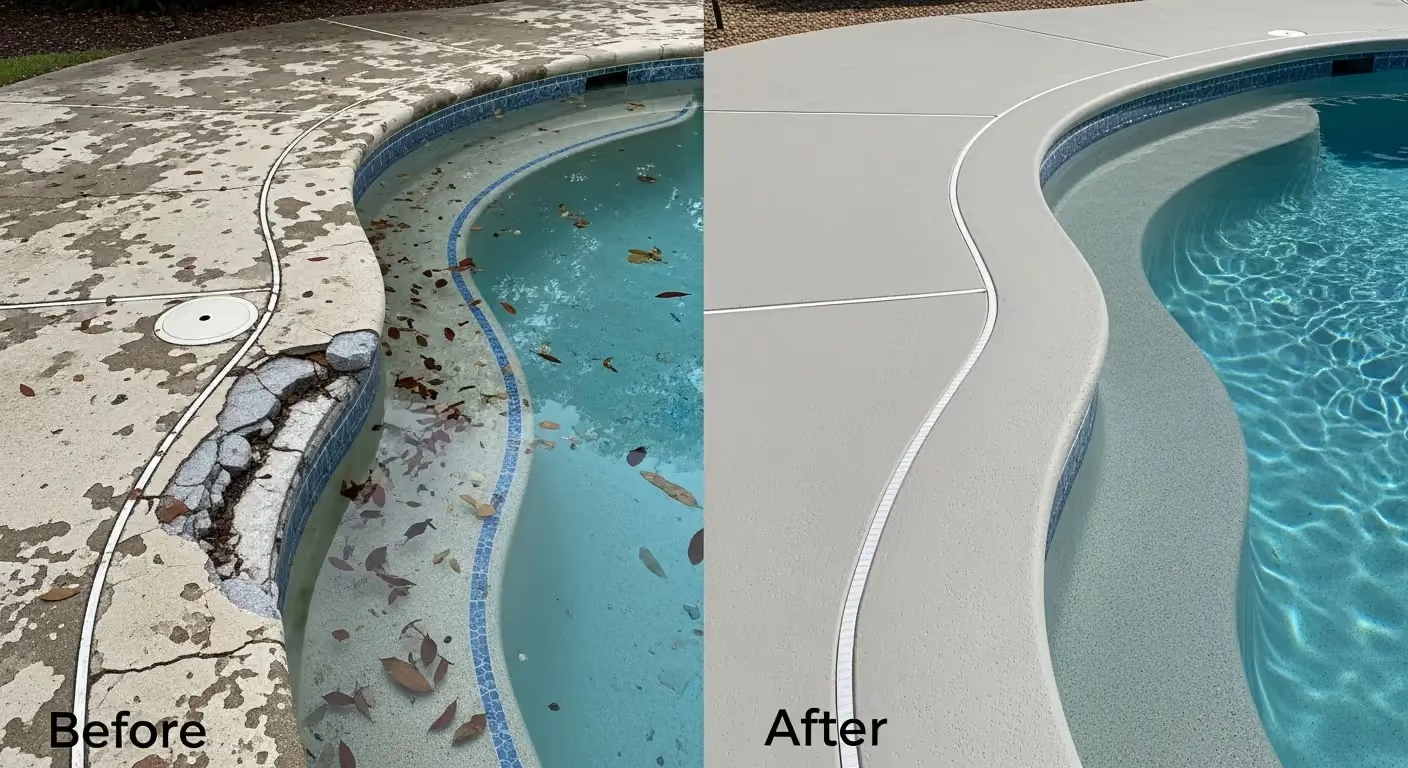
Sparkling Pools has worked on pools across Auckland, including residential renovation projects, equipment upgrades, ongoing maintenance and pool care for managed properties. Past projects show how the right approach can improve presentation, water quality and day-to-day usability. A well-maintained pool is easier to manage, more pleasant to use and better prepared for seasonal changes.
Trusted by Homeowners Across Auckland
Don't just take our word for it. Read what our clients have to say about our transparent communication, reliable service, and stunning pool transformations.
Related Blog Posts
Stay informed on pool care and renovations
Winter pool care essentials for Auckland
Pool Renovation Mistakes

Auckland Climate Pool Maintenance
Choosing Renovation Contractor
Pool Care Auckland Summer
Permits & Consents

Pool Renovation ROI
How Often to Test Pool Water
Pool Renovation Costs
Cost of Pool Service Auckland
Pool Renovation Planning Guide
Pool Lighting Buying Guide
Pool Cleaner Buying Guide
Pool Automation Buying Guide
Pool Heater Buying Guide
Pool Filter Buying Guide
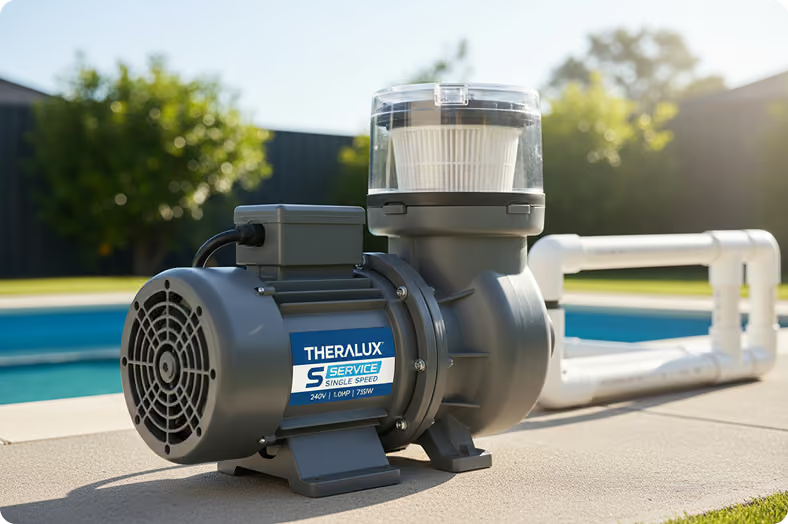
Pool Pump Buying Guide
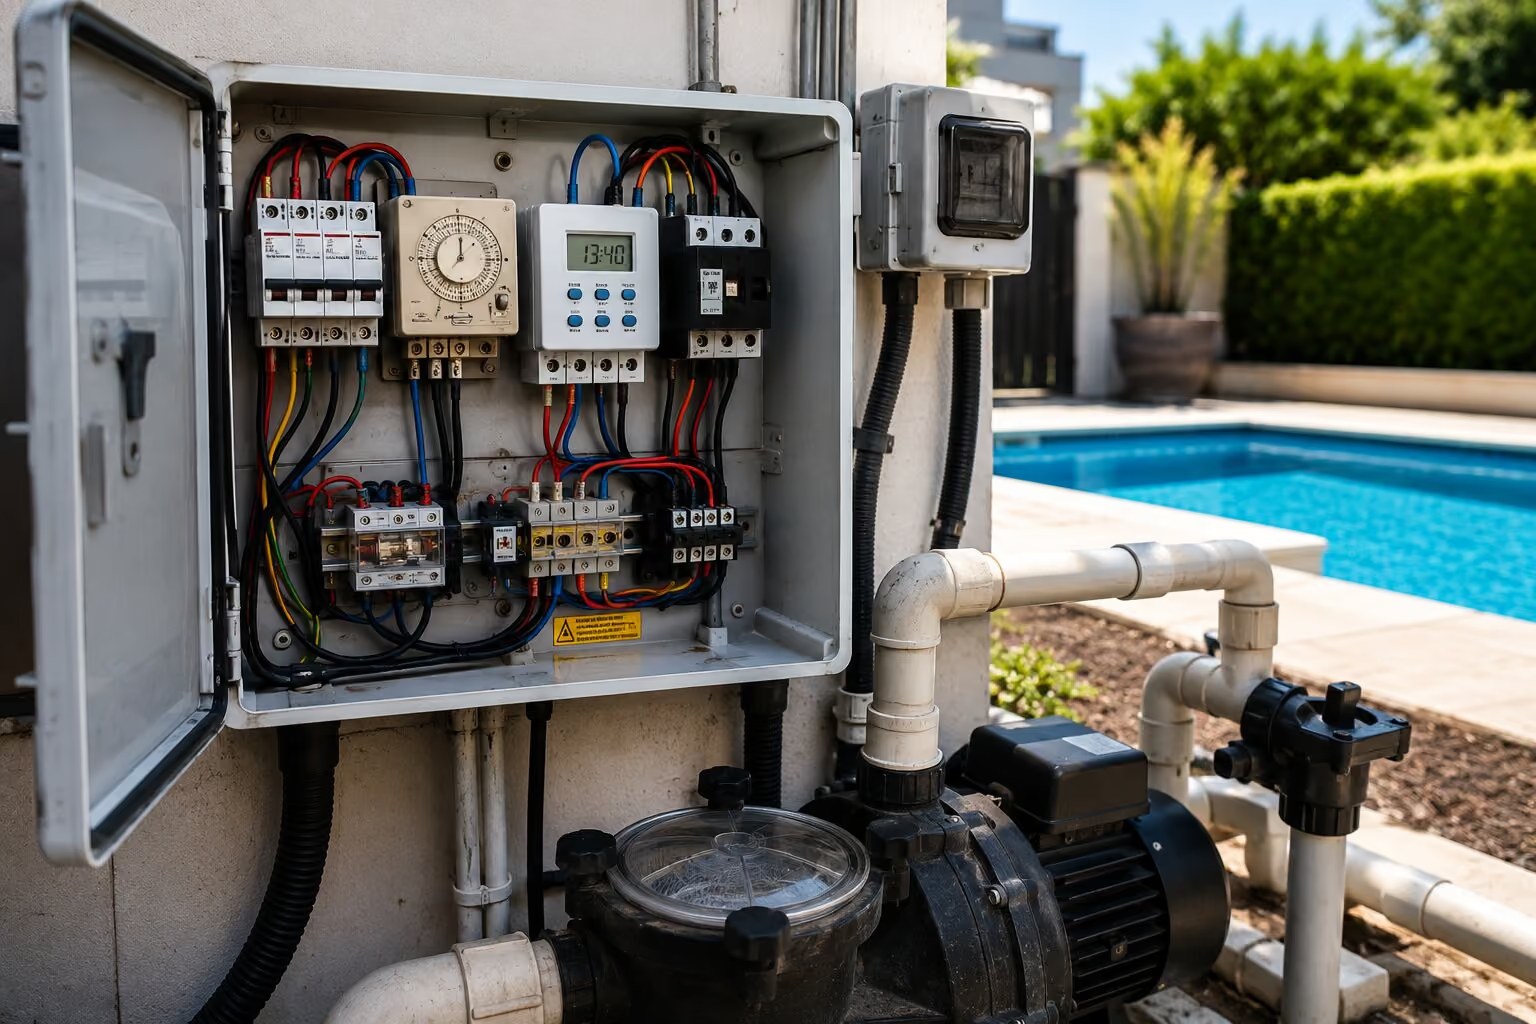
Best Equipment Auckland Climate
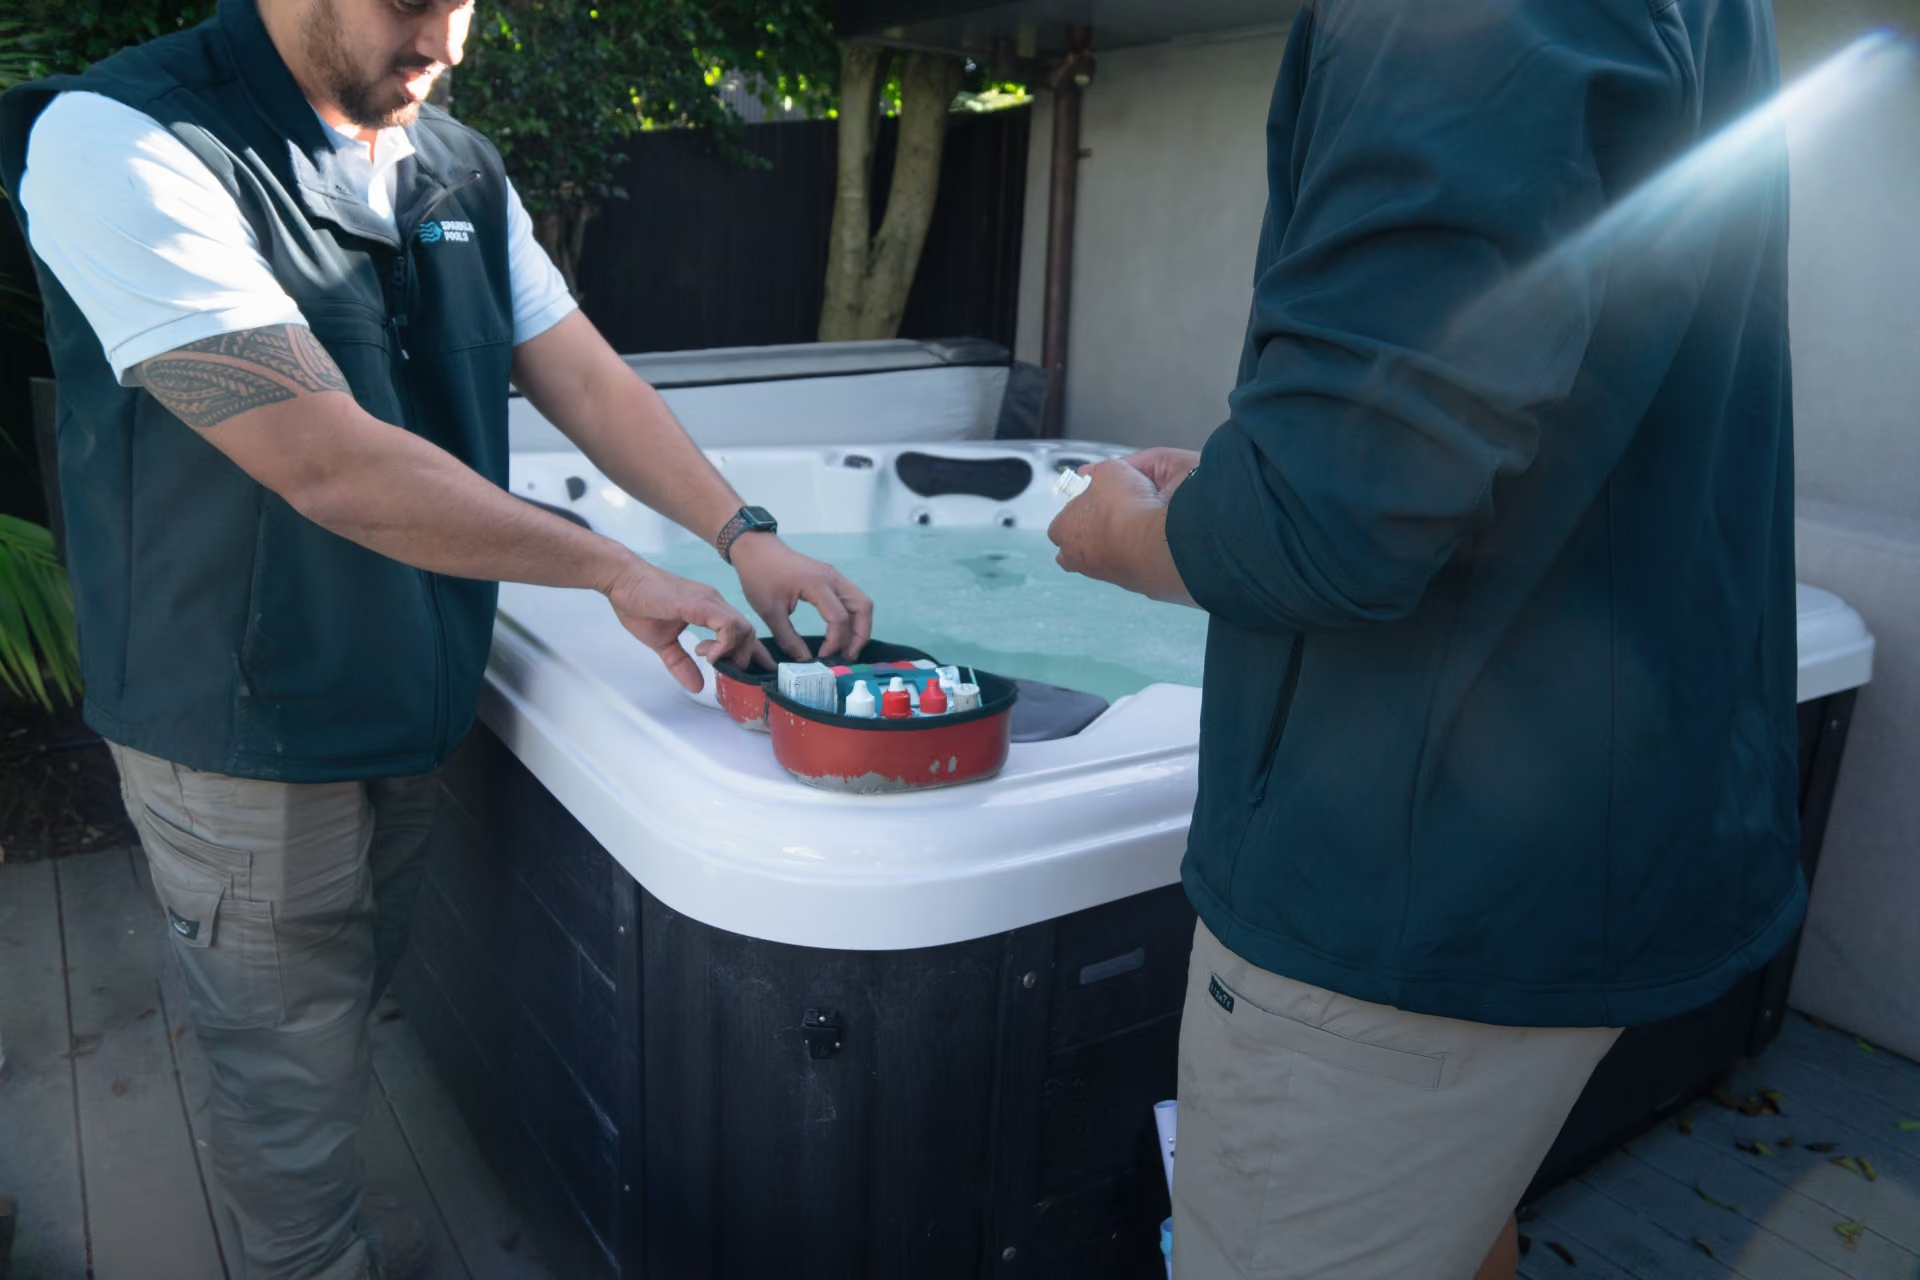
Auckland Water Quality
Auckland Pool Season
Pool Ownership Costs
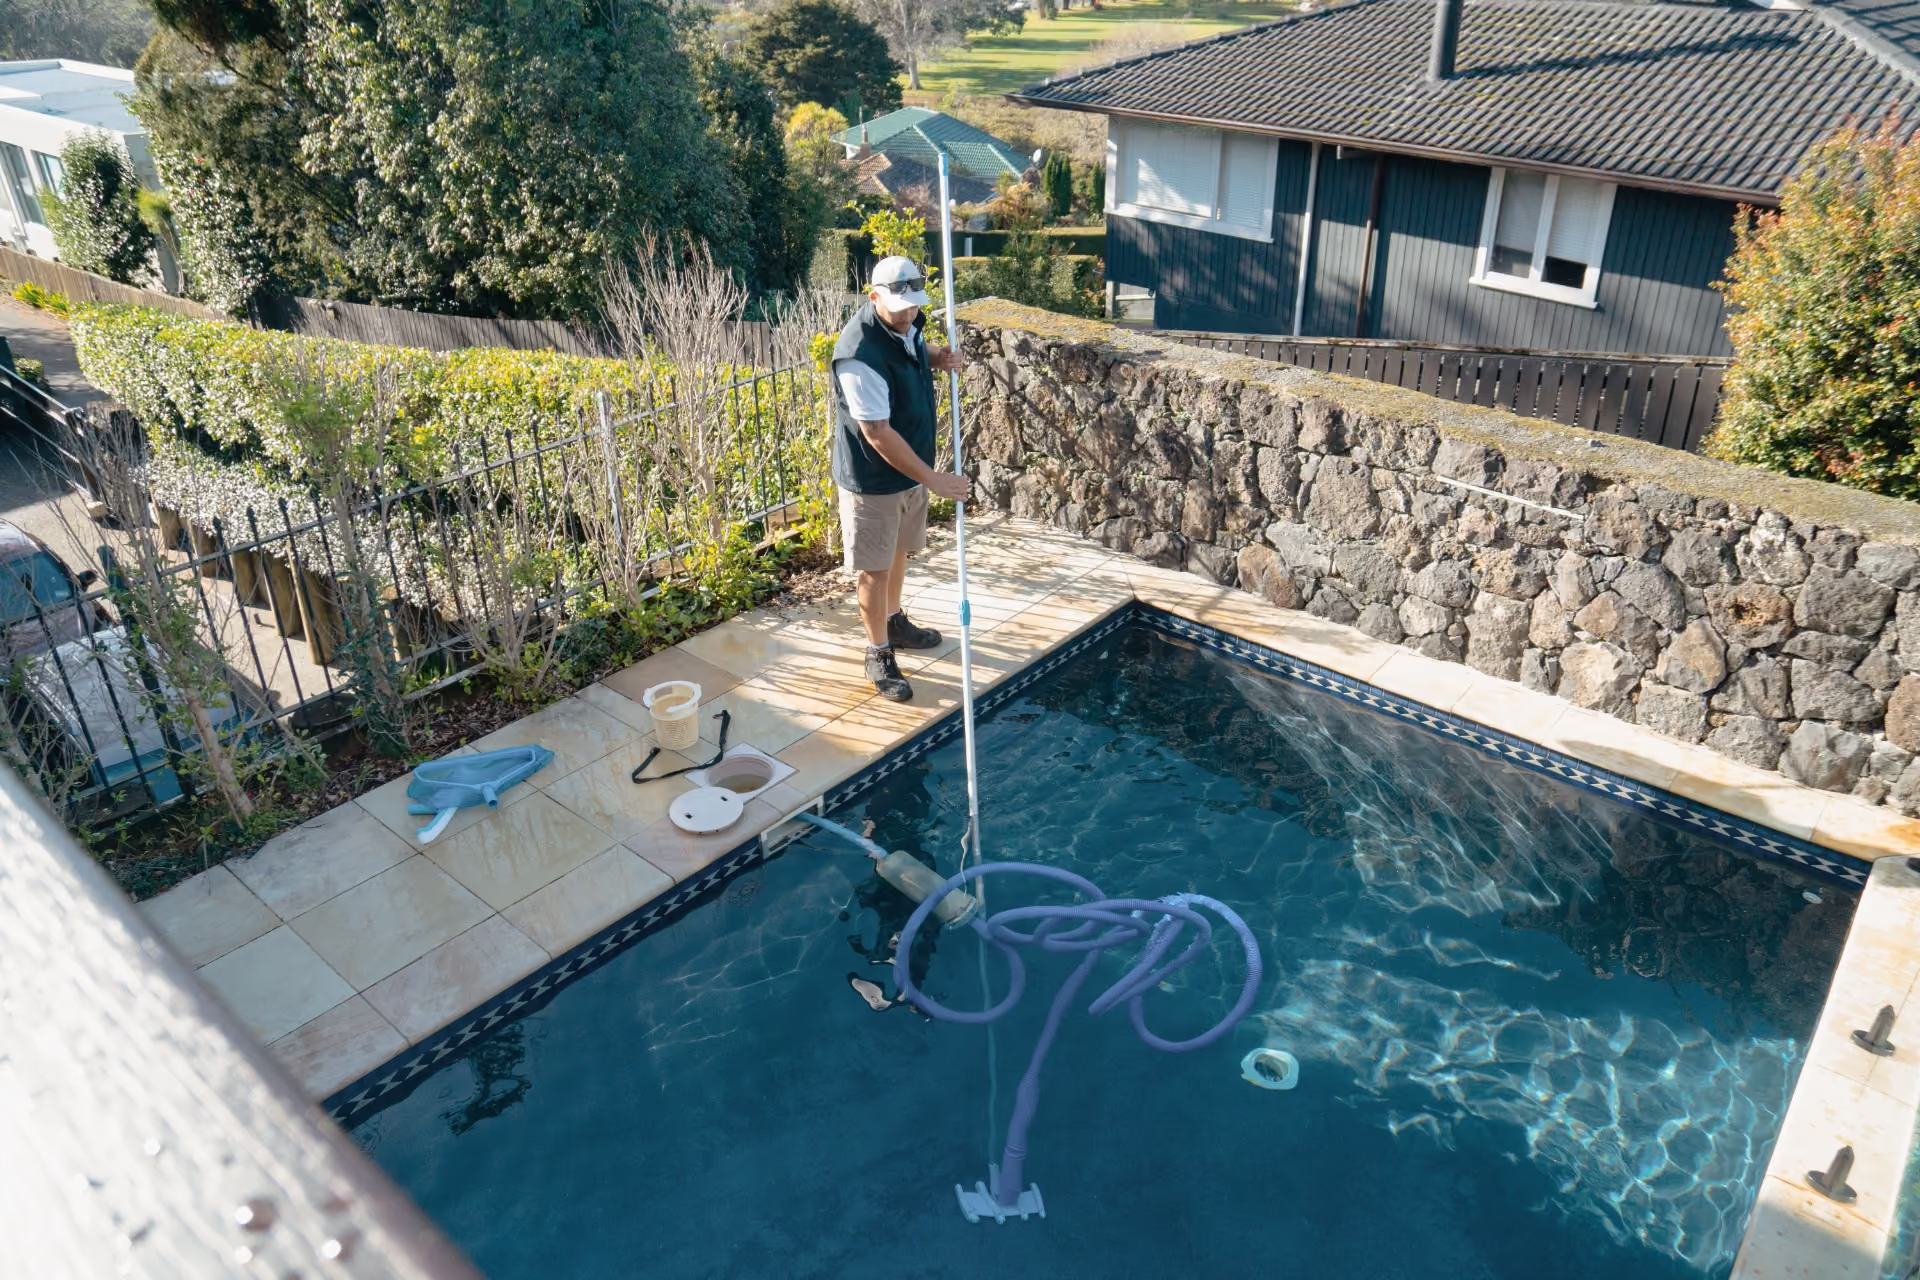
Common Pool Mistakes
Pool Safety Laws
Pool Inspection Requirements
Pool Fence Compliance
.avif)
Auckland Pool Industry Trends
Auckland Pool Regulations
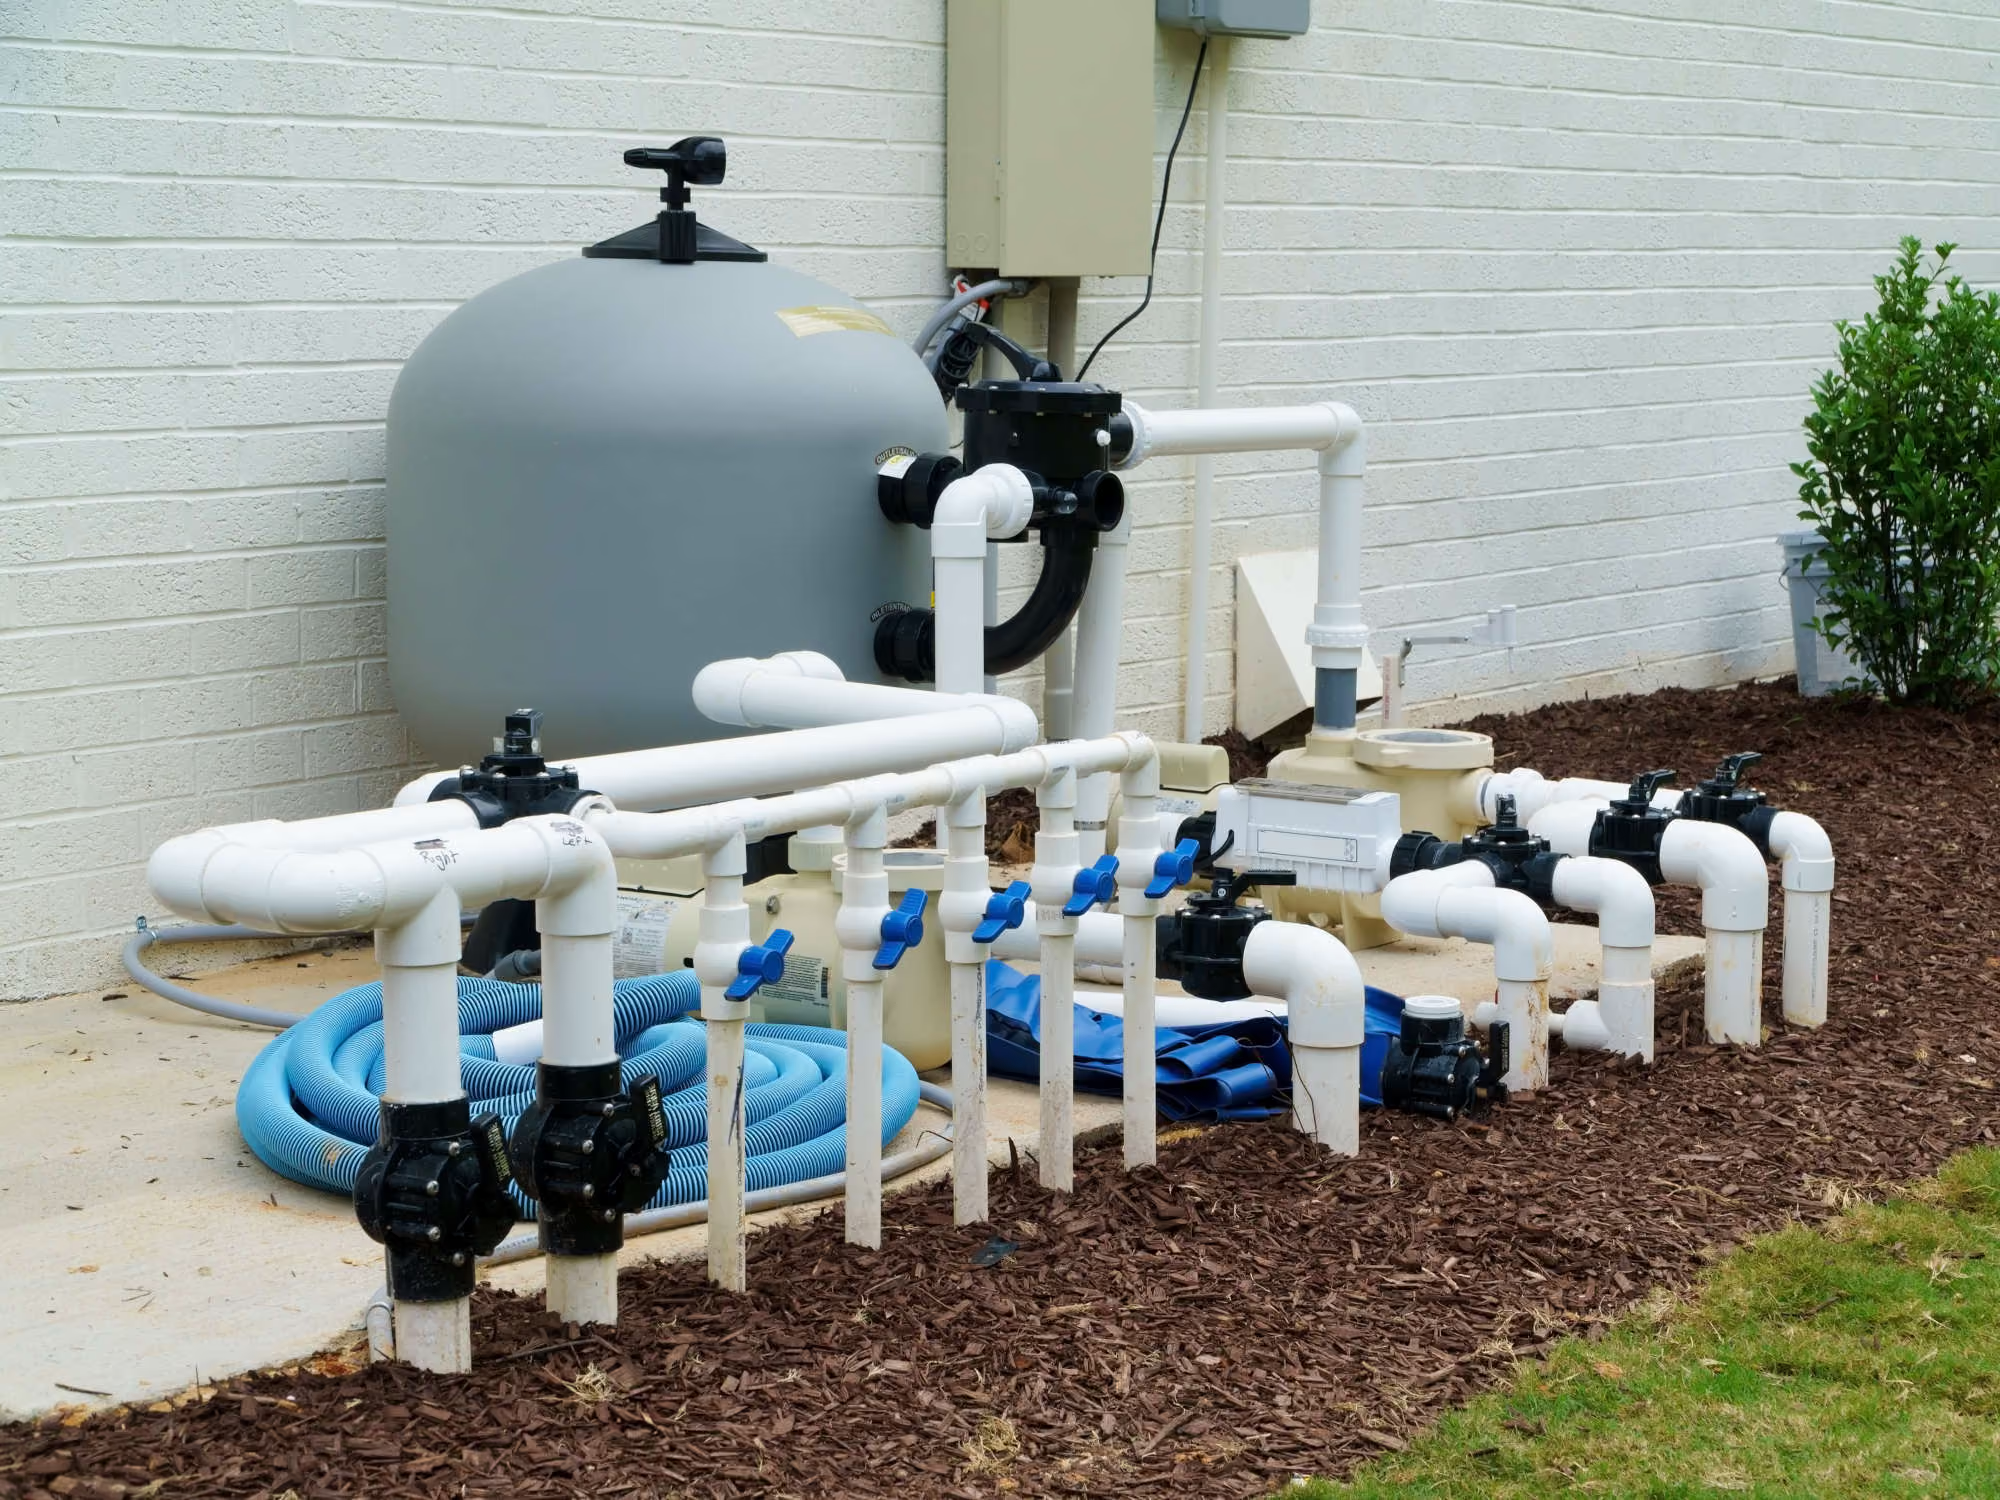
Pool Equipment Suppliers
Best Pool Service Areas
Pool Service Pricing Analysis
Company vs Independent
Best Pool Surface Materials
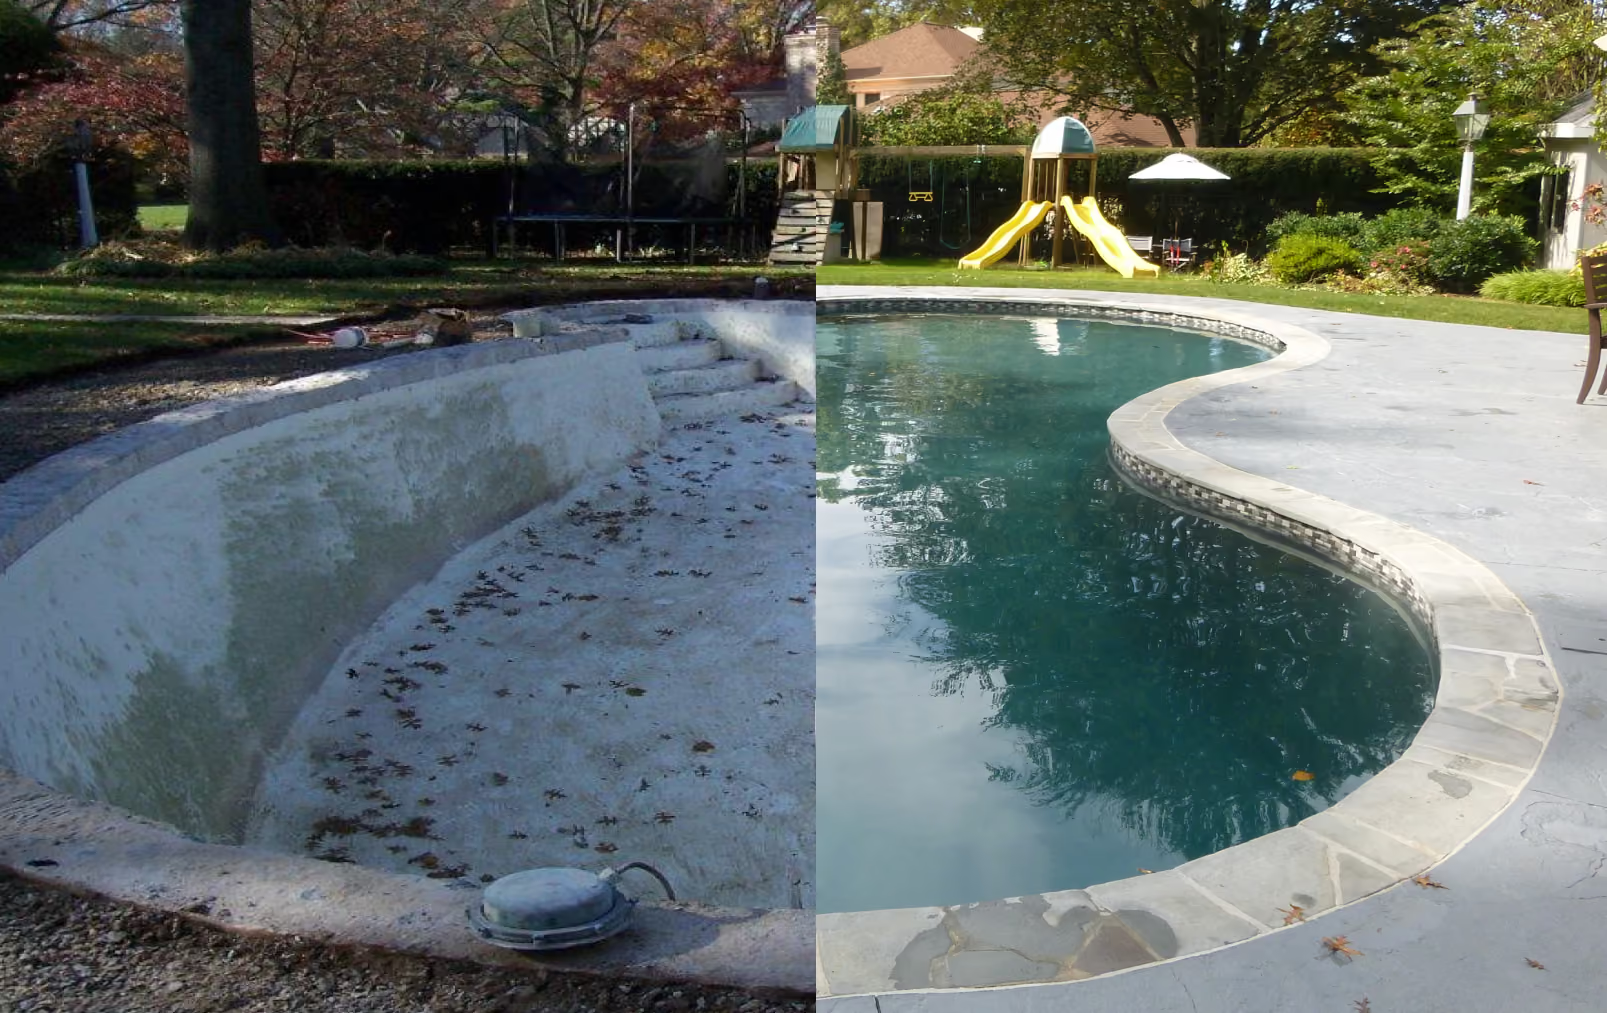
Pool Resurfacing Options
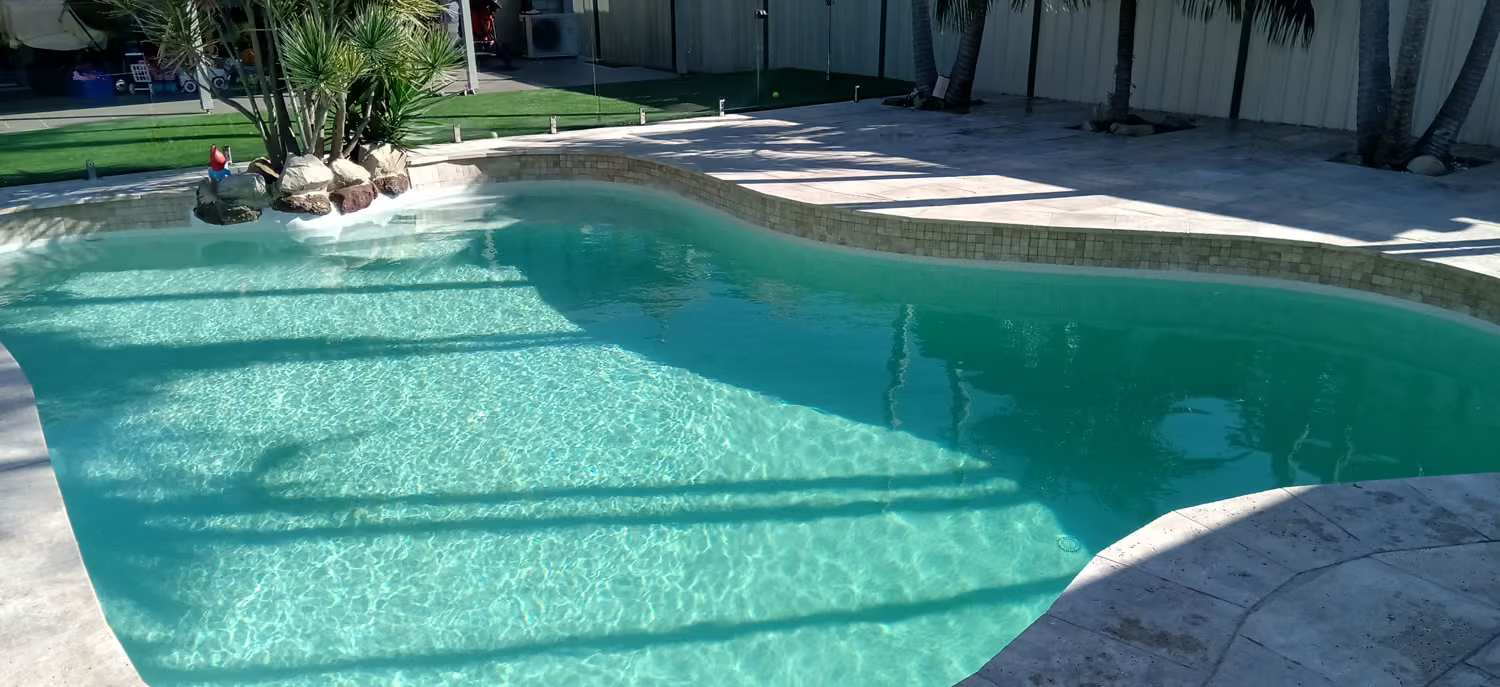
Pebble vs Plaster Surfaces
One-Time vs Ongoing Service
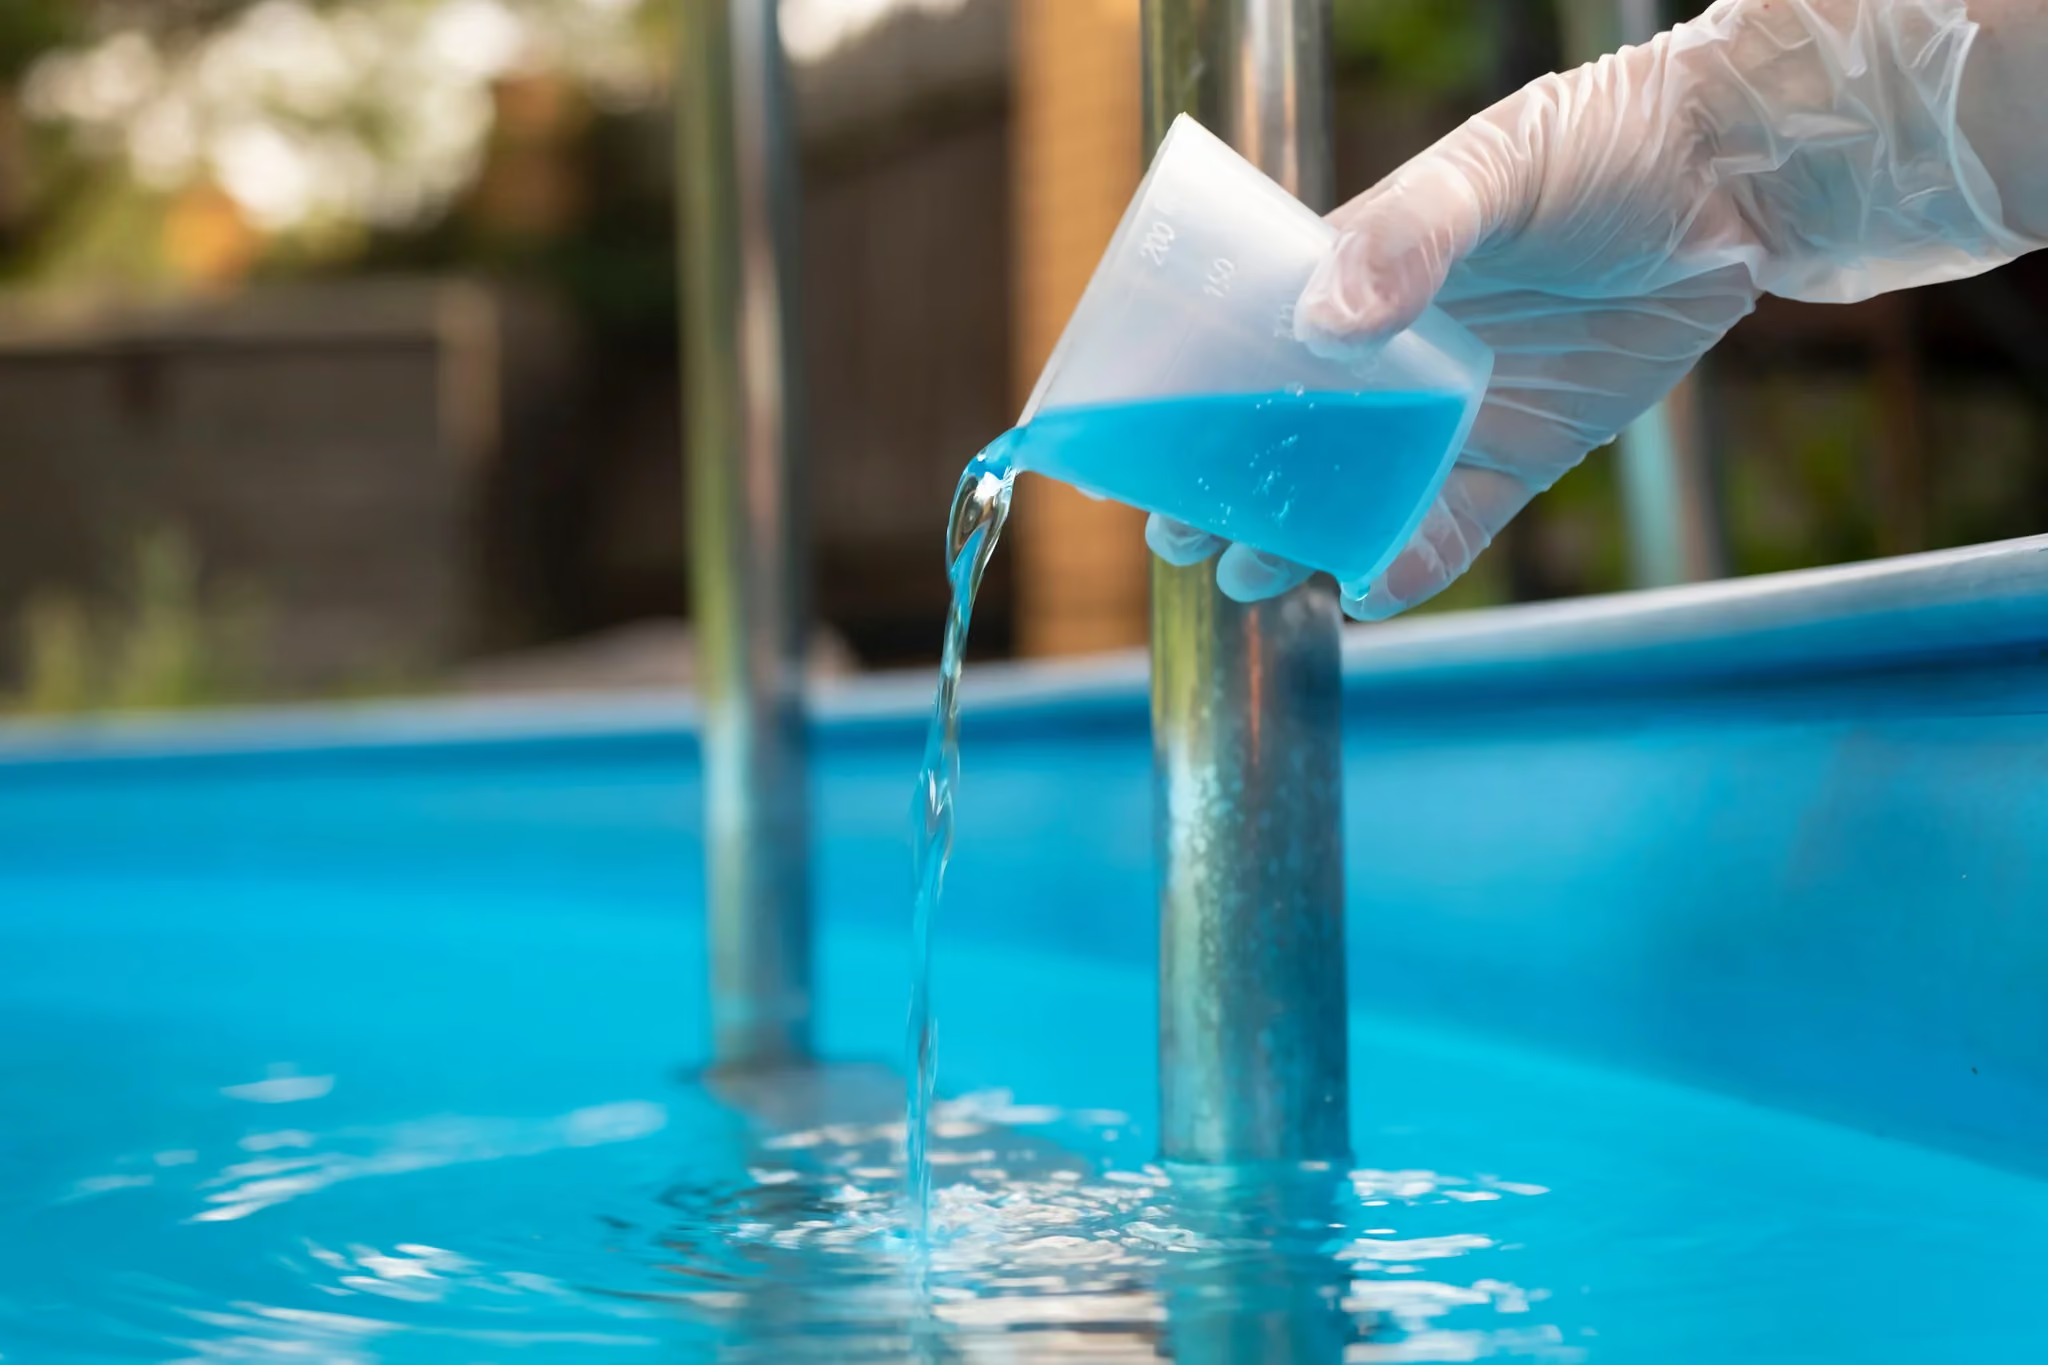
Full Service vs Chemicals Only
Pool Cover Types
Robotic vs Suction Cleaners
Mineral vs Saltwater
Gas vs Heat Pump
Pool Heater Types
Pool Winterizing Guide Auckland
Pool Opening Guide Summer
Pool Maintenance After Heavy Rain
Pool Maintenance Schedule
How Often to Run Pool Filter
Pool Pump Maintenance Schedule
Pool Filter Cartridge Cleaning
Pool Equipment Maintenance Checklist
Pool Waterline Cleaning
Pool Skimmer Basket Cleaning
Pool Chlorine Levels
How Often Clean Pool Filter
How to Vacuum Pool
Pool Brushing Technique
Pool Chemical Dosing Chart
Pool Water Chemistry Basics
How to Balance Pool Chemistry
How to Test Pool Water
Pool Maintenance Tips
Complete Pool Maintenance Guide
Pool Service ROI
Pool Equipment Buy or Service
Pool Maintenance Time Requirements
DIY vs Professional
Pool Service Contract
Pool Service vs Pool Valet
Is Pool Service Worth It
Pool Service Guarantees
Pool Service Reviews
Pool Service Red Flags
Questions to Ask Pool Companies
How to Choose Pool Service Company
Hidden Costs DIY Maintenance
Pool Cleaning Prices Auckland
Cost of Pool Resurfacing
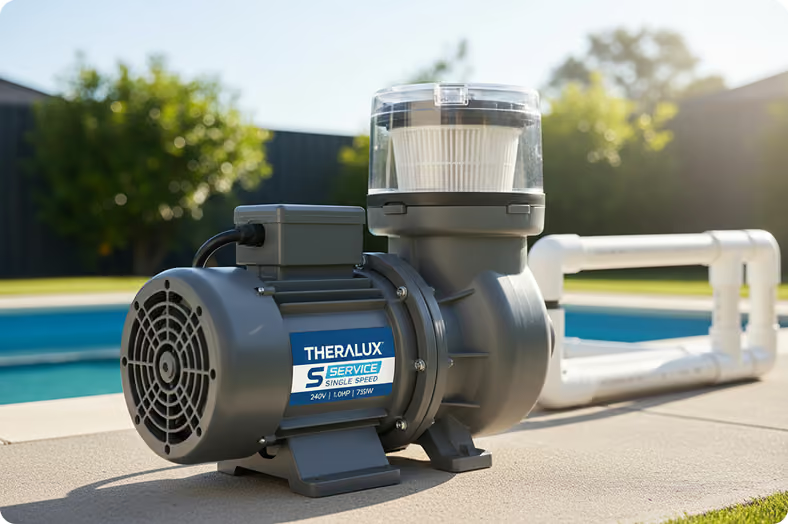
Cost of Pool Pump Replacement
Cost to Fix Green Pool
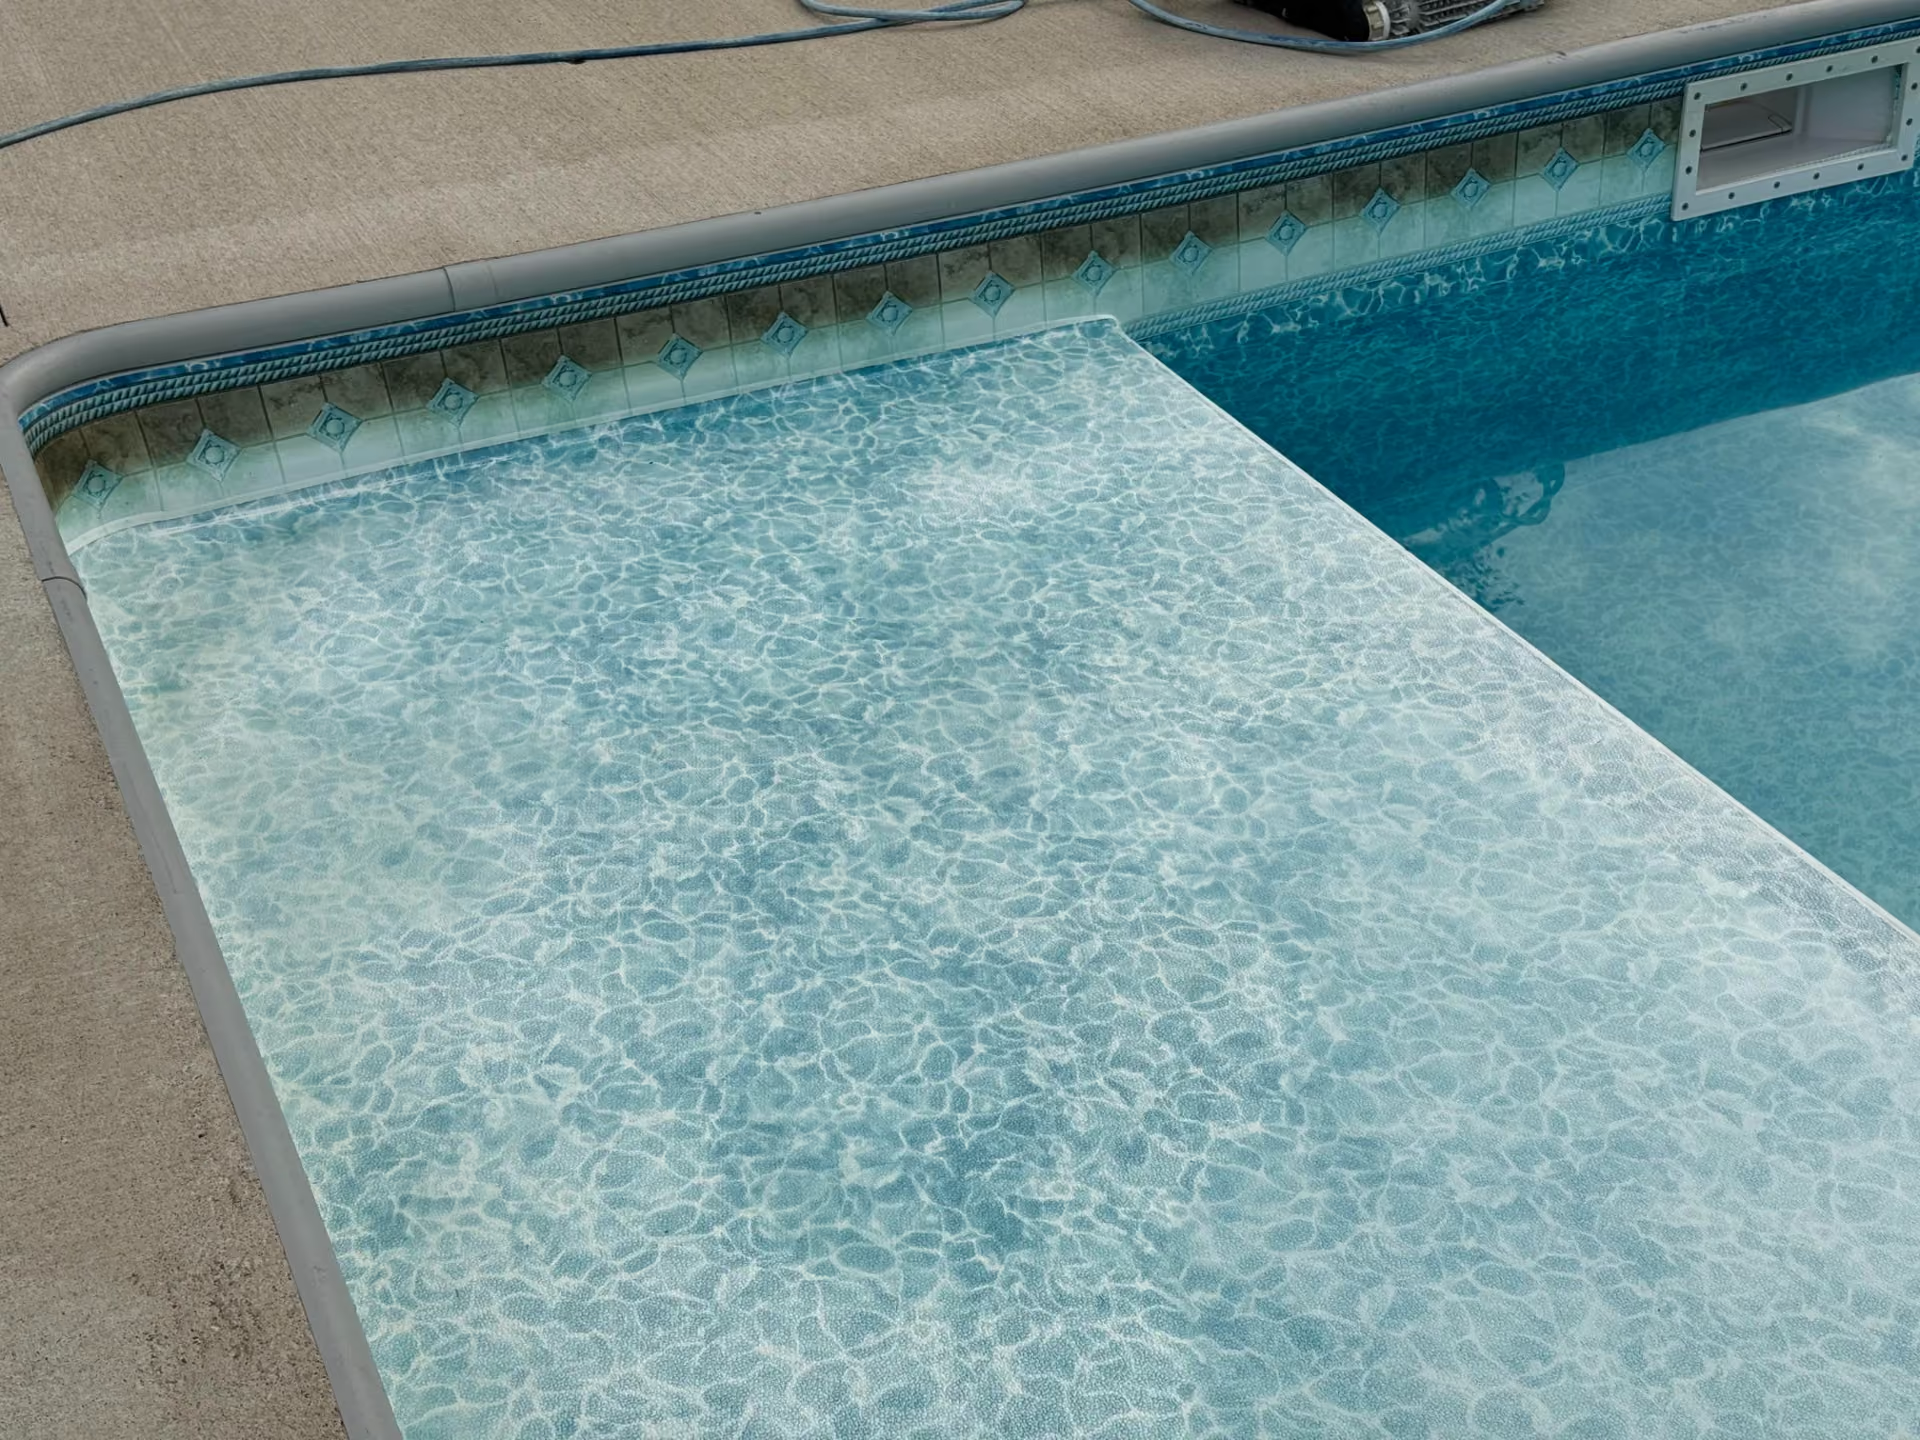
Pool Liner Wrinkles
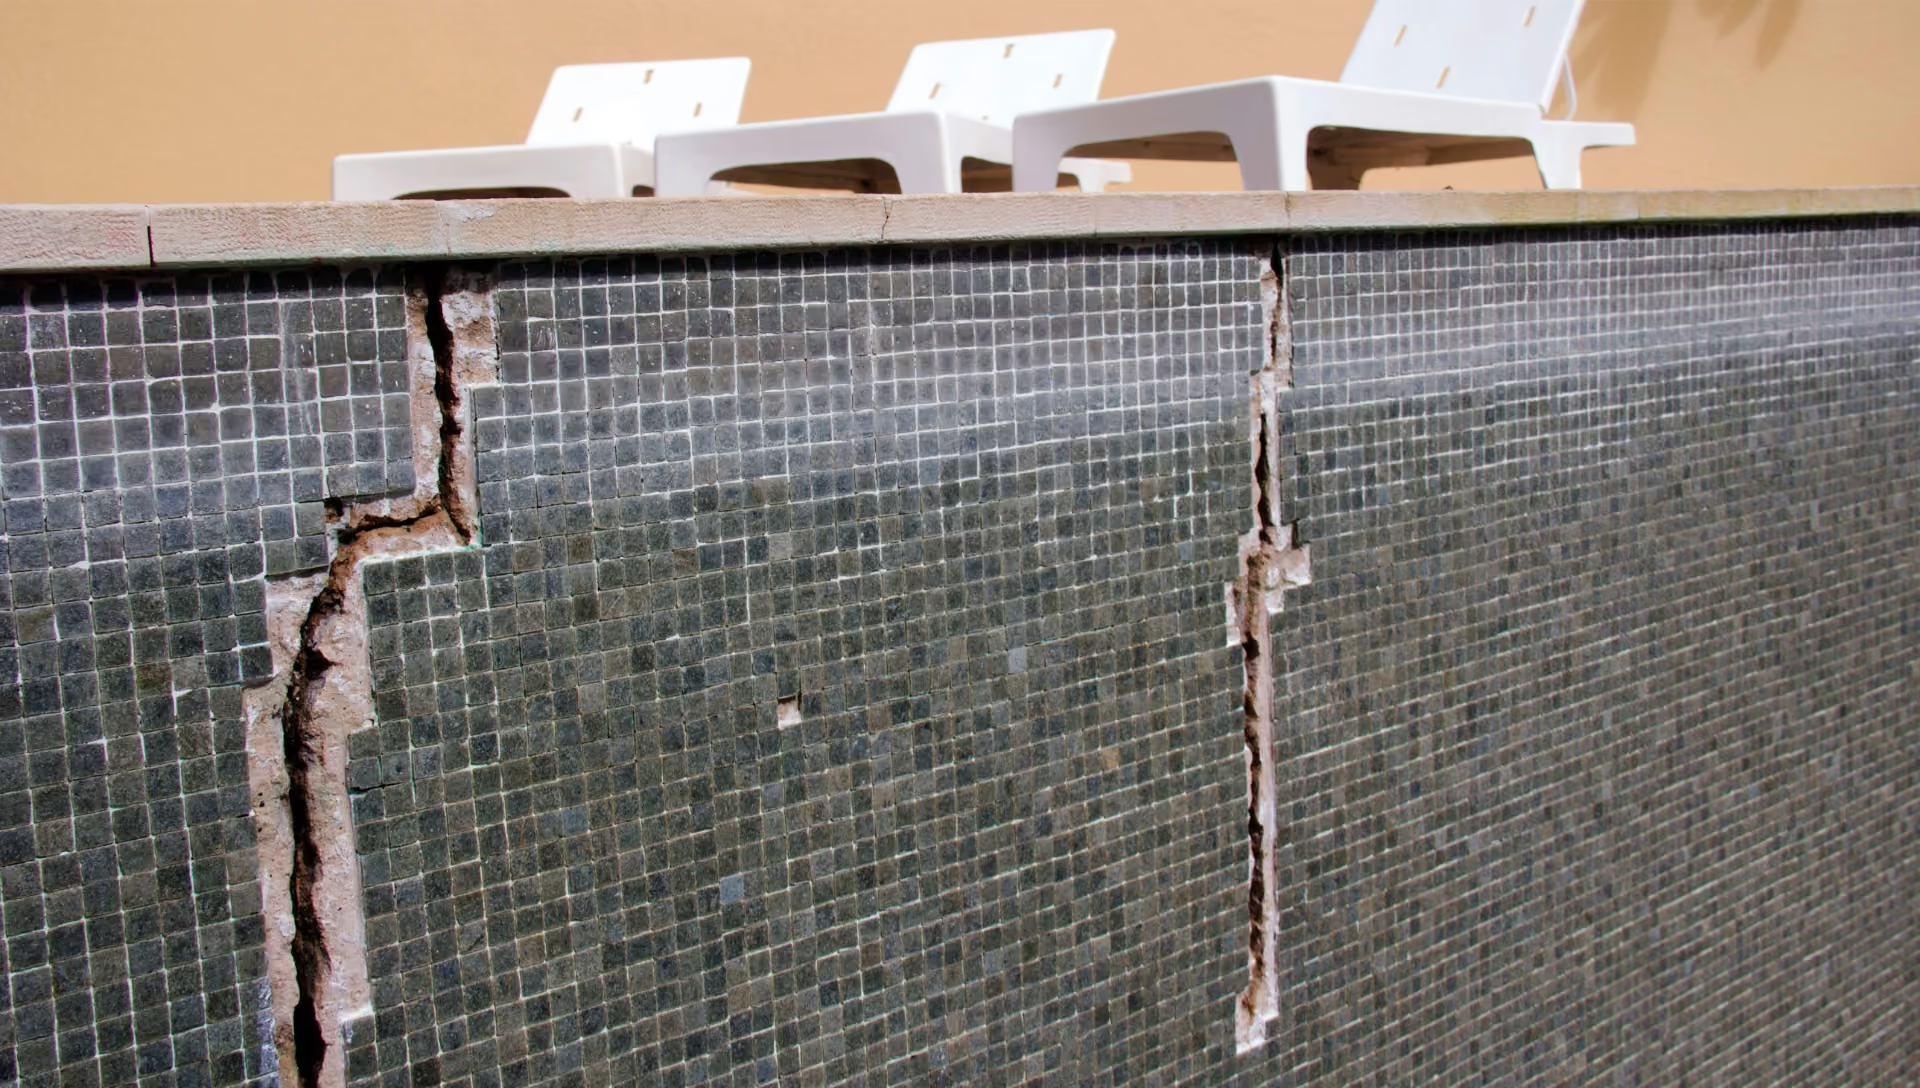
Pool Cracks When to Worry
Pool Surface Stains
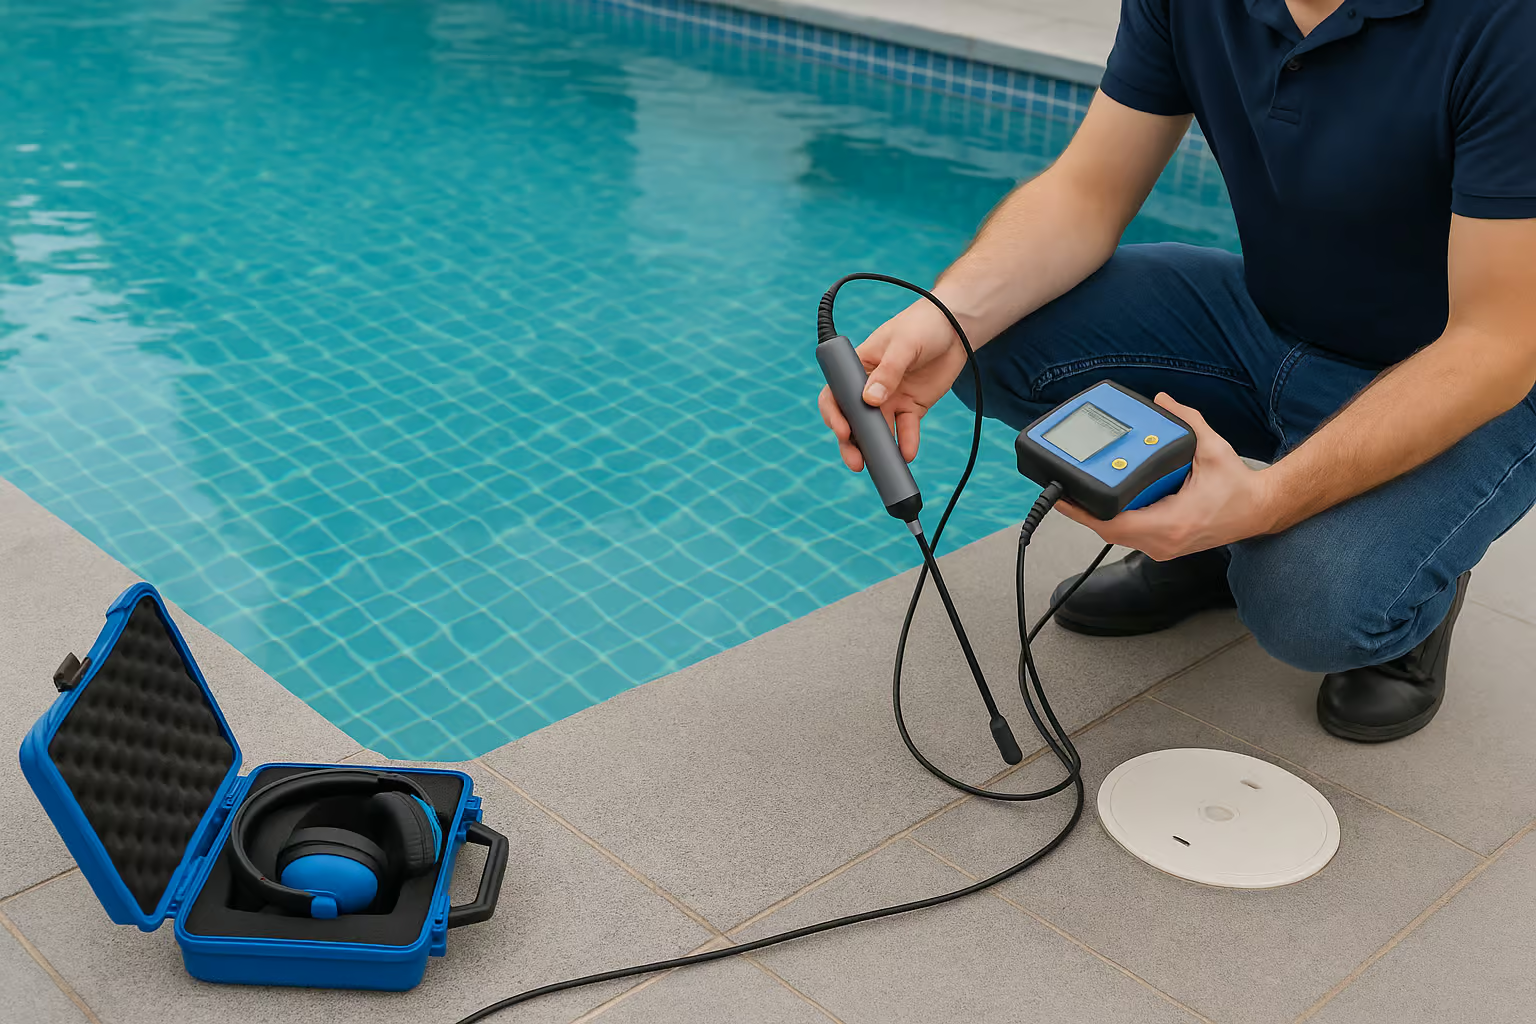
Pool Valve Leaking
Pool Automation Not Working
Pool Light Not Working
Pool Heater Not Heating
Pool Skimmer Not Working
High Pool Filter Pressure
Pool Losing Water
Pool Filter Not Clearing Water
Pool Pump Leaking
Pool Pump Not Pumping
Pool Pump Losing Prime
Pool Pump Noisy
Pool Pump Not Working
Pool Water Foaming
Pool pH Too Low
Pool pH Too High
Green Pool After Rain
Pool Still Green After Shock
Pool Water Cloudy
How to Clear a Green Pool
Pool Care That Protects Your Investment
Good pool care protects more than appearance. Our pool specialists support the long-term condition of your swimming pool while keeping it ready for everyday use.