How to Vacuum Pool

Why Auckland trusts our pool service expertise
Vacuuming your pool regularly keeps the floor and walls clear of dirt, sediment, and debris that filters alone can't remove. Done correctly, it also helps your filter and pump work more efficiently.
These key points cover when to vacuum, how to do it properly, and the mistakes that most commonly reduce results.
What you'll learn
When Do You Need to Vacuum Your Pool?
Regular vacuuming removes dirt, debris, and fine sediment that settles on the pool floor and walls. Skimmers and filters handle a lot, but they can't catch everything, especially the fine particles that sink and sit on the surface.
As a general rule, most residential pools benefit from vacuuming at least once a week during the swimming season. You may need to vacuum more often after:
- Heavy rain or storms, which wash debris and dirt into the pool
- High wind events that blow leaves and dust across the water
- A period of heavy pool use
- Any visible algae growth or cloudiness on the pool floor
In Auckland's climate, pools can pick up debris quickly, particularly in autumn and after summer storms. Staying on top of vacuuming makes the rest of your pool maintenance easier.
---
What You'll Need
Before you start, gather the following equipment:
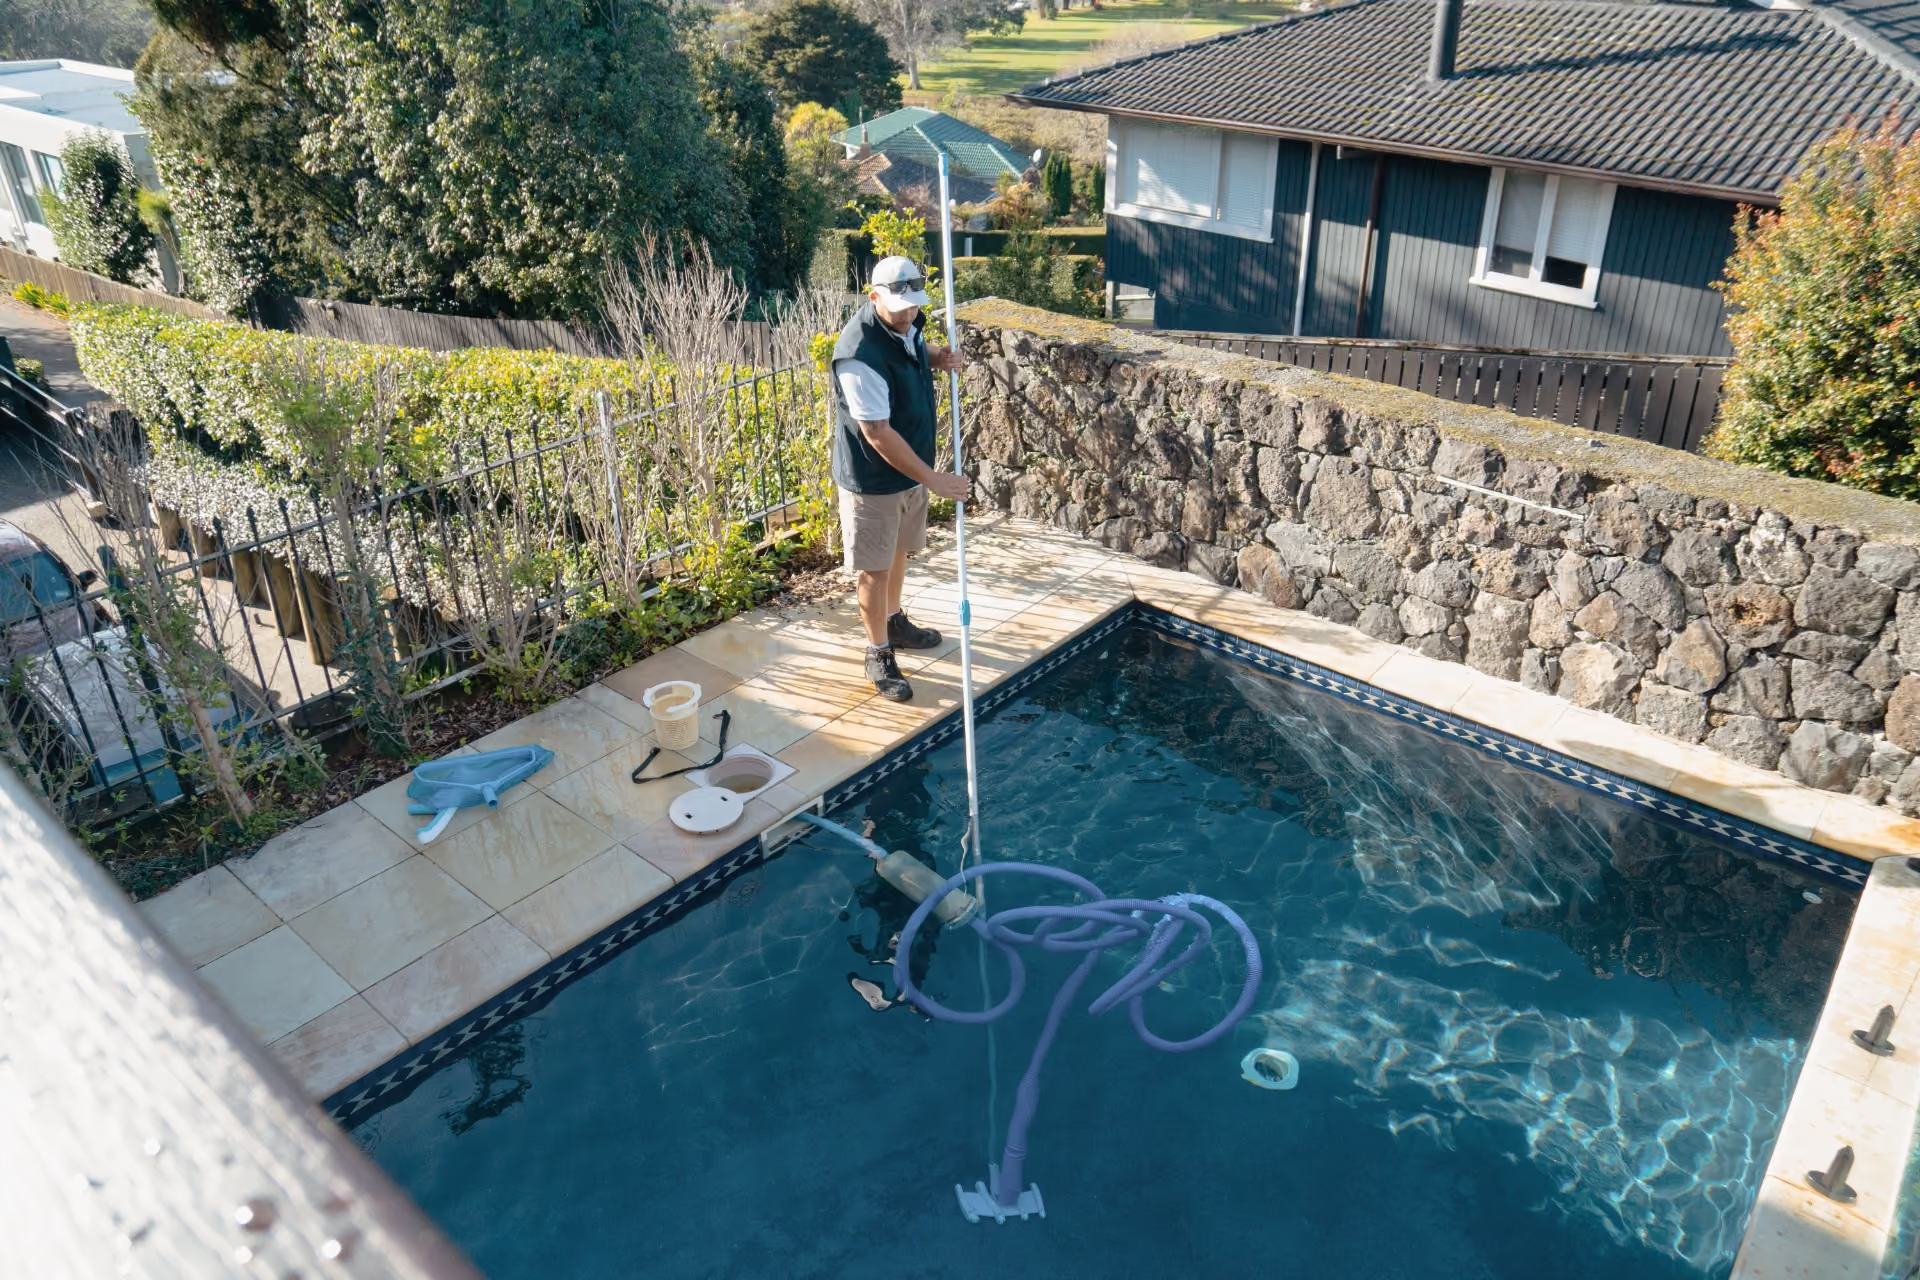
- Vacuum head, attaches to the pole and sits on the pool floor
- Telescopic pole, extends to reach the full length and depth of your pool
- Vacuum hose, connects the vacuum head to the skimmer or dedicated vacuum port
- Skimmer basket, already fitted in your pool; remove and clean it before vacuuming
- Leaf rake or net, useful for clearing large debris before you vacuum
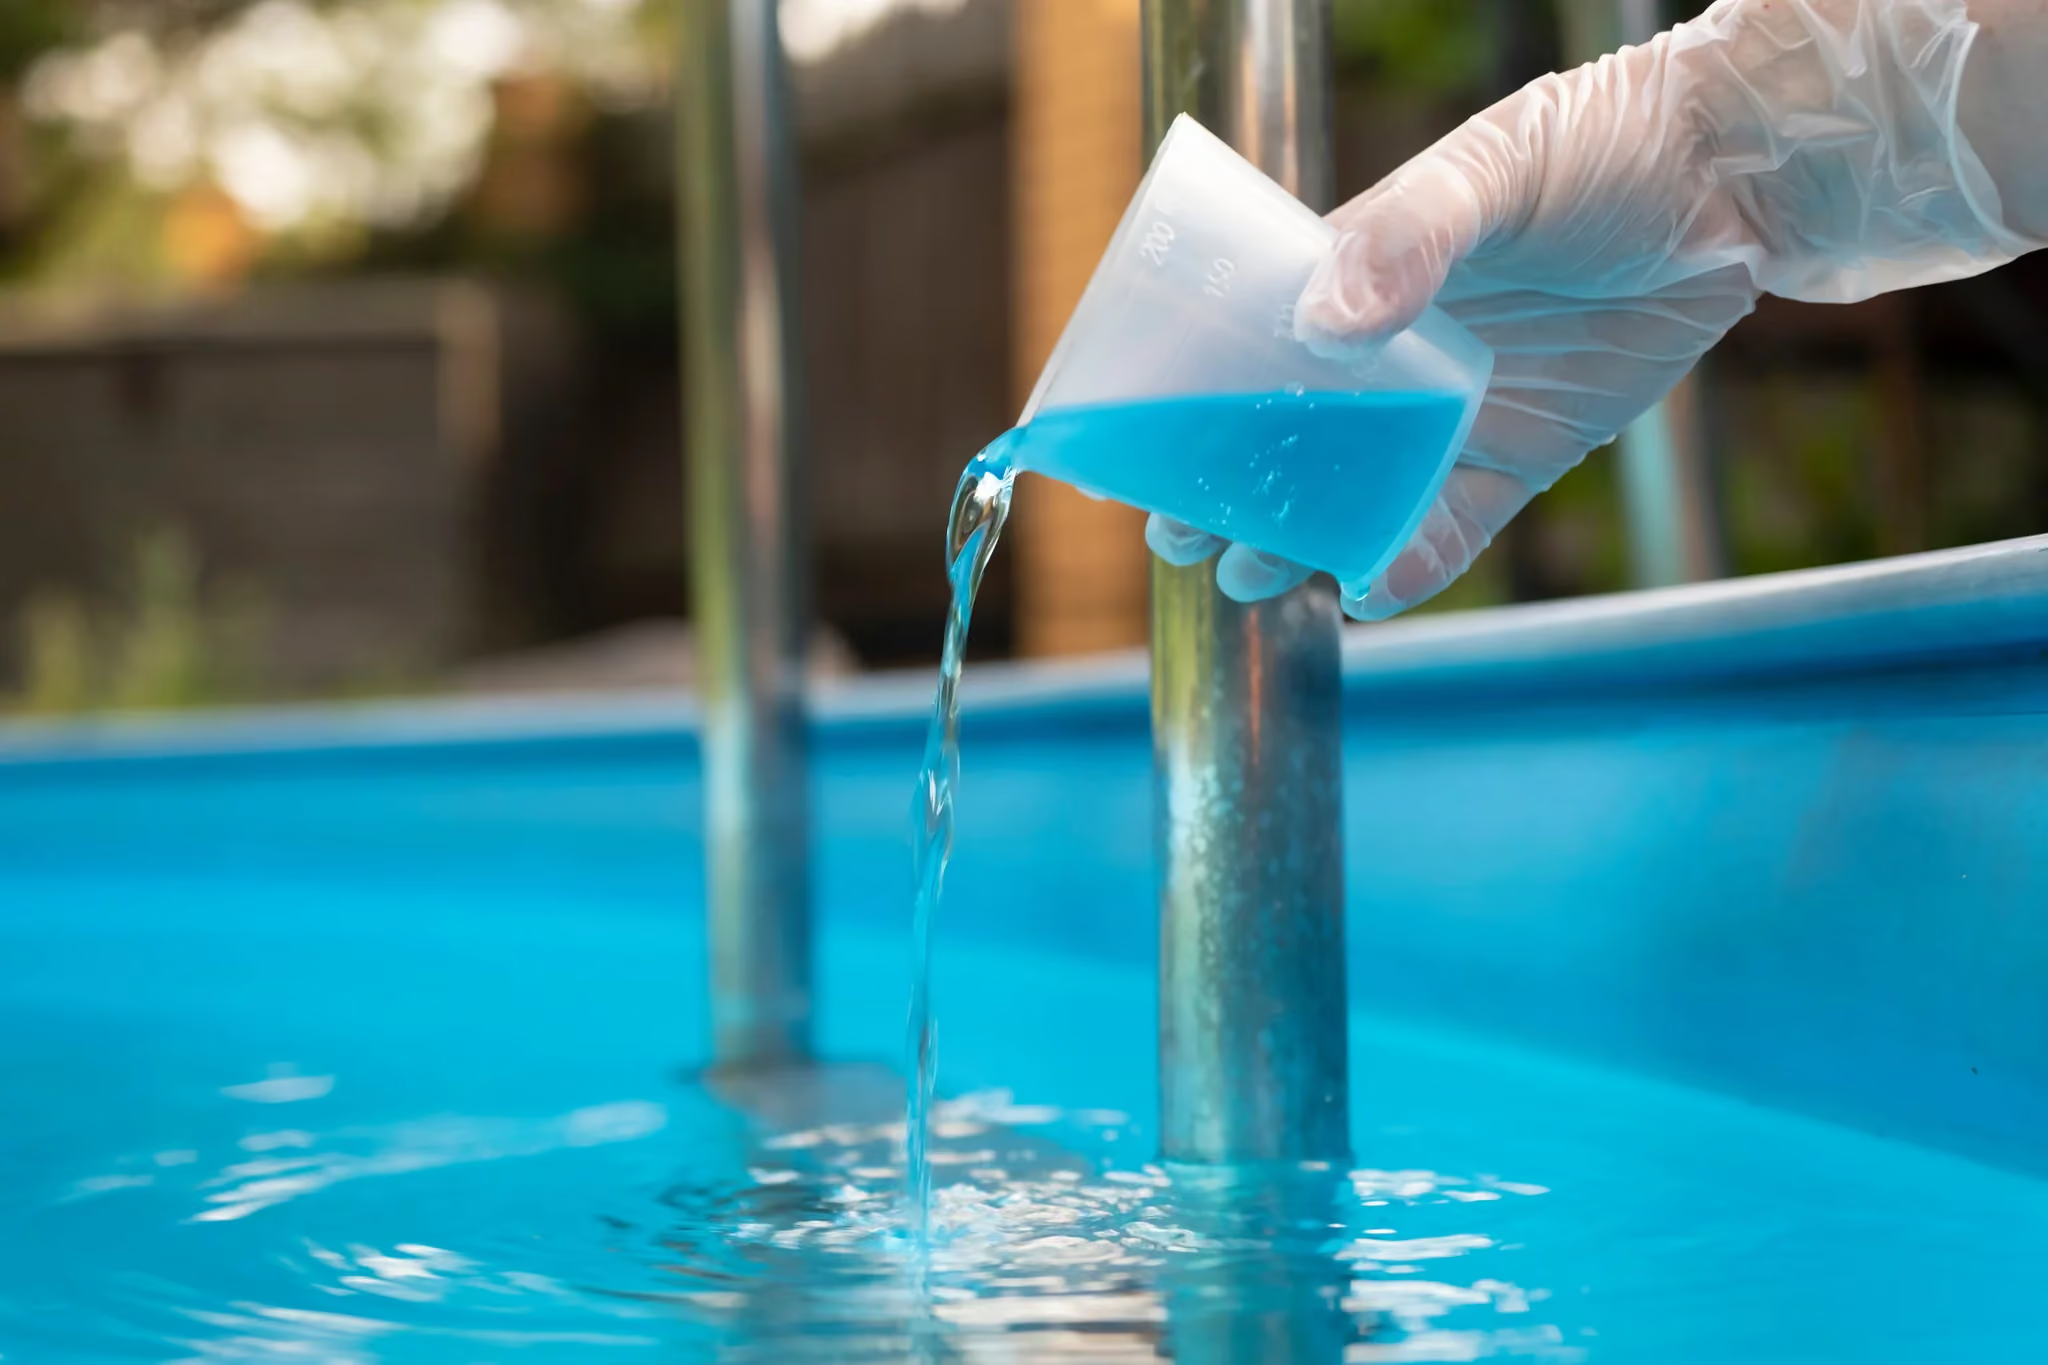
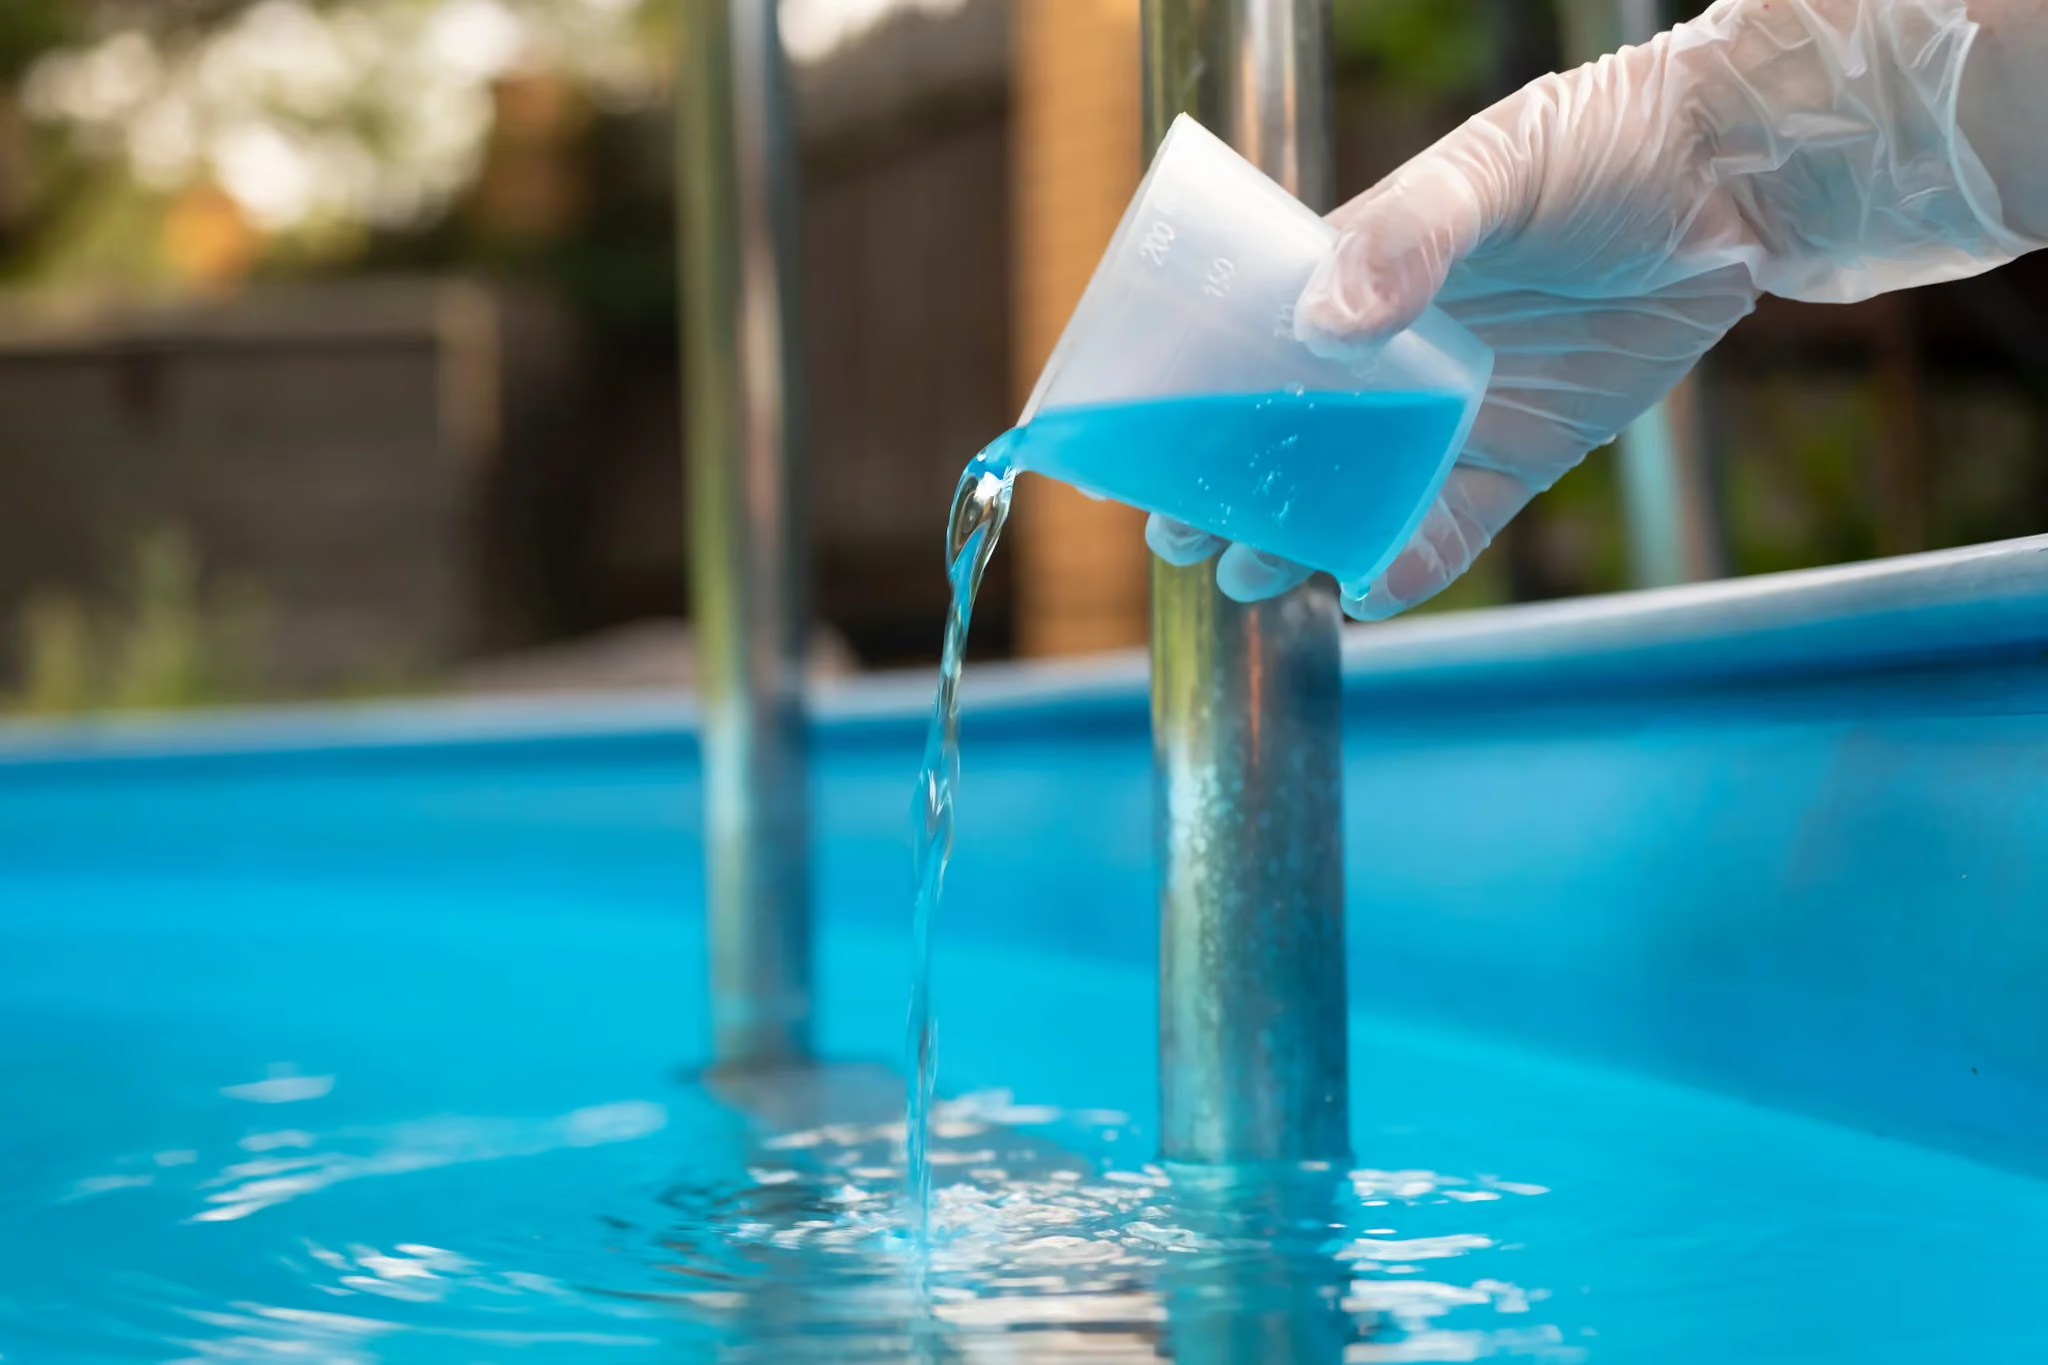
- Water testing kit, good practice to check your water chemistry before and after
Some pools have a dedicated vacuum port on the pool wall. If yours does, you'll connect directly to that rather than through the skimmer. Check your pool's setup before you begin.
---
Step-by-Step: How to Vacuum Your Pool
Step 1, Clear the surface first
Use a leaf rake or skimmer net to remove any floating leaves and large debris. If you vacuum over large debris, it can clog the hose or get drawn into the filter, reducing efficiency.
Step 2, Clean the skimmer basket
Remove the skimmer basket and empty it. A blocked basket restricts water flow and reduces suction. Rinse it out and replace it before connecting your vacuum.
Step 3, Assemble the vacuum
Attach the vacuum head to the telescopic pole. Connect one end of the vacuum hose to the vacuum head. Make sure all connections are firm, loose fittings will let air in and reduce suction.
Step 4, Prime the hose
This step is important. Before connecting the hose to the skimmer or vacuum port, you need to remove the air from the hose. To do this:
1. Hold the free end of the hose over a return jet (the fitting that pushes water back into the pool)
2. Let the water flow through the hose until bubbles stop coming out of the vacuum head end
3. Once the hose is full of water, keep the free end submerged and move it to the skimmer or vacuum port
Skipping this step means air gets into the pump, which can cause it to lose prime and reduce suction significantly.
Step 5, Connect to the skimmer or vacuum port
If connecting through the skimmer, place the vacuum plate (also called a skim-vac plate) over the skimmer basket, then attach the hose to it. This directs suction through the hose rather than the skimmer basket.
If your pool has a dedicated vacuum port, connect the hose directly to it.
Step 6, Check your filter setting
For routine vacuuming, your filter should be set to Filter mode. This passes the vacuumed water through the filter media, trapping debris.
If your pool has a significant amount of fine sediment or algae on the floor, for example, after treating a green pool, you may want to set the filter to Waste mode. This bypasses the filter and sends the dirty water directly out to waste, which prevents the debris from circulating back into the pool. Be aware that vacuuming to waste will lower your water level, so top up the pool afterwards.
Step 7, Vacuum the pool floor and walls
Lower the vacuum head to the pool floor. Move it slowly and steadily across the surface in overlapping straight lines, similar to mowing a lawn. Avoid quick, jerky movements, which stir up debris rather than picking it up.
Work from the shallow end to the deep end, or from one side to the other. The key is to be methodical so you don't miss patches.
Pay extra attention to:
- Corners and steps, where debris tends to collect
- Areas near return jets, where circulation can push sediment
- Any visible staining or algae patches on the walls
Step 8, Disconnect and backwash
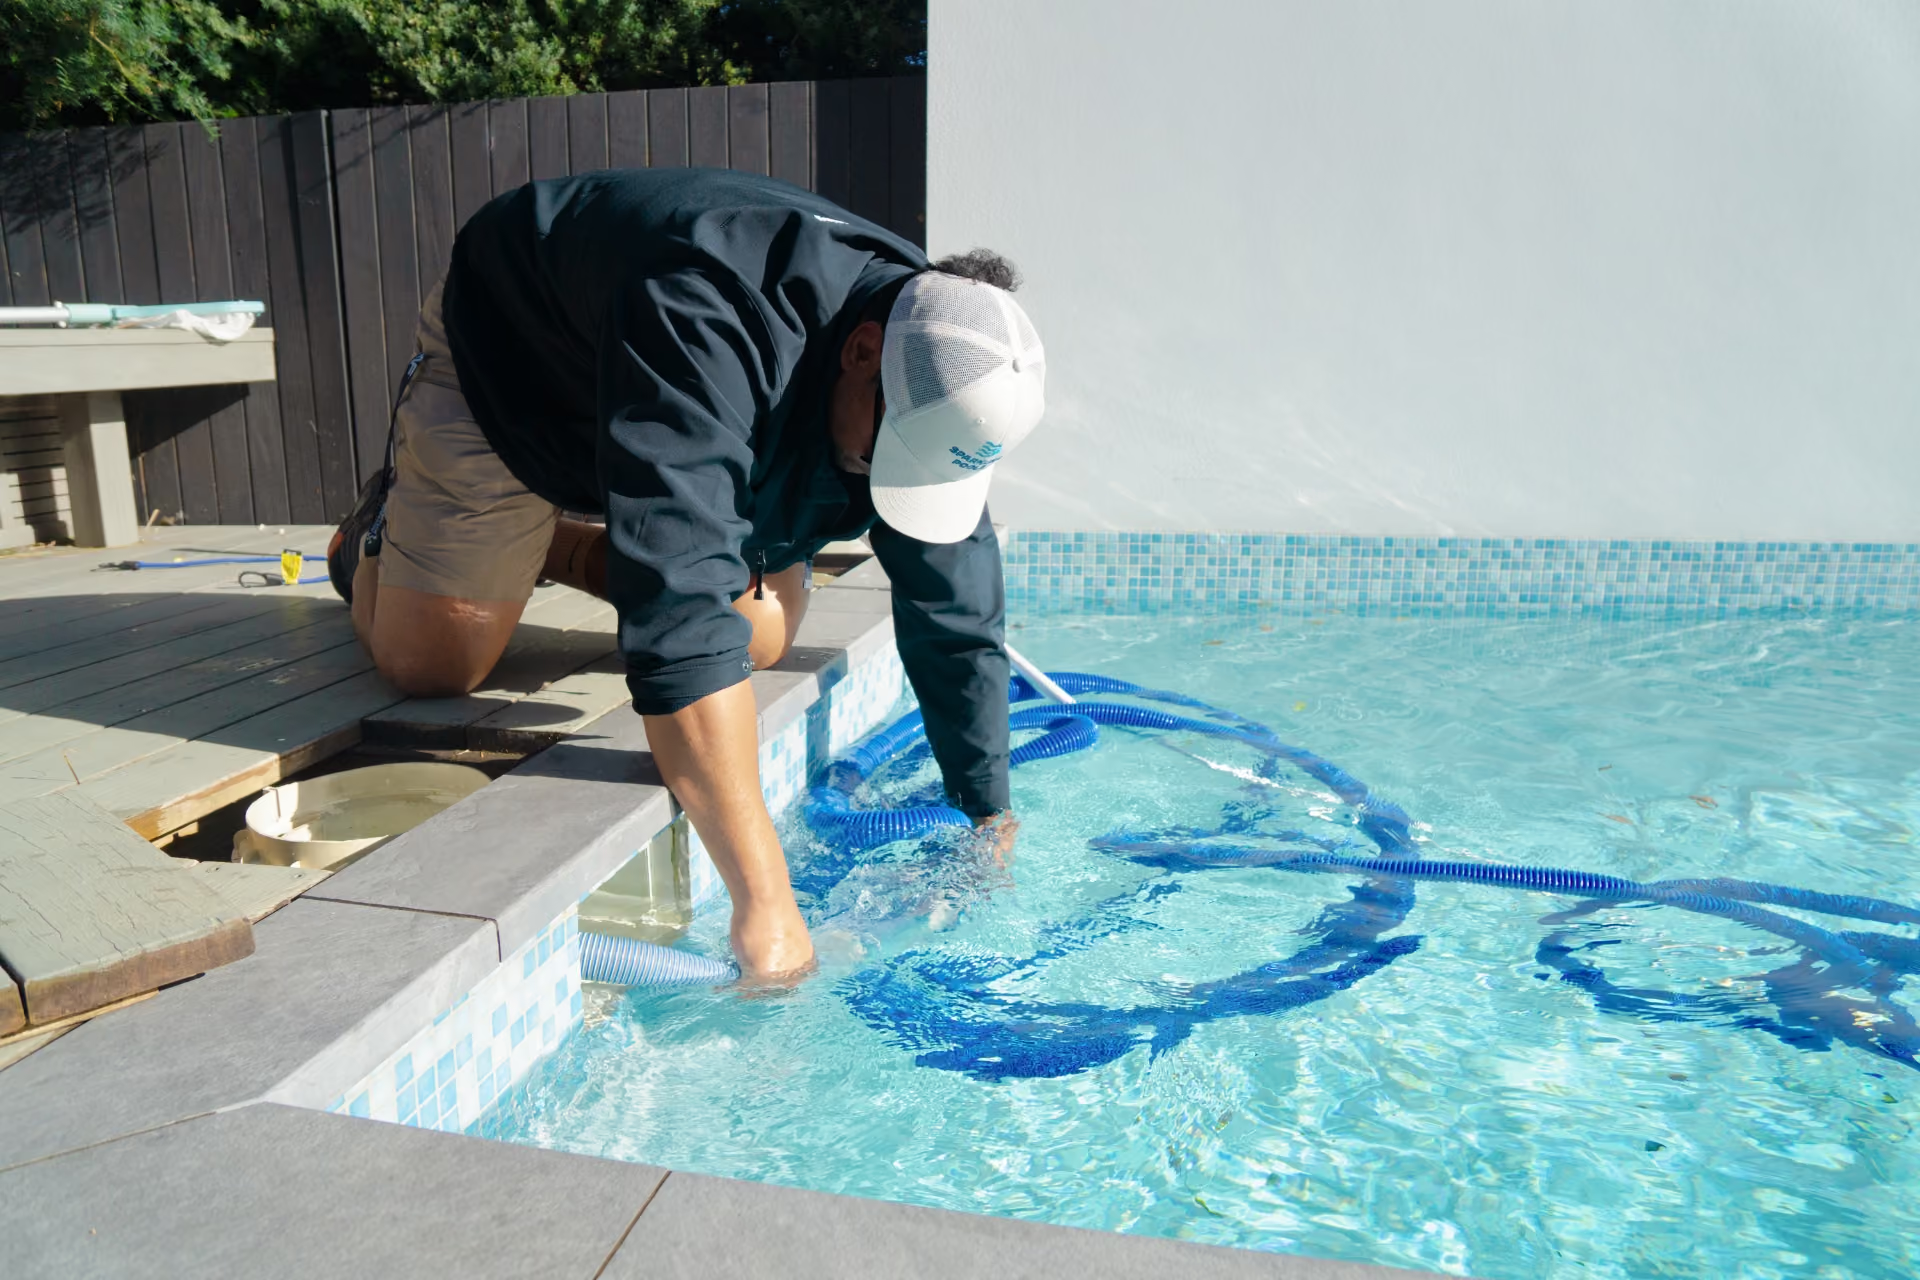
Once you've finished, disconnect the hose from the skimmer or vacuum port. Remove the vacuum head and hose from the pool.
If you have a sand or DE filter, backwash it after vacuuming to flush out the debris you've collected. If you have a cartridge filter, check whether it needs rinsing, a heavy vacuuming session can load up the cartridge quickly.
Step 9, Check and rebalance your water
Vacuuming, especially to waste, can affect your water chemistry. Test your water after vacuuming and adjust as needed. This is particularly important if you've topped up the pool with fresh water.
---
Common Mistakes to Avoid
Moving the vacuum head too quickly
Rushing through the process stirs up fine sediment rather than collecting it. Slow, steady passes give the suction time to work properly.
Skipping the hose-priming step
Air in the hose causes the pump to lose prime and reduces suction. Always prime the hose before connecting it to the skimmer or vacuum port.
Vacuuming over large debris
Leaves and large debris can block the hose or overwhelm the filter. Clear the surface with a net first.
Not cleaning the skimmer basket beforehand
A blocked basket restricts flow. It takes less than a minute to empty, don't skip it.
Forgetting to backwash afterwards
The debris you've vacuumed is now sitting in your filter. Backwashing or rinsing the filter after a vacuuming session keeps it performing well.
Vacuuming algae on Filter mode
If you're dealing with a significant algae problem, vacuuming to Filter mode can push algae spores back through the filter and into the pool. Switch to Waste mode for algae clean-ups, and top up the water level afterwards.
---
When to Get Help
Vacuuming is a straightforward task for most pool owners. However, there are situations where it's worth calling in a professional:
- You're losing suction and can't identify why, this could point to a pump issue, a blocked impeller, or a problem with the filter that needs diagnosis
- The pool floor has heavy algae or sediment that won't clear, a persistent problem may need a full chemical treatment alongside the vacuuming
- Your pump loses prime repeatedly, this is a sign of an underlying equipment issue, not a vacuuming technique problem
- You're unsure about your filter settings, using the wrong setting can make the problem worse, particularly with algae
Sparkling Pools provides on-site pool servicing across Auckland. If your pool isn't responding to regular maintenance, a technician can assess the equipment and water chemistry in person.
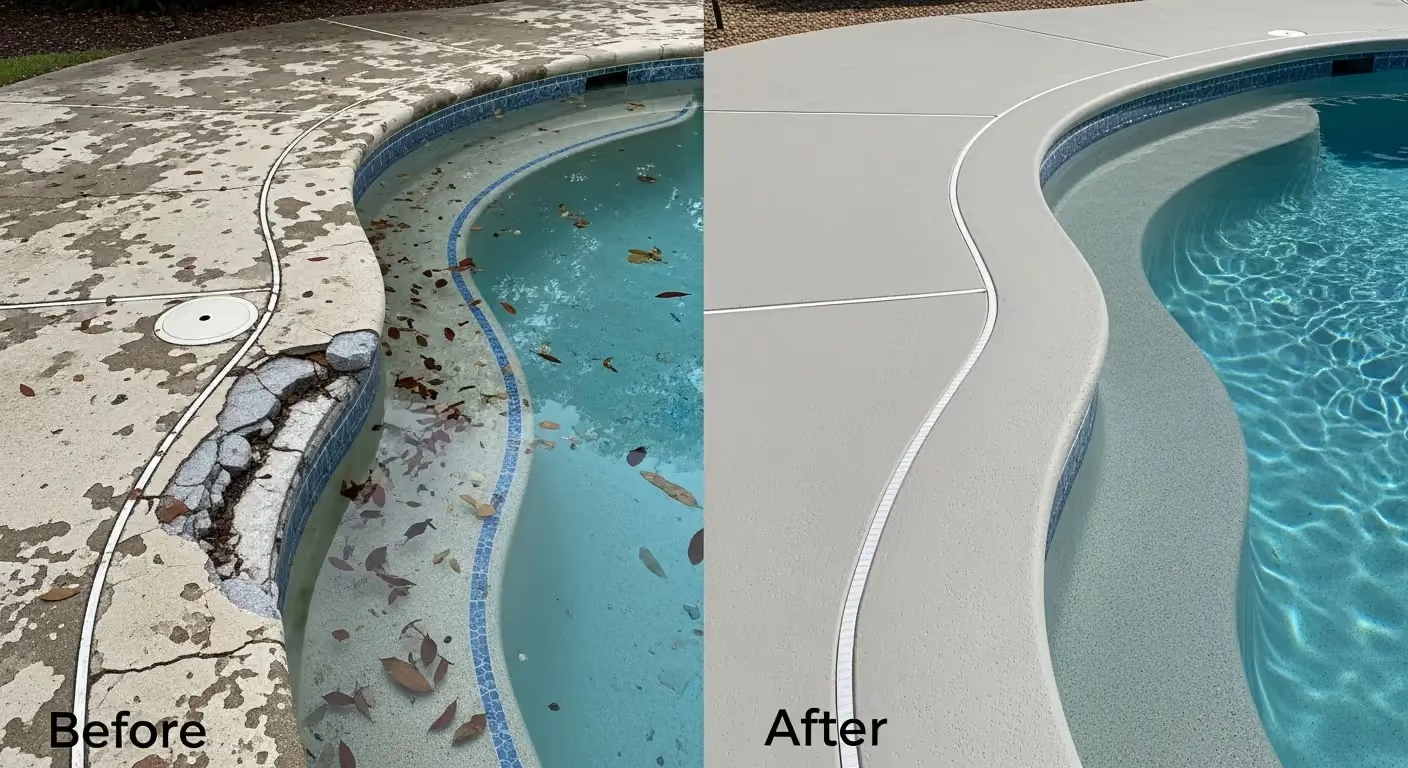
Pool resurfacing solutions
Restore your pool with durable plaster finishes


Work completed
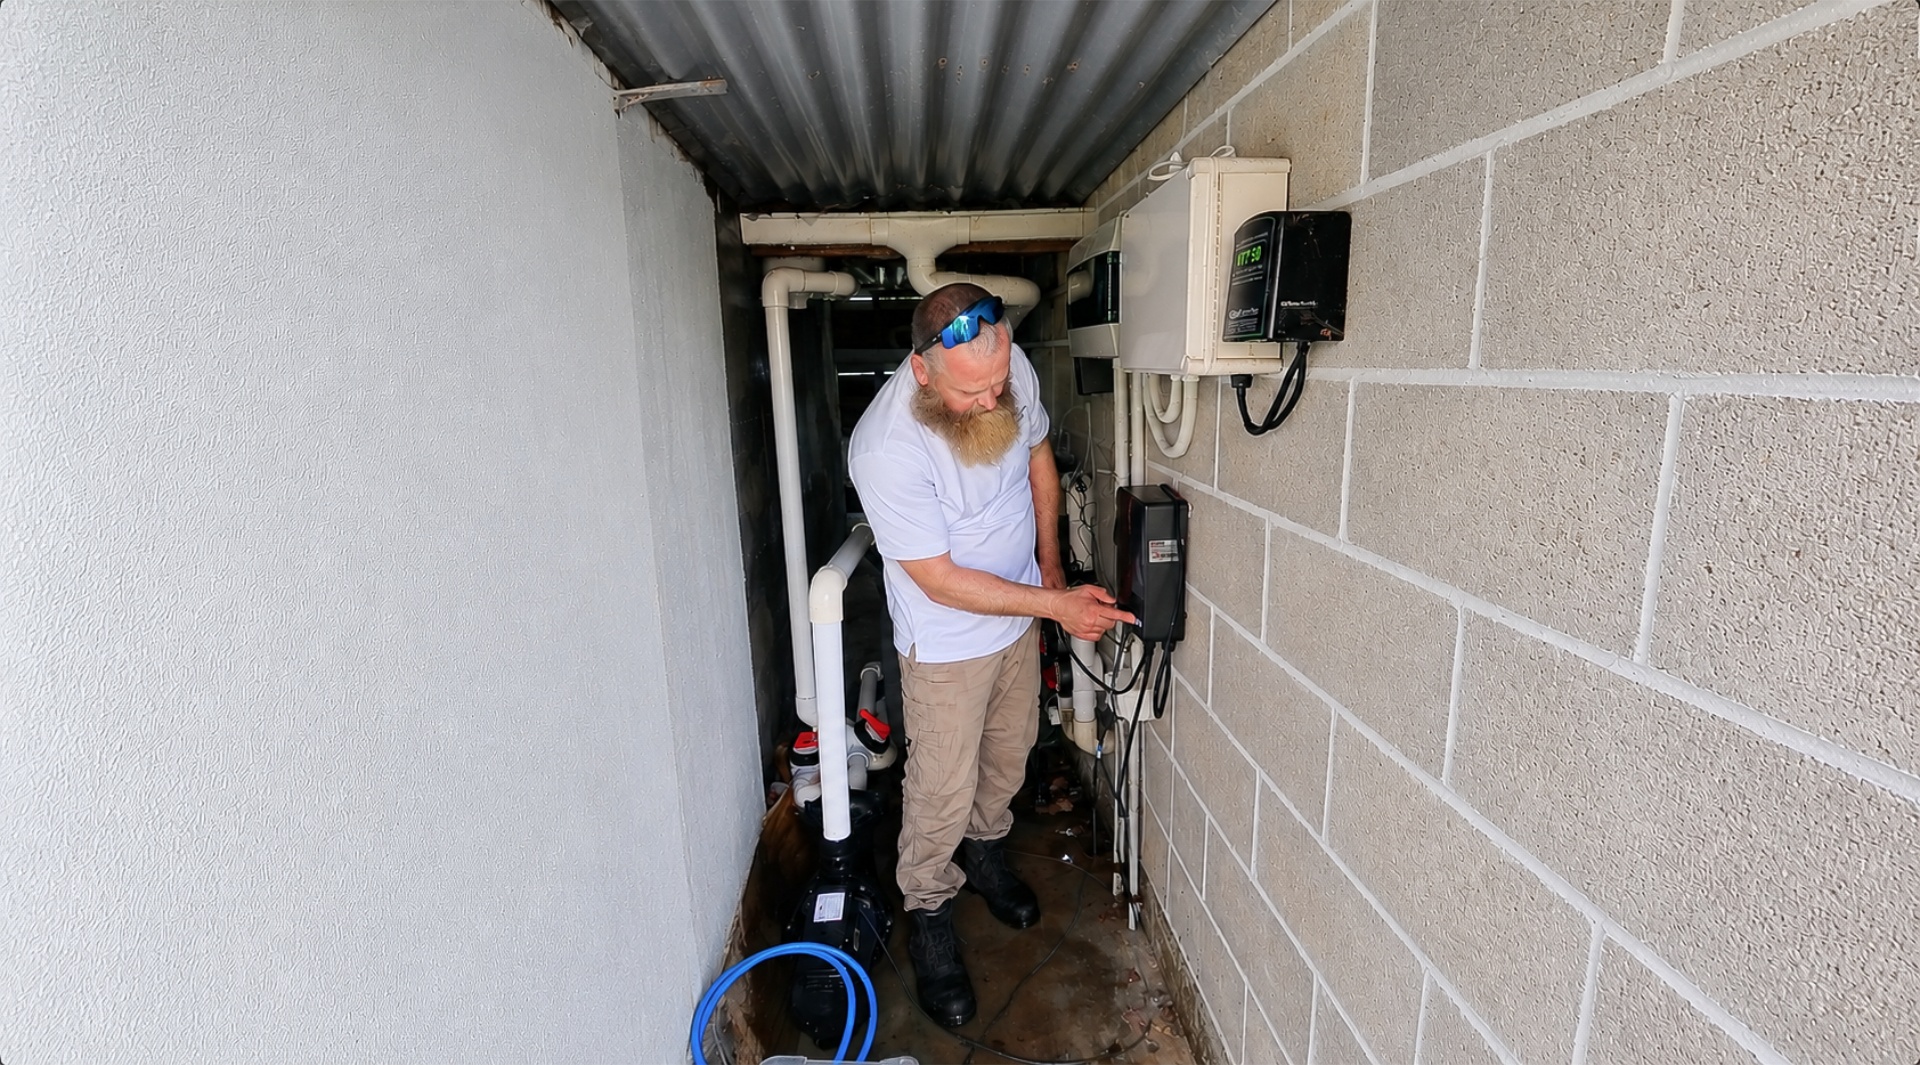
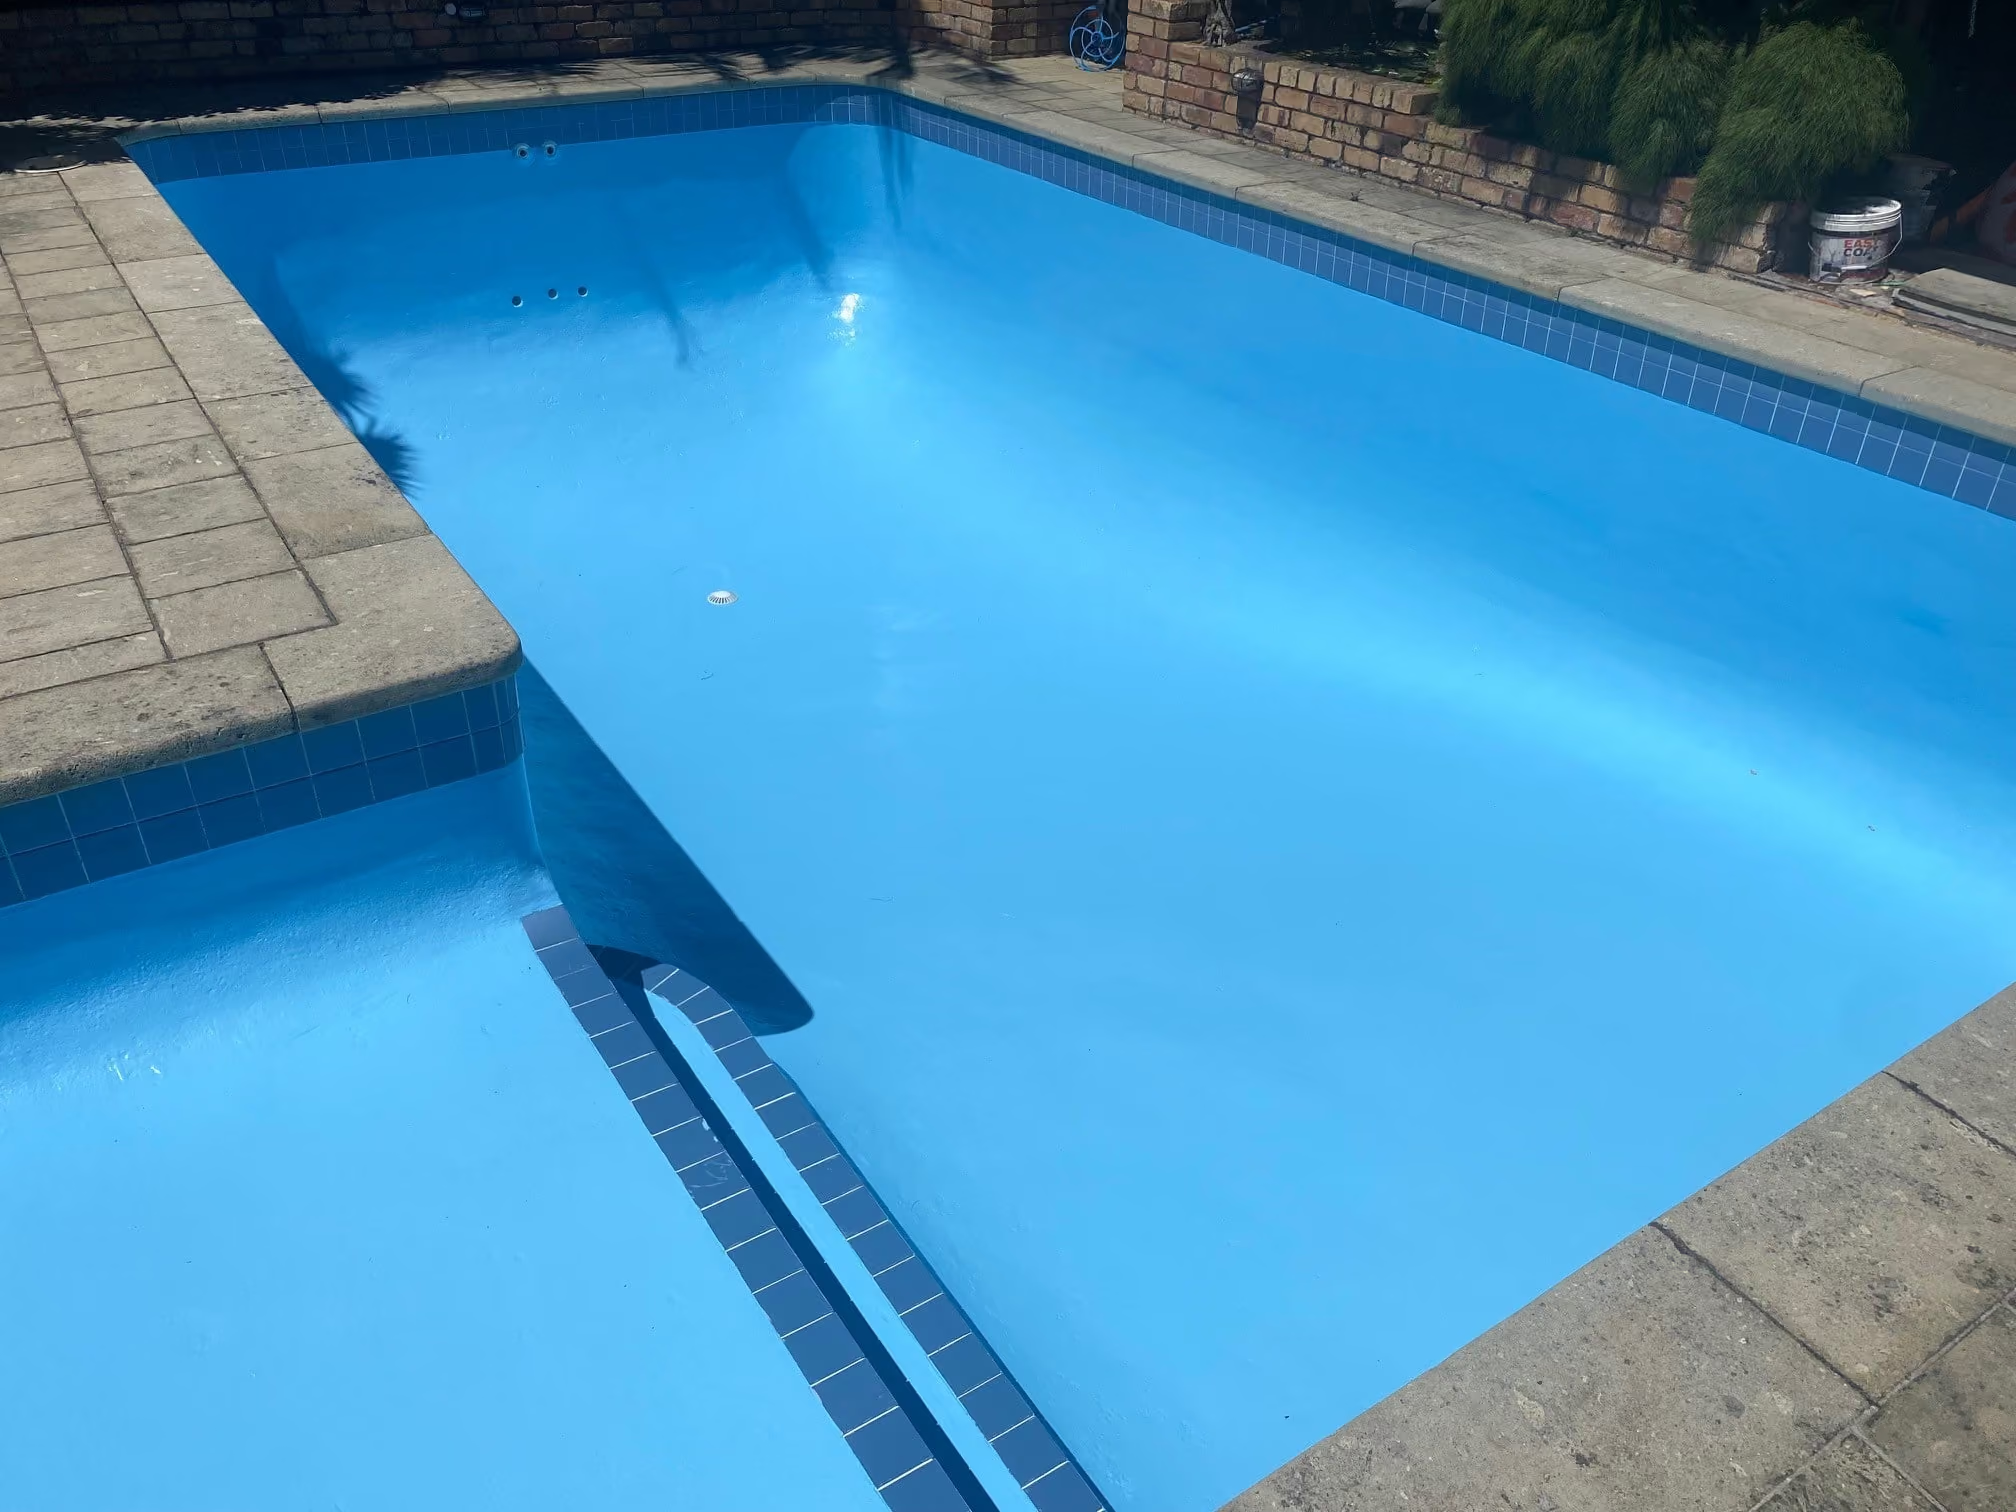
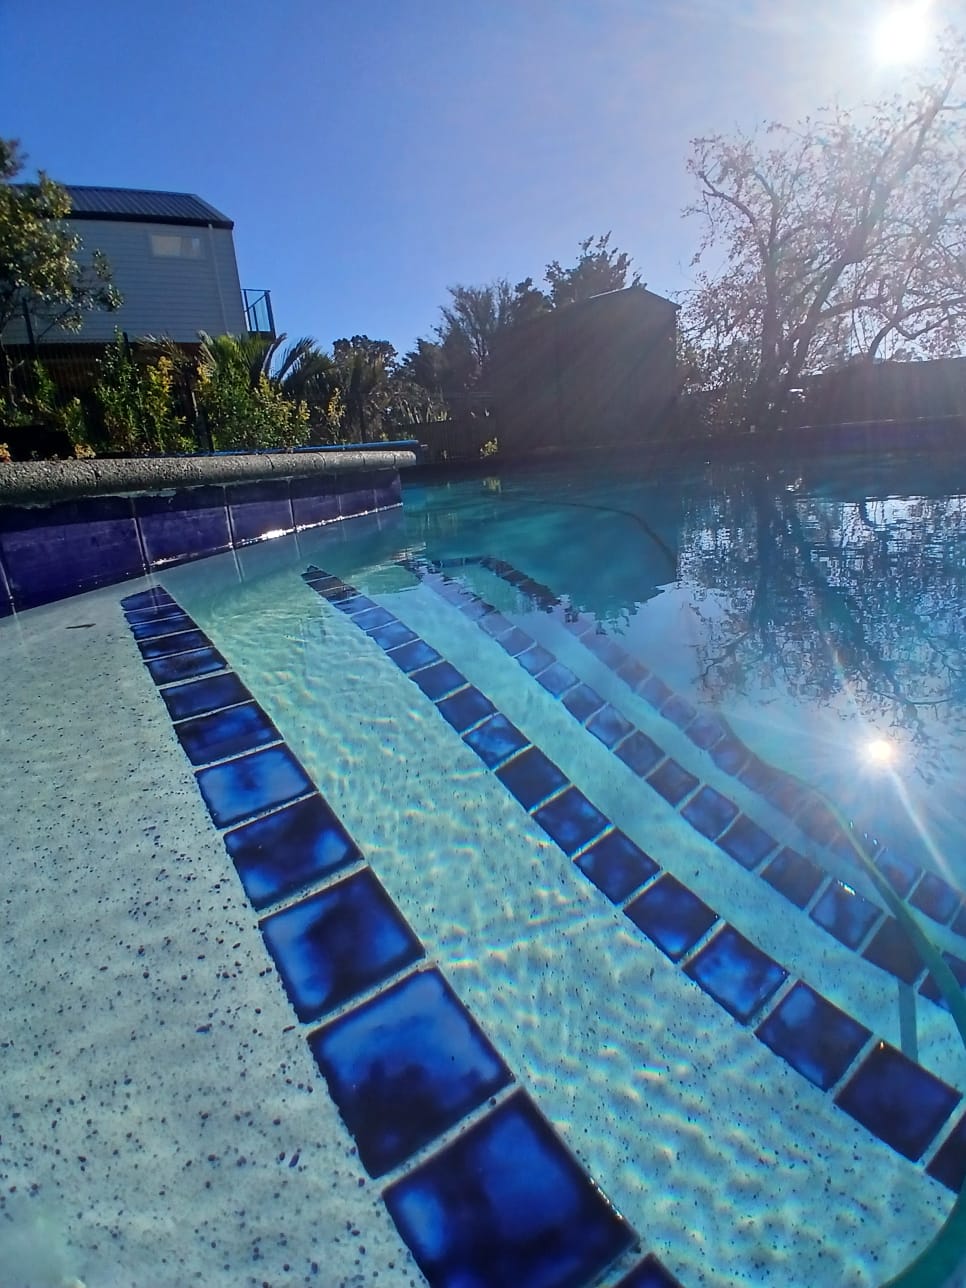
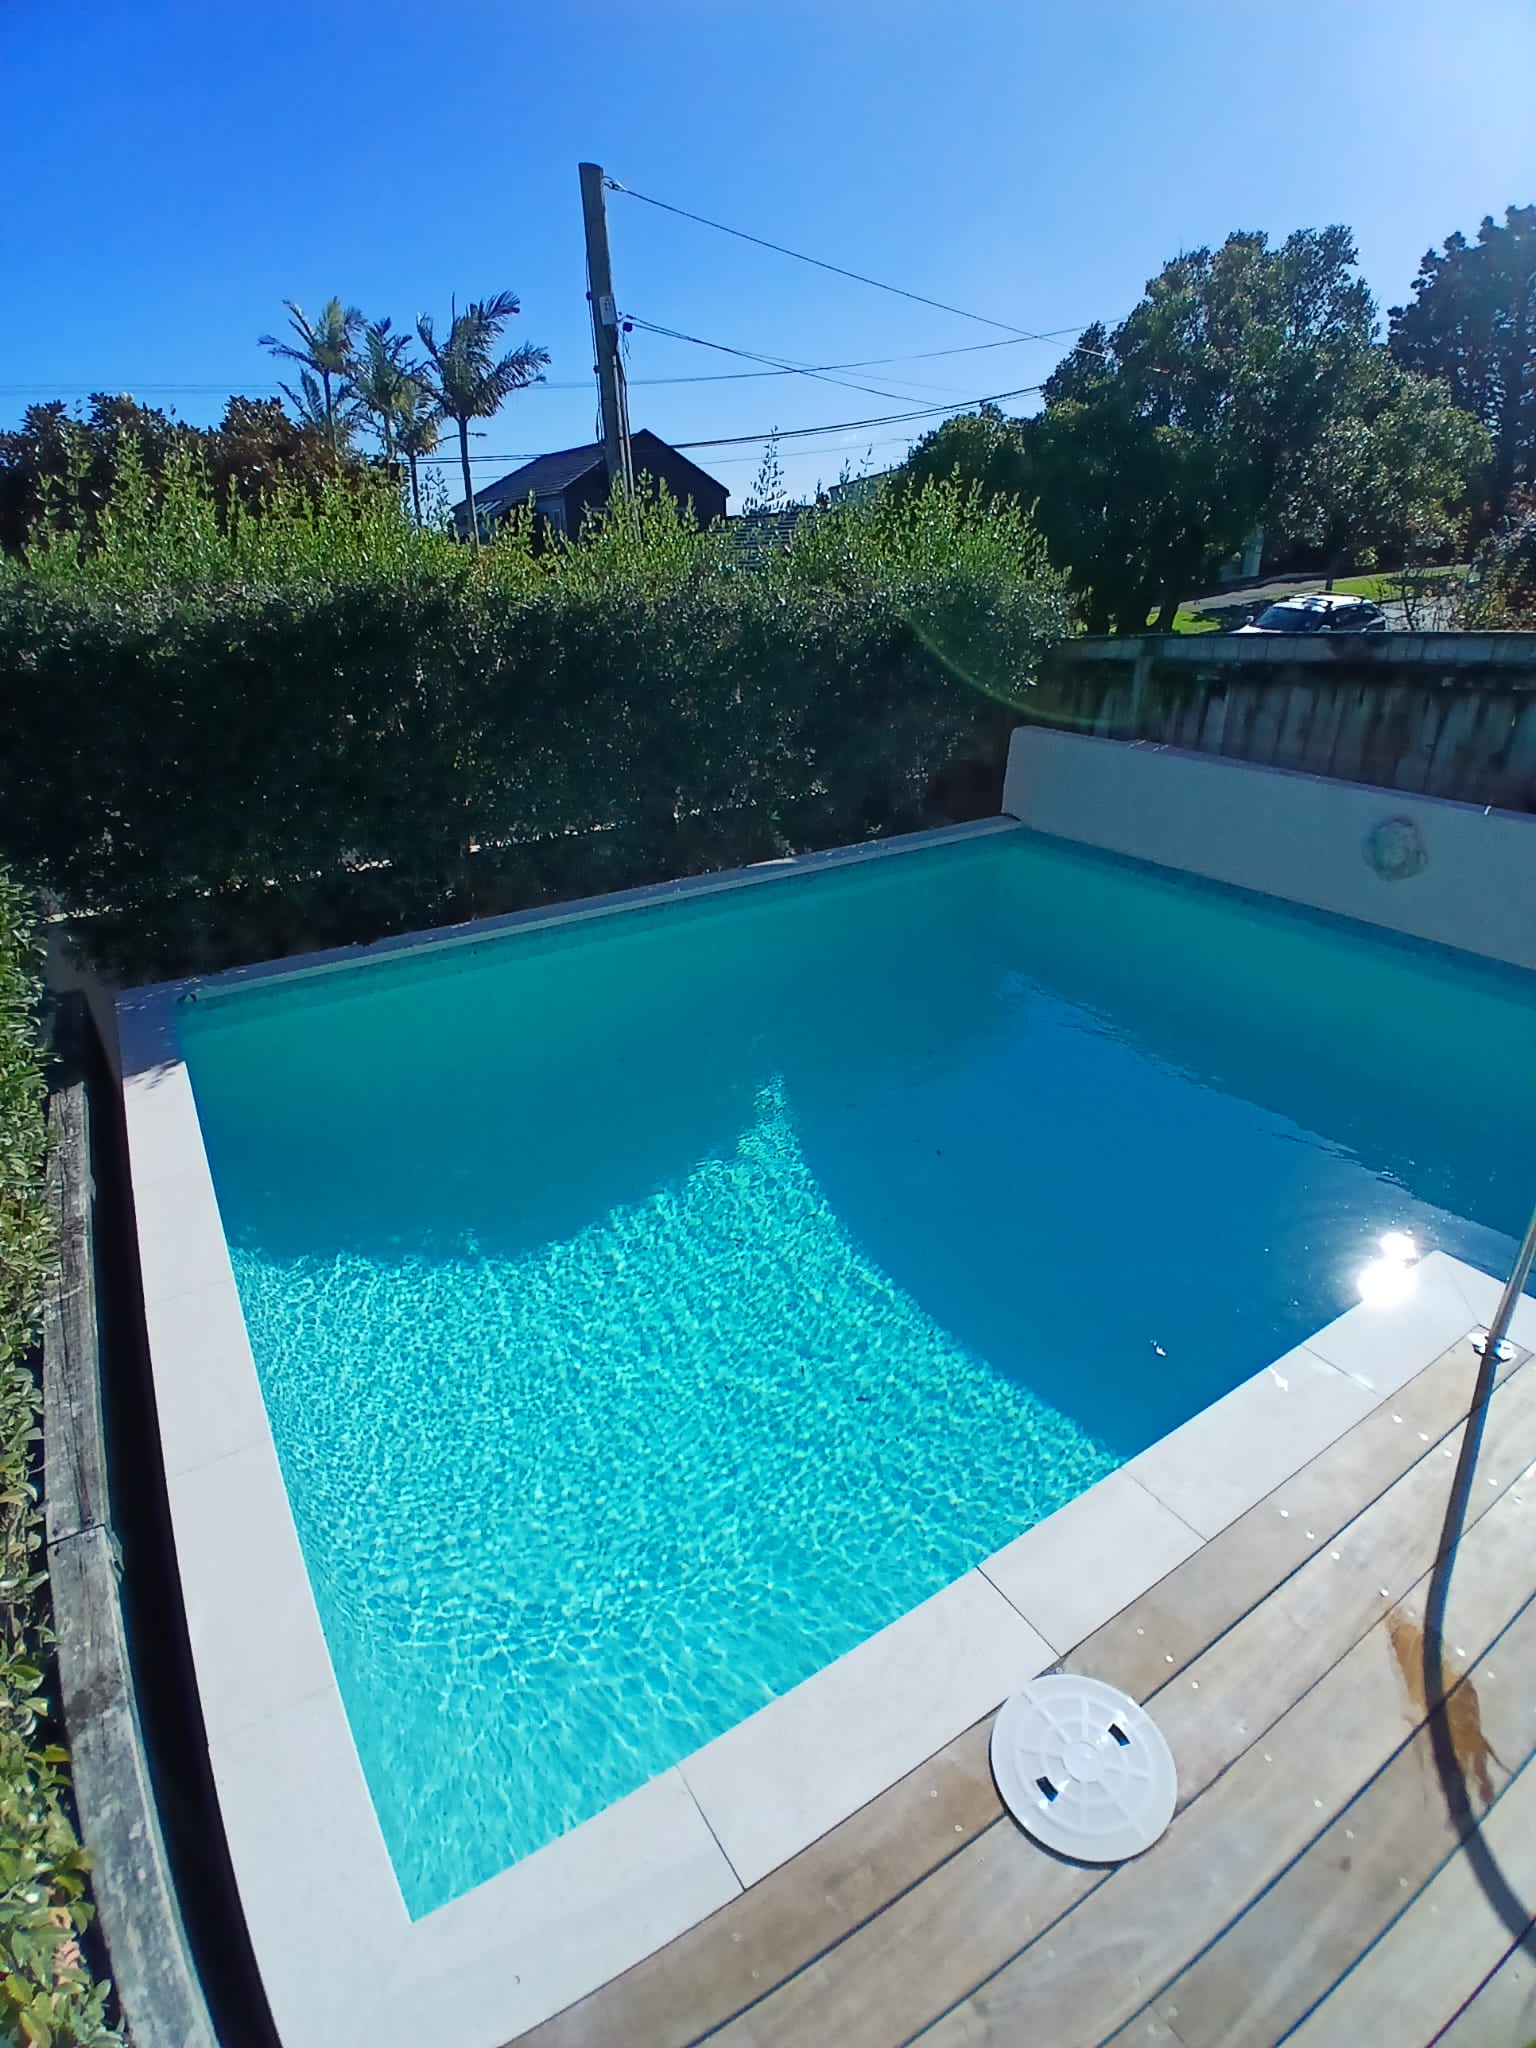
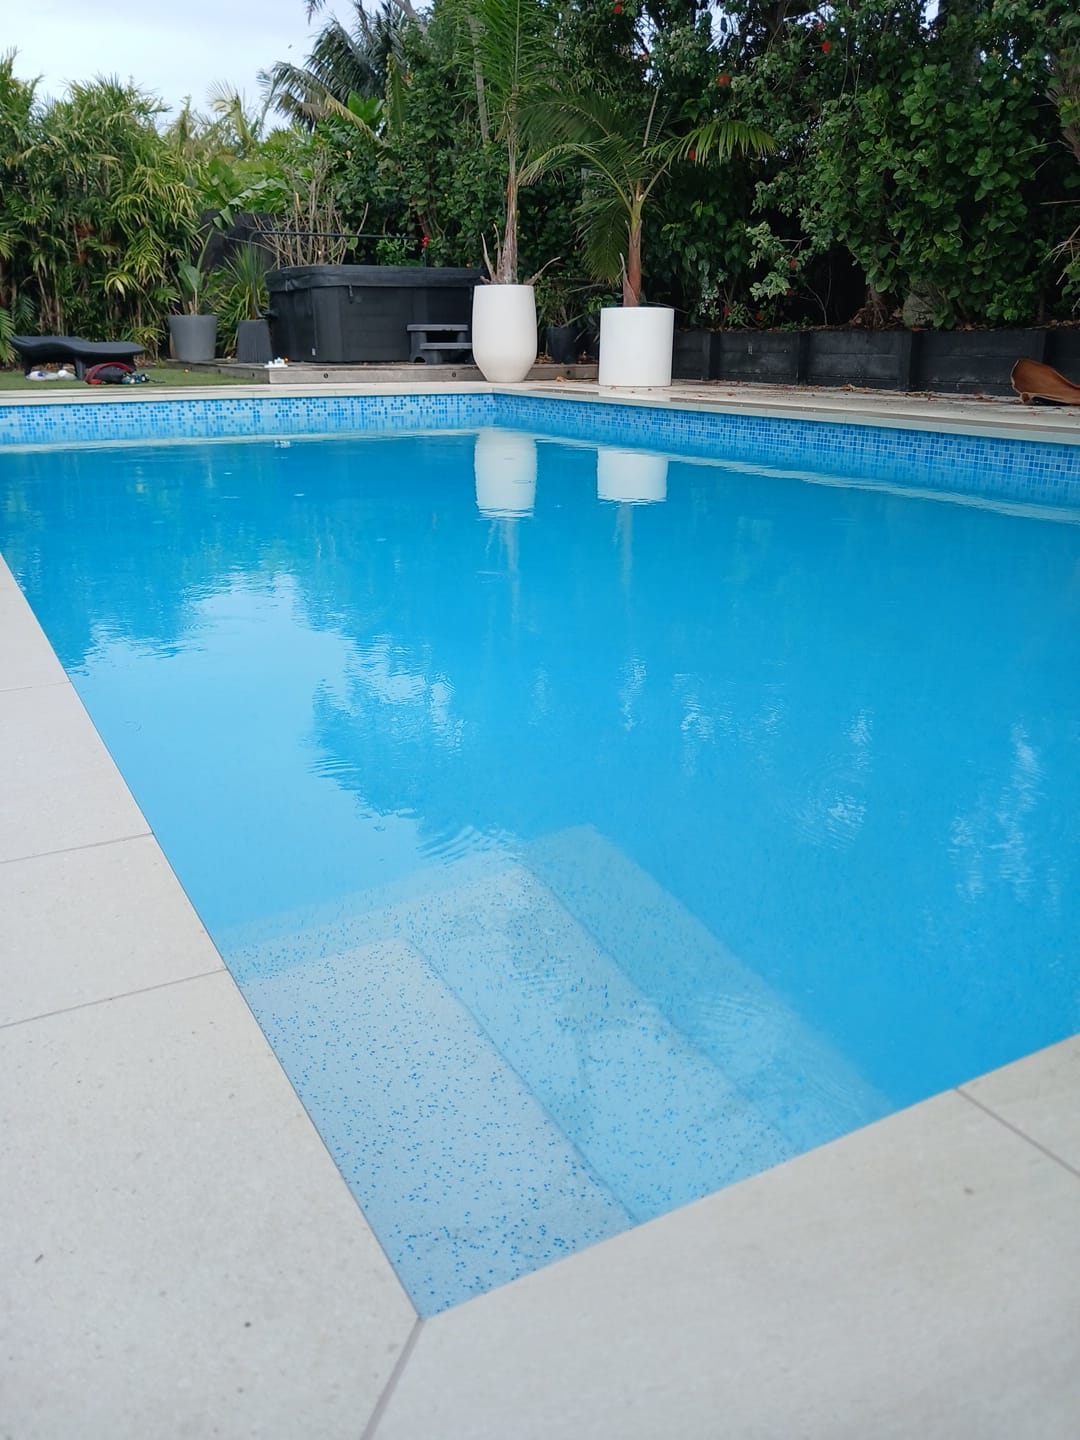
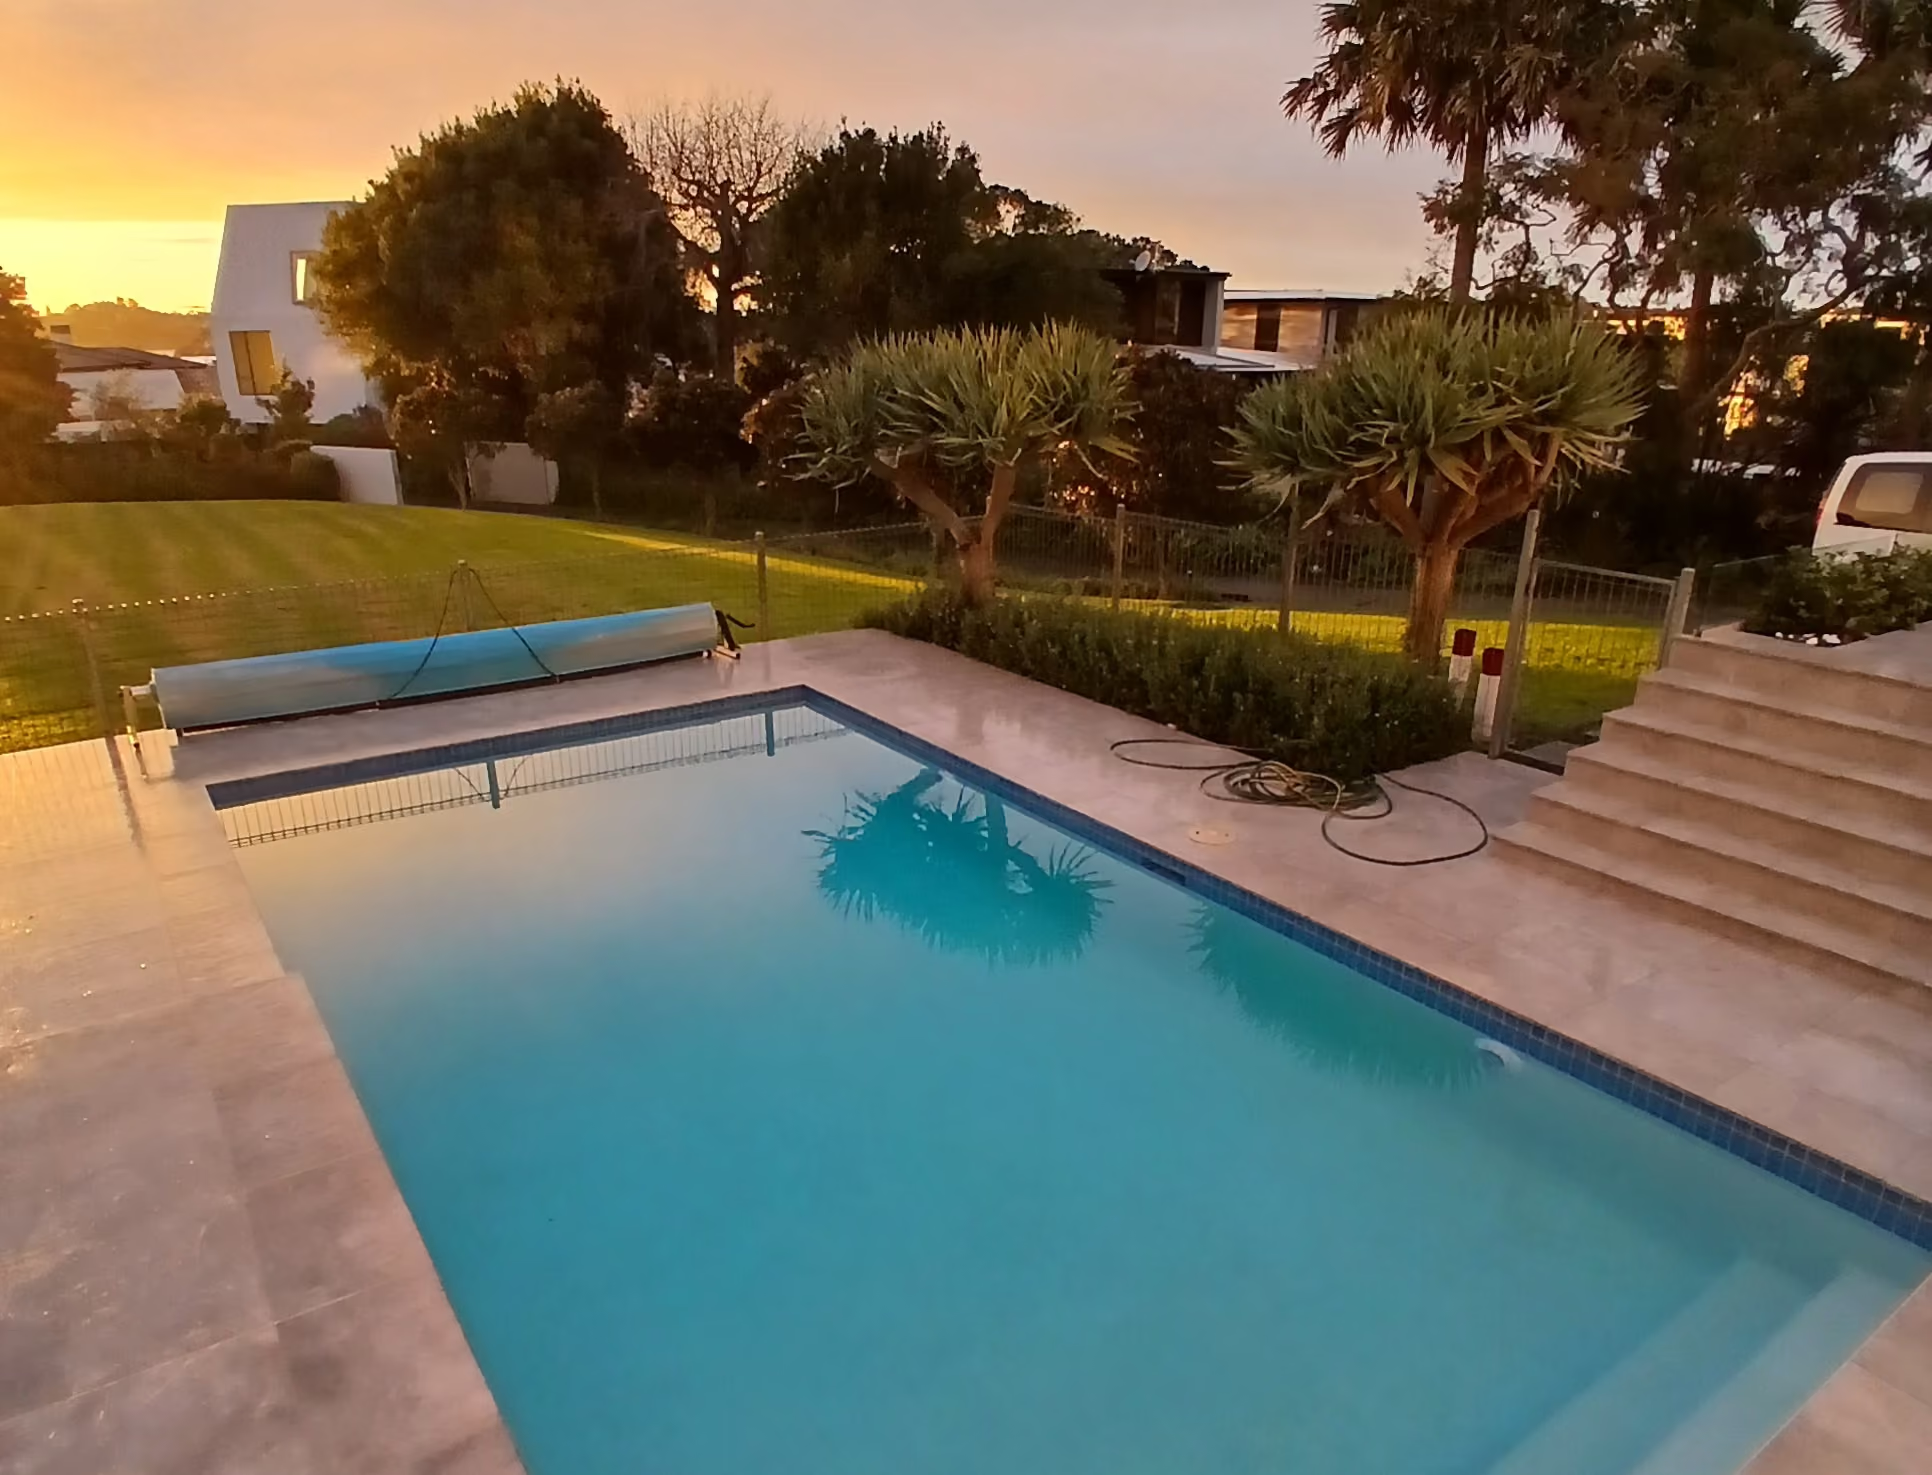
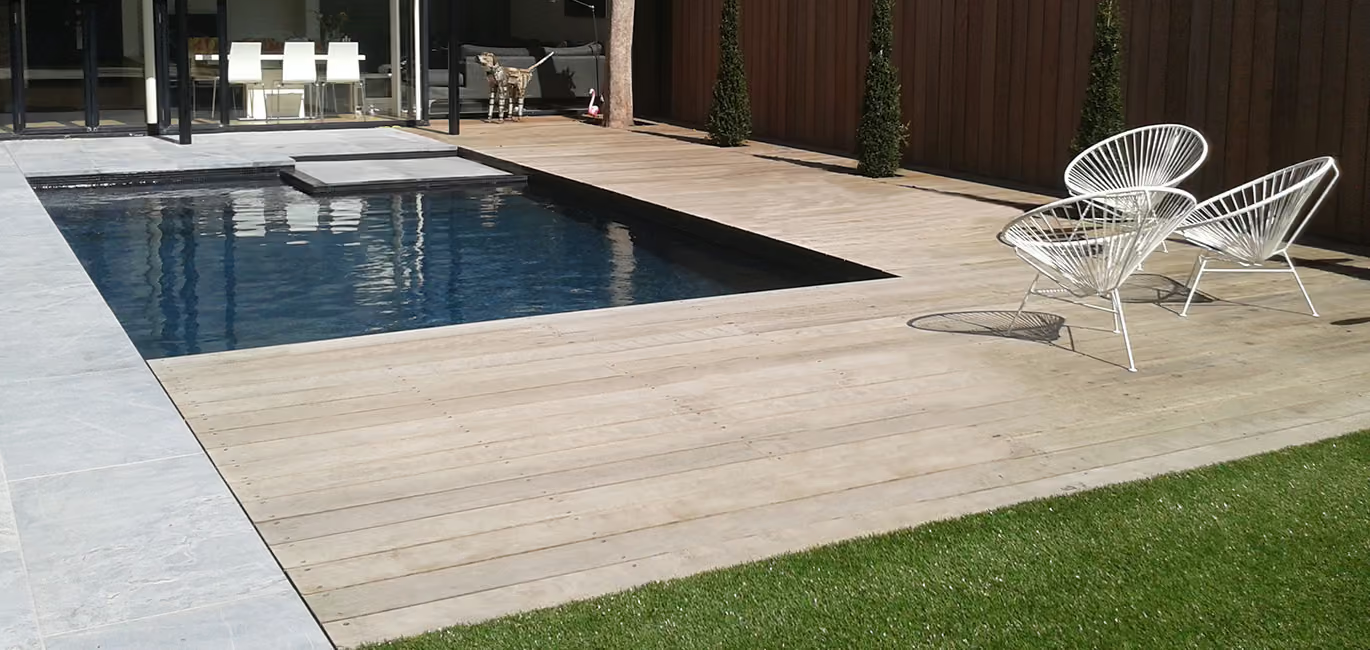
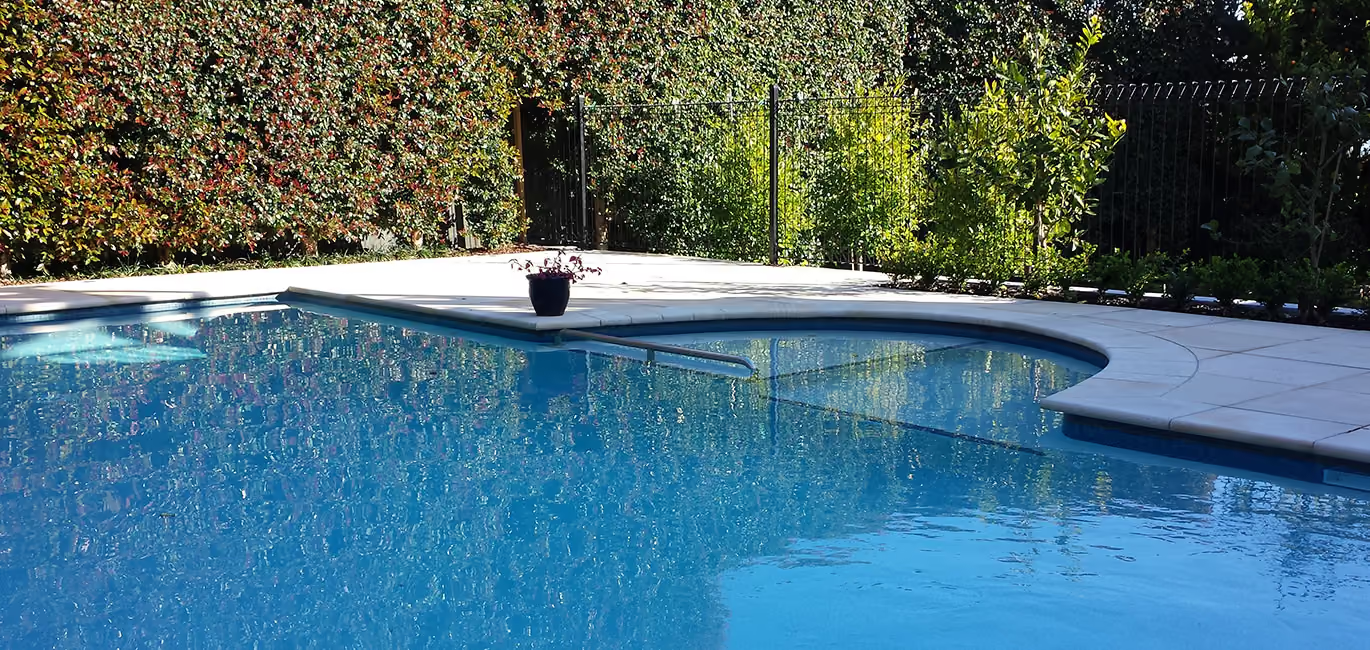
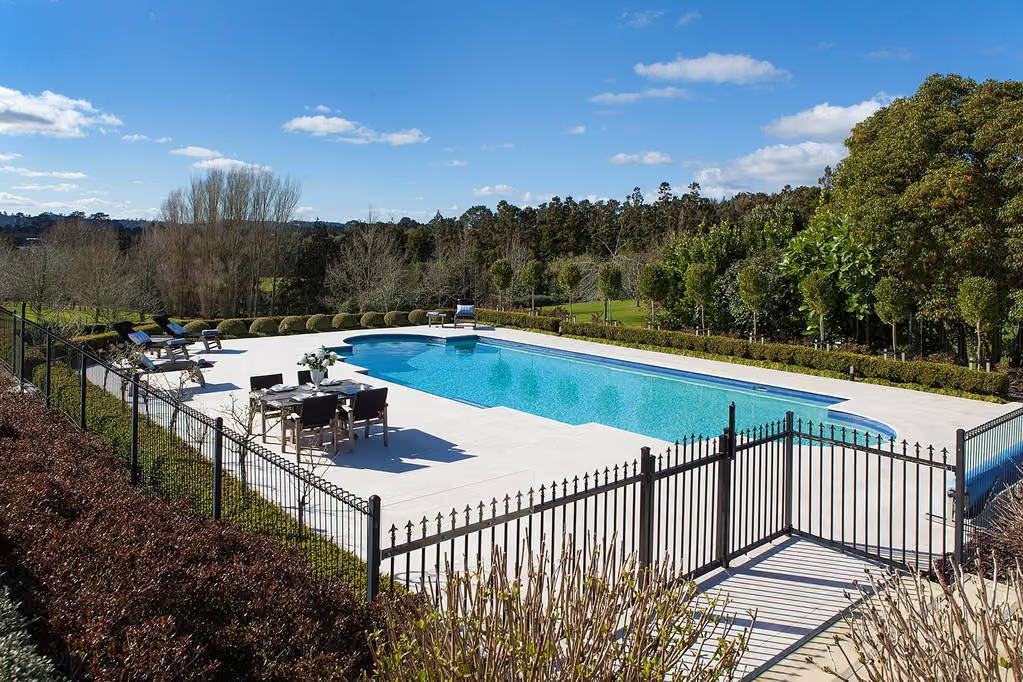
Sparkling Pools has worked on pools across Auckland, including residential renovation projects, equipment upgrades, ongoing maintenance and pool care for managed properties. Past projects show how the right approach can improve presentation, water quality and day-to-day usability. A well-maintained pool is easier to manage, more pleasant to use and better prepared for seasonal changes.
Trusted by Homeowners Across Auckland
Don't just take our word for it. Read what our clients have to say about our transparent communication, reliable service, and stunning pool transformations.
Related Blog Posts
Stay informed on pool care and renovations
Winter pool care essentials for Auckland
Pool Renovation Mistakes

Auckland Climate Pool Maintenance
Choosing Renovation Contractor
Pool Care Auckland Summer
Permits & Consents

Pool Renovation ROI
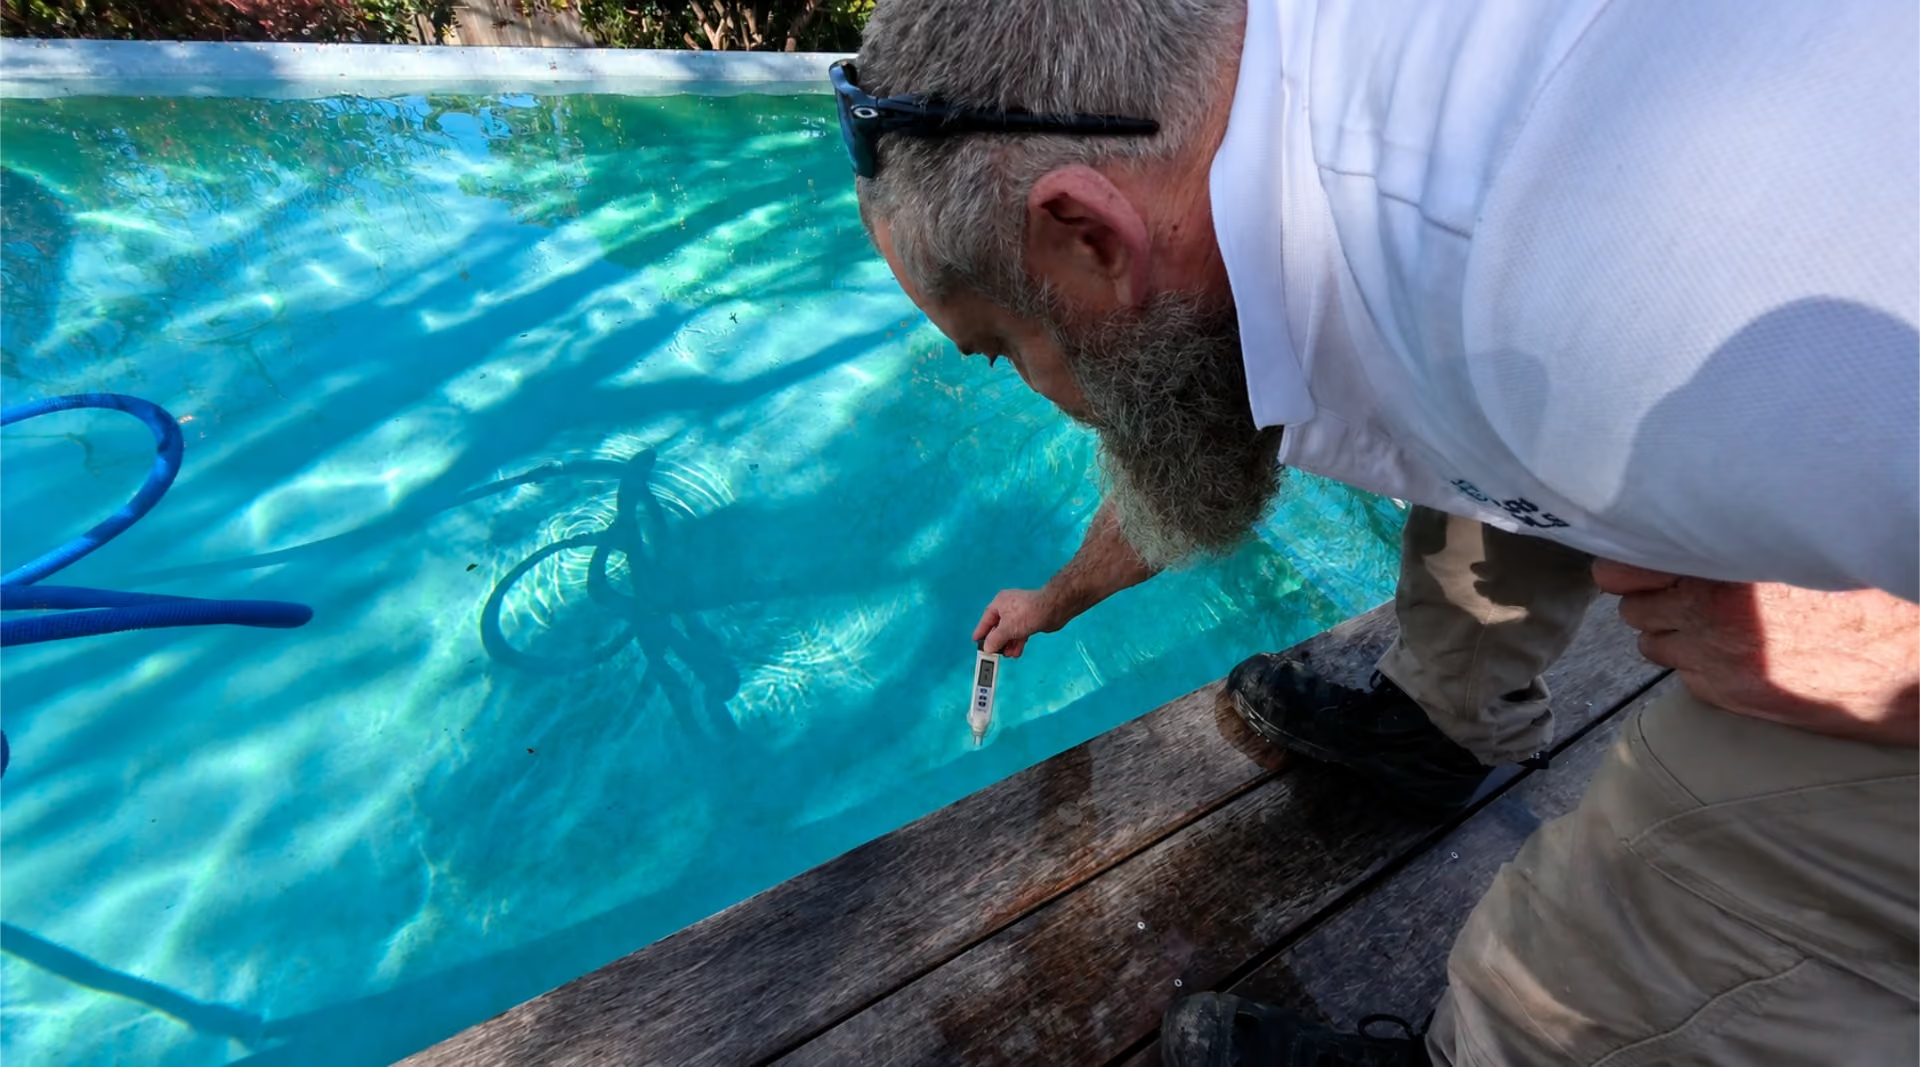
How Often to Test Pool Water
Pool Renovation Costs
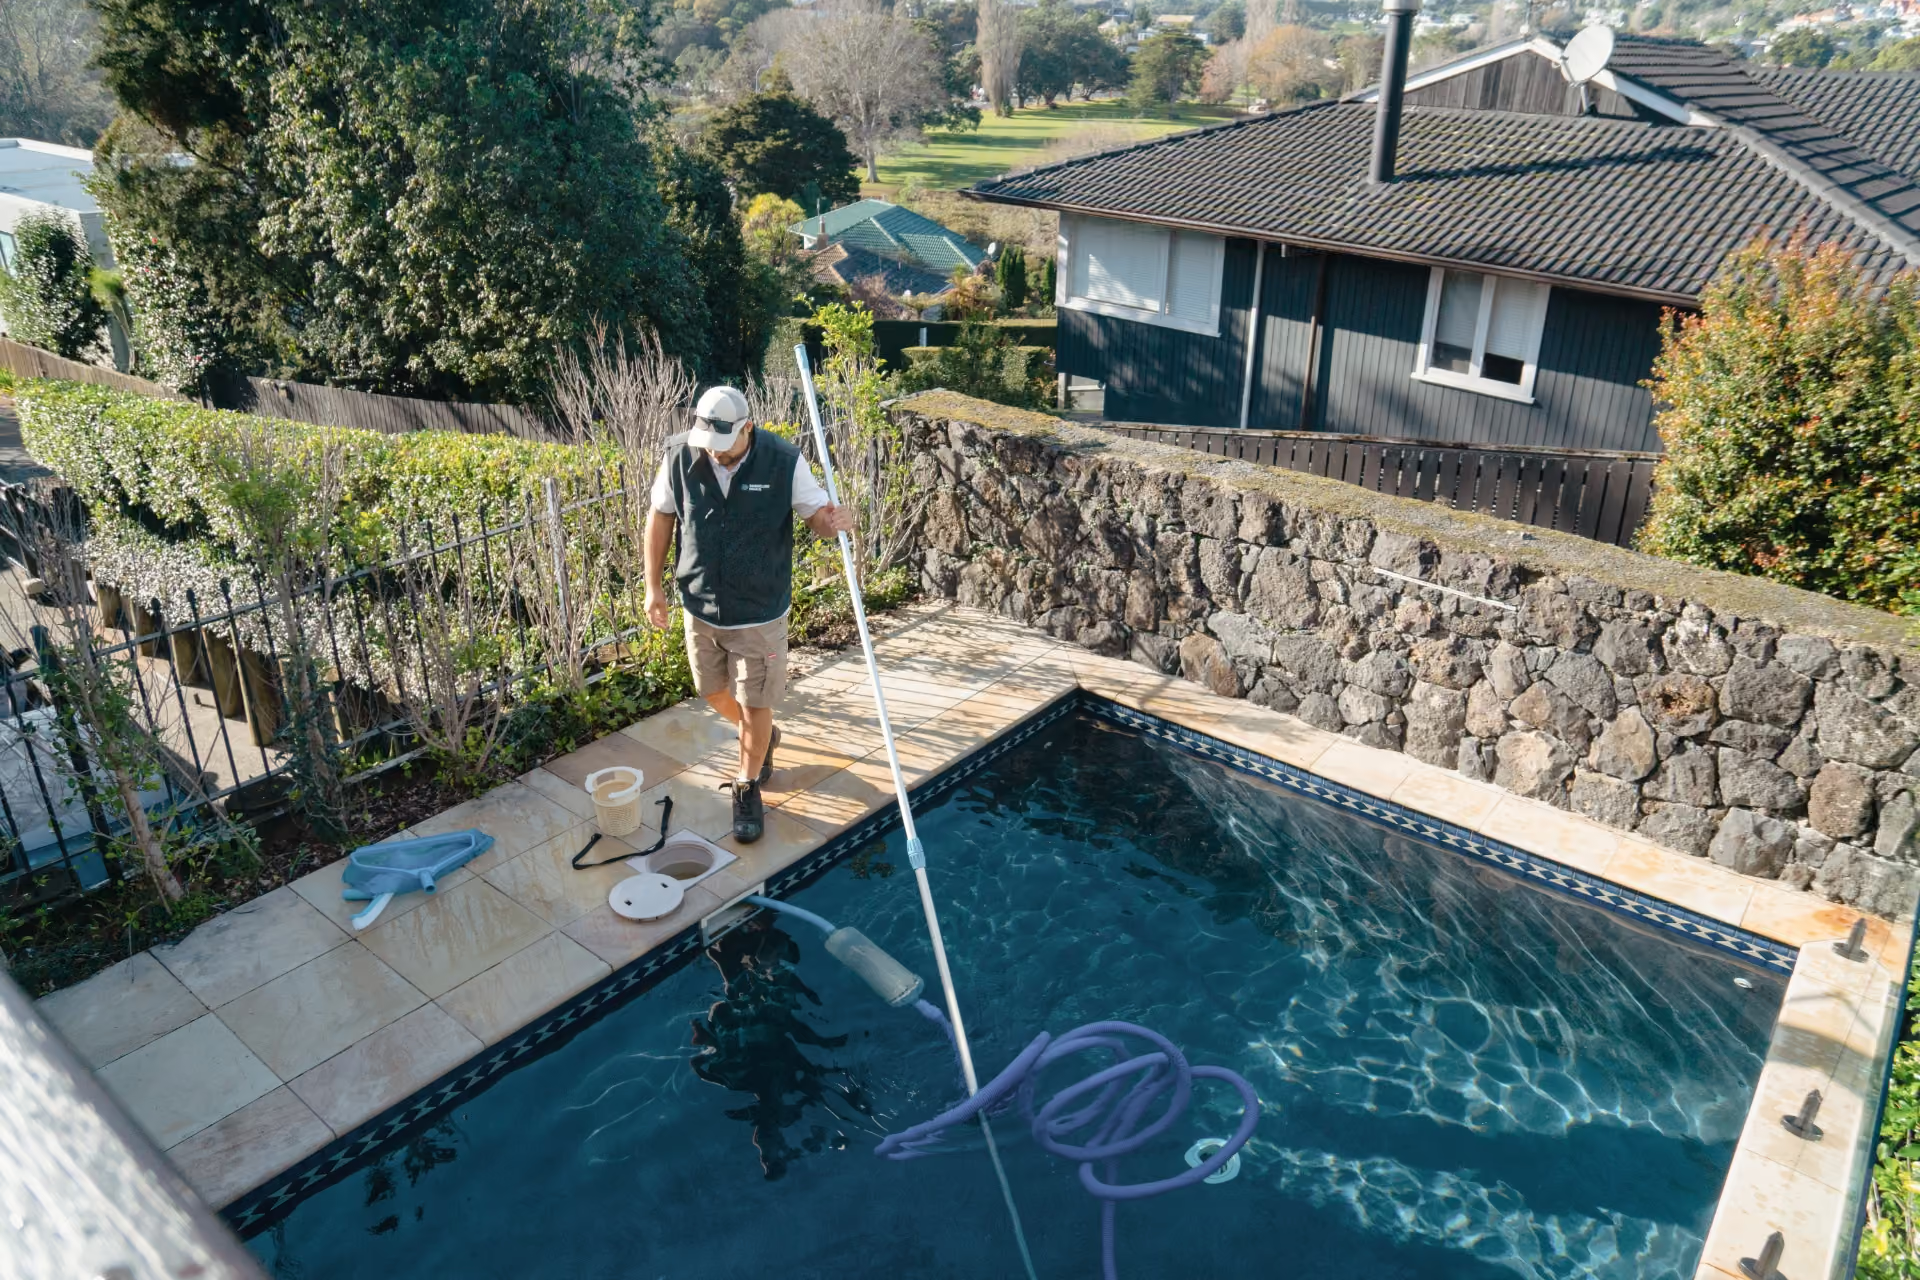
Cost of Pool Service Auckland
Pool Renovation Planning Guide
Pool Lighting Buying Guide
Pool Cleaner Buying Guide
Pool Automation Buying Guide
Pool Heater Buying Guide
Pool Filter Buying Guide
Pool Pump Buying Guide
Best Equipment Auckland Climate
Auckland Water Quality
Auckland Pool Season
Pool Ownership Costs
Common Pool Mistakes
Pool Safety Laws
Pool Inspection Requirements
Pool Fence Compliance
.avif)
Auckland Pool Industry Trends
Auckland Pool Regulations
Pool Equipment Suppliers
Best Pool Service Areas
Pool Service Pricing Analysis
Company vs Independent
Best Pool Surface Materials
Pool Resurfacing Options
Pebble vs Plaster Surfaces
One-Time vs Ongoing Service
Full Service vs Chemicals Only
Pool Cover Types
Robotic vs Suction Cleaners
Mineral vs Saltwater
Gas vs Heat Pump
Pool Heater Types
Pool Winterizing Guide Auckland
Pool Opening Guide Summer
Pool Maintenance After Heavy Rain
Pool Maintenance Schedule
How Often to Run Pool Filter
Pool Pump Maintenance Schedule
Pool Filter Cartridge Cleaning
Pool Equipment Maintenance Checklist
Pool Waterline Cleaning
Pool Skimmer Basket Cleaning
Pool Chlorine Levels
How Often Clean Pool Filter
How to Vacuum Pool
Pool Brushing Technique
Pool Chemical Dosing Chart
Pool Water Chemistry Basics
How to Balance Pool Chemistry
How to Test Pool Water
Pool Maintenance Tips
Complete Pool Maintenance Guide
Pool Service ROI
Pool Equipment Buy or Service
Pool Maintenance Time Requirements
DIY vs Professional
Pool Service Contract
Pool Service vs Pool Valet
Is Pool Service Worth It
Pool Service Guarantees
Pool Service Reviews
Pool Service Red Flags
Questions to Ask Pool Companies
How to Choose Pool Service Company
Hidden Costs DIY Maintenance
Pool Cleaning Prices Auckland
Cost of Pool Resurfacing
Cost of Pool Pump Replacement
Cost to Fix Green Pool
Pool Liner Wrinkles
Pool Cracks When to Worry
Pool Surface Stains
Pool Valve Leaking
Pool Automation Not Working
Pool Light Not Working
Pool Heater Not Heating
Pool Skimmer Not Working
High Pool Filter Pressure
Pool Losing Water
Pool Filter Not Clearing Water
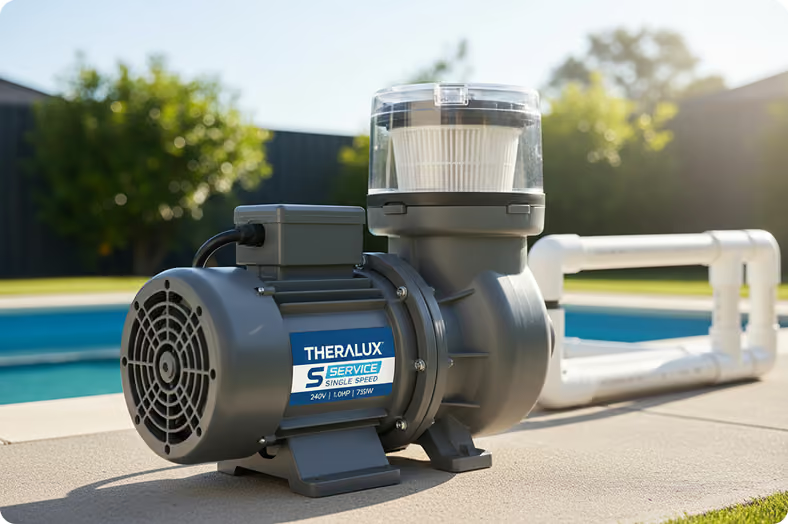
Pool Pump Leaking
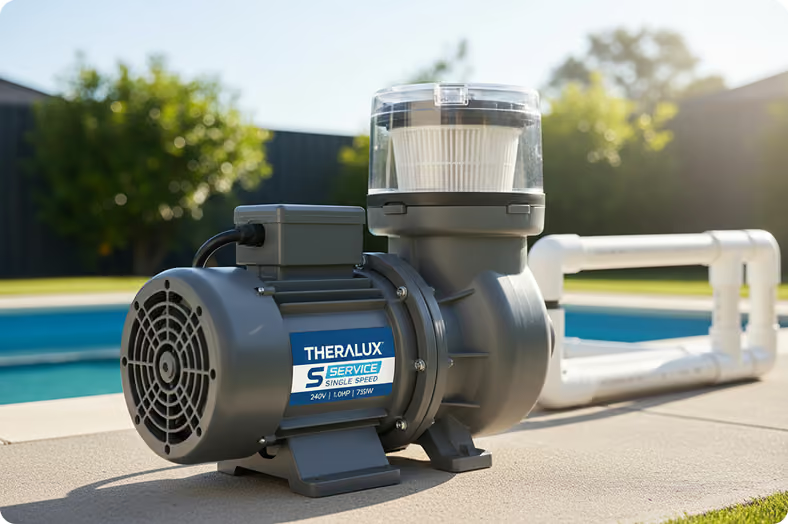
Pool Pump Not Pumping
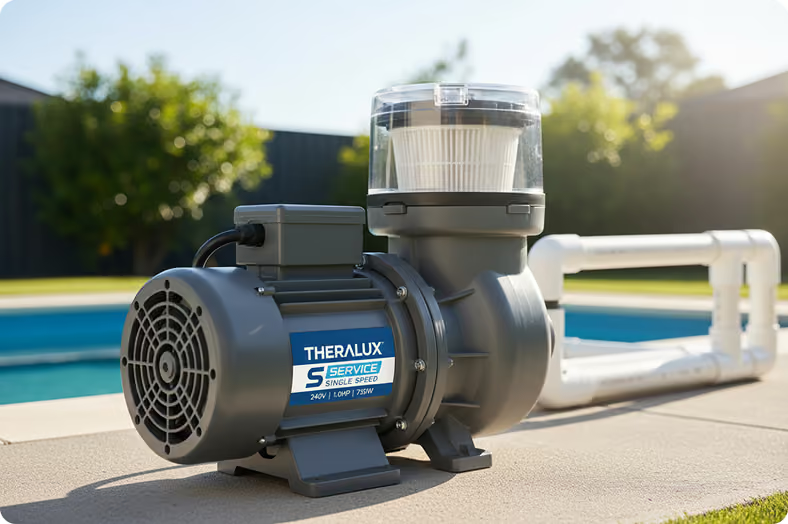
Pool Pump Losing Prime
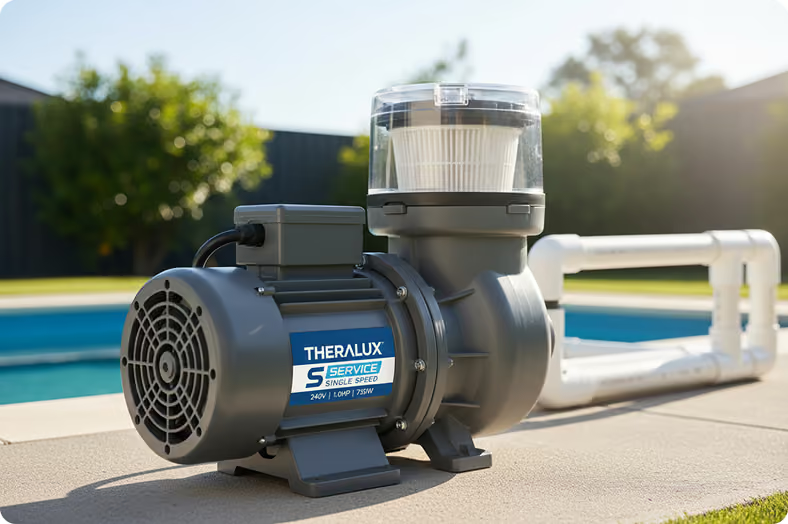
Pool Pump Noisy
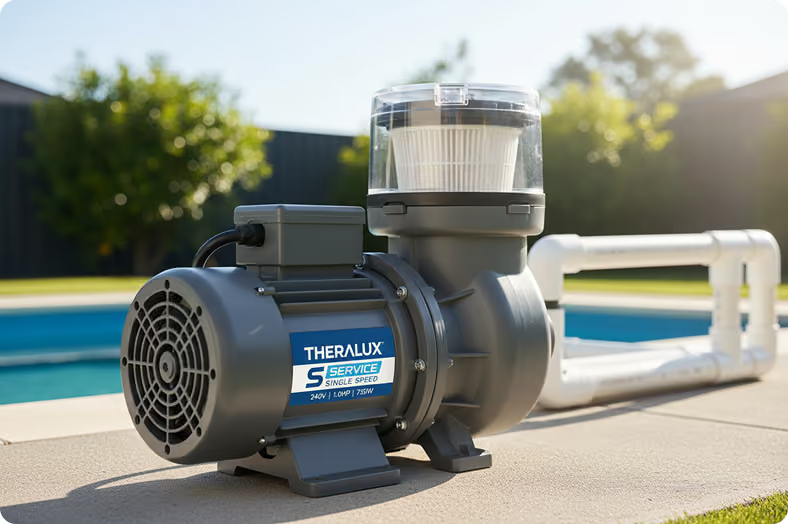
Pool Pump Not Working
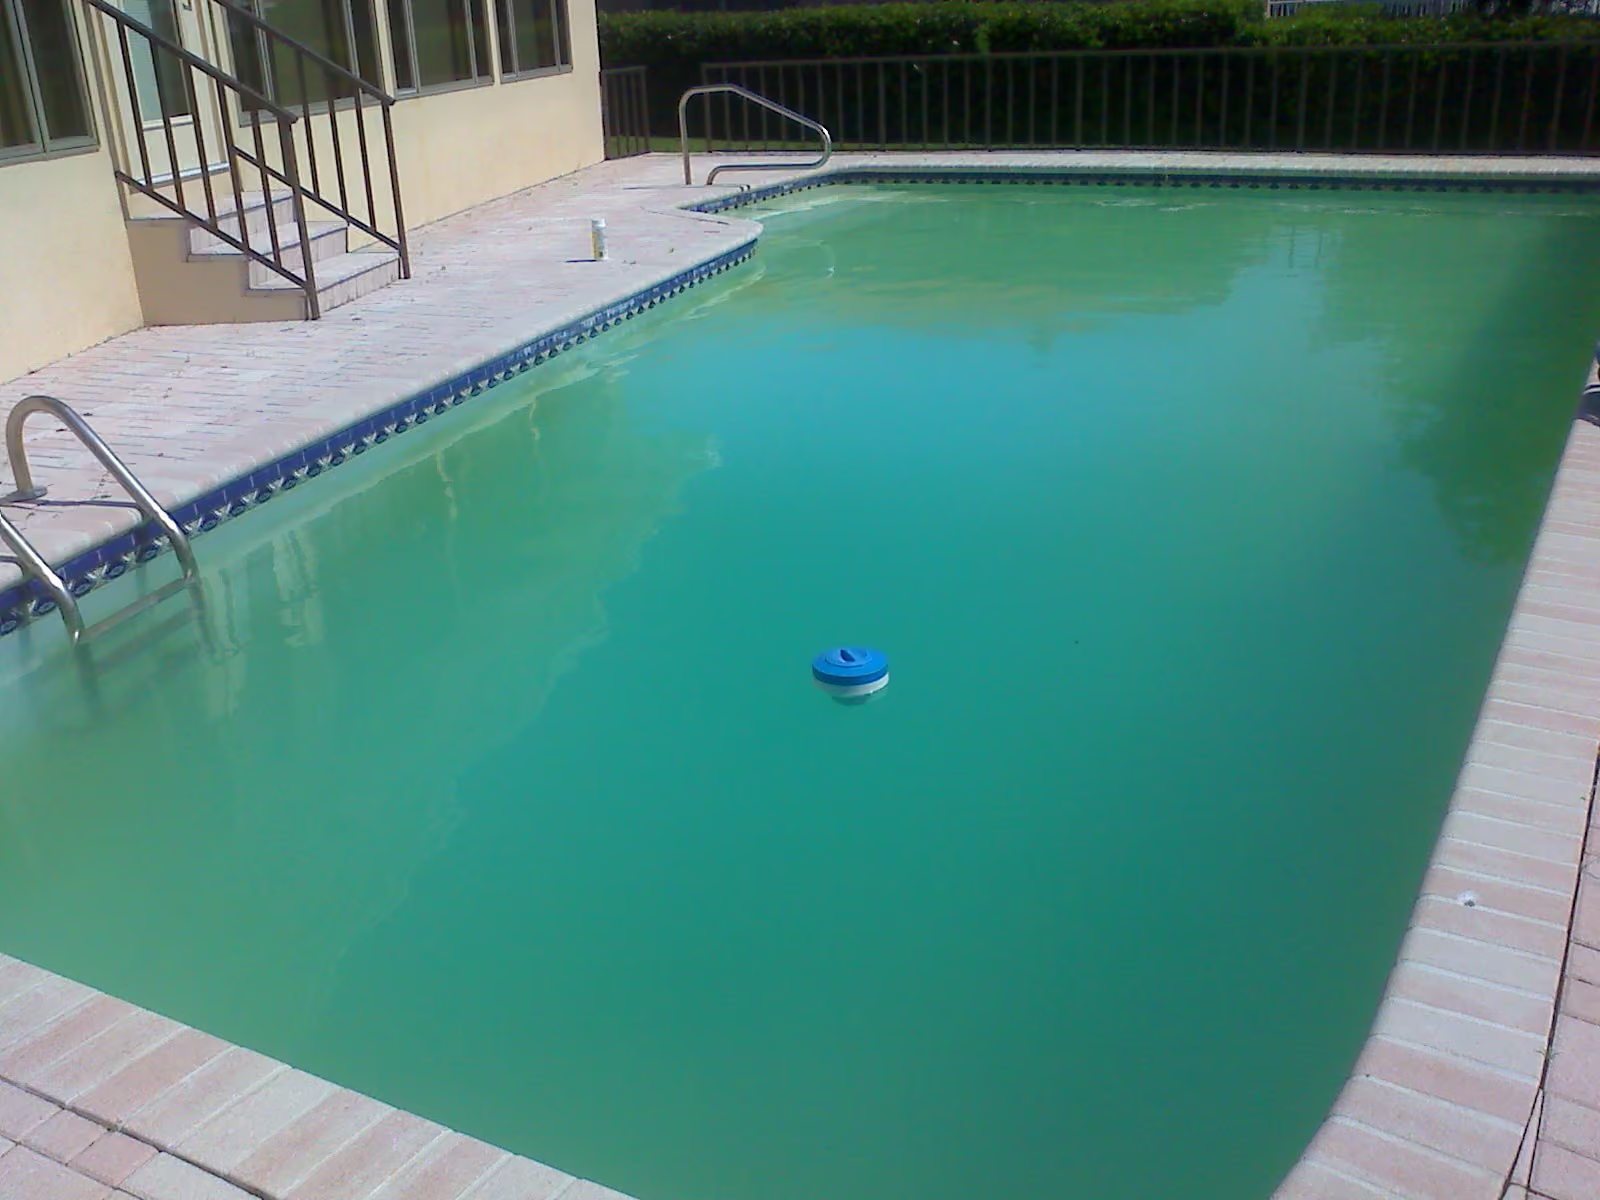
Pool Water Foaming
Pool pH Too Low
Pool pH Too High
Green Pool After Rain
Pool Still Green After Shock
Pool Water Cloudy
How to Clear a Green Pool
Pool Care That Protects Your Investment
Good pool care protects more than appearance. Our pool specialists support the long-term condition of your swimming pool while keeping it ready for everyday use.